A fabric, pennant-style garland is perfect for any season or decor, and it can be layered with different fabrics or other garlands. Plus, this DIY easy fabric garland craft project uses inexpensive and easy-to-find supplies and materials. Make this no-sew garland project using those leftover fabric scraps!
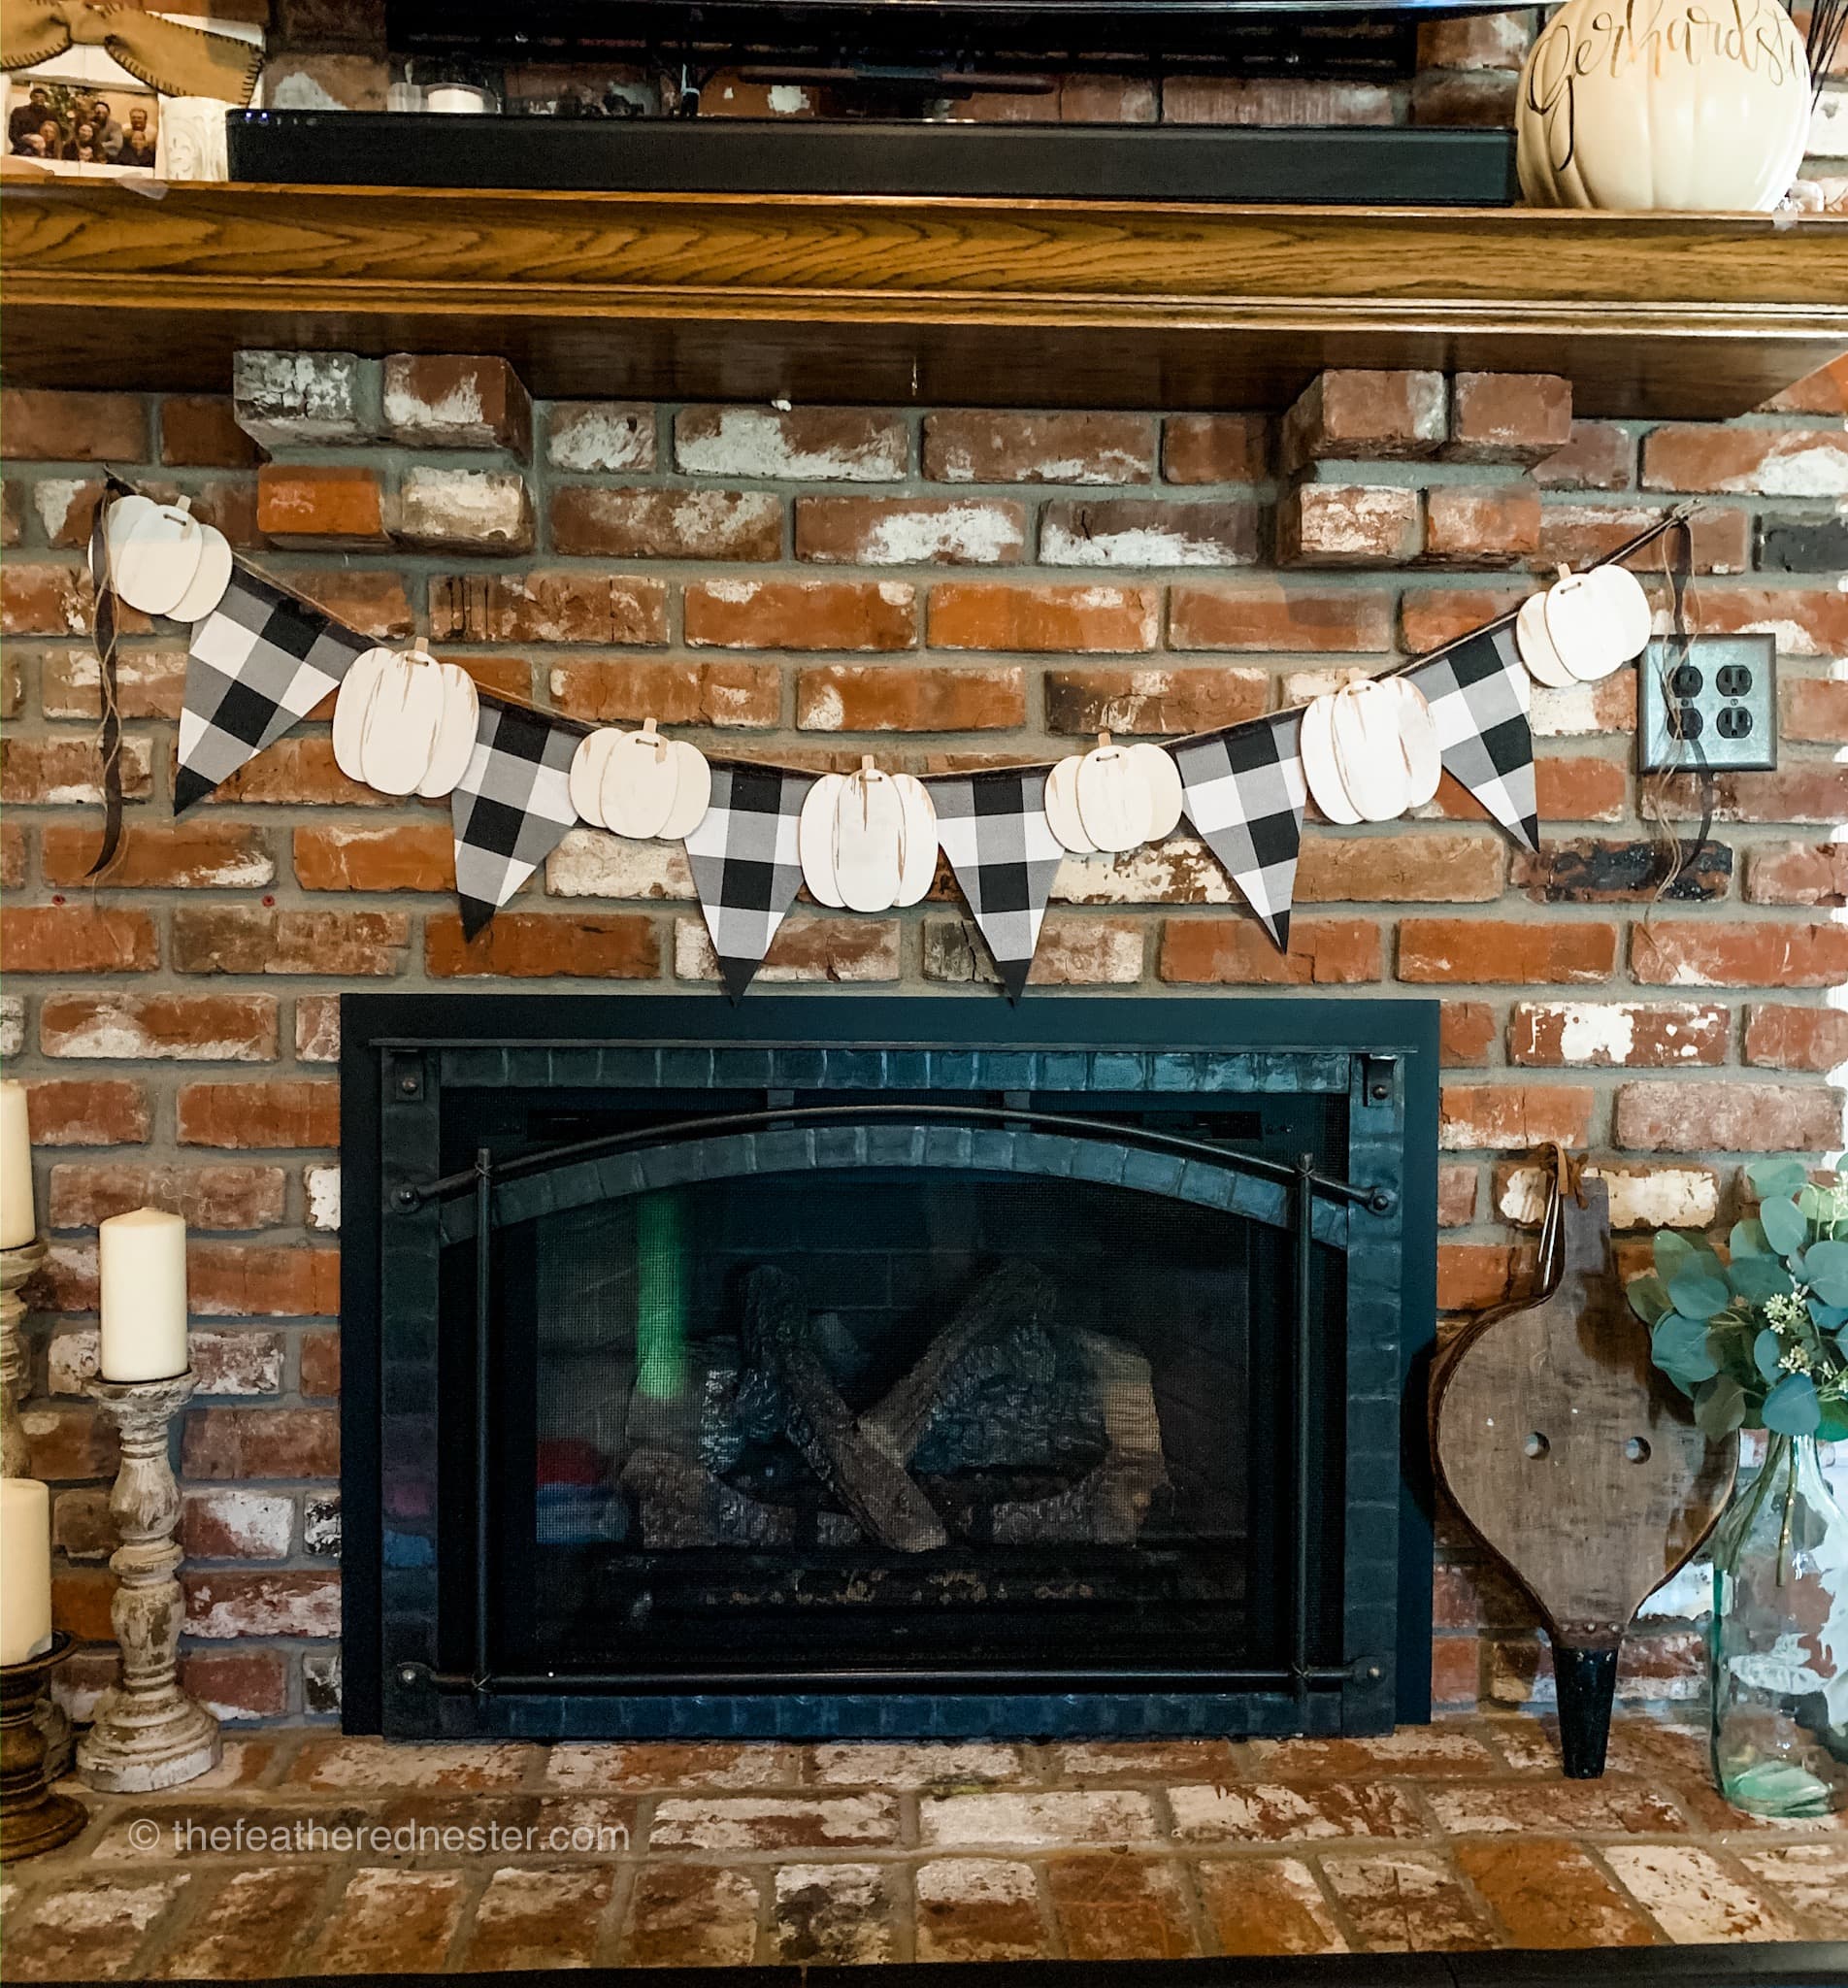
I was inspired to make this do-it-yourself pennant garland as a layering piece by a photo I saw on Instagram.
Earlier this fall, I purchased a wooden pumpkin garland from Hobby Lobby. After seeing the photo, I realized how easy it would be to create the look myself.

I chose a popular black and ivory buffalo check fabric strips for my pennants. It’s ideal for fall or winter decor. And it goes with almost any other pattern.
This no-sew garland will be ready in about an hour with these easy directions…
So, let’s get crafting!
How to Make a DIY No-Sew Fabric Pennant Garland
Supplies Needed:
- Fabric, about 15″ wide by 3-4 feet or 1/4 yard – this garland is great to make with leftover fabric scraps. You can use fabric with different patterns to make it much fun.
- Glue gun and glue sticks OR sewing machine and thread
- Scissors (fabric shears) or rotary cutter
- Pins
- Cardboard or premade template
- Pencil
- Ribbon, abound 1/2″ wide by 6-8 feet long
- Bulb pins for hanging garland
- Embellishments like extra ribbon, twine, small bells, pom-poms, etc.
Step #1: Measure the Length of Your Garland
The first step is calculating how long you’d like the DIY fabric garland to be. I use a low-tech, simple method: a roll of twine to get the length.
This works great for an existing area. For instance, mine was going over my fireplace, under an existing garland. So, I strung the twine between the nails in place, leaving excess on the sides.
When measuring, leave at least 12-15″ of excess ribbon on each side, as shown in the photo at the right.
You’ll need this excess ribbon later when finishing it.
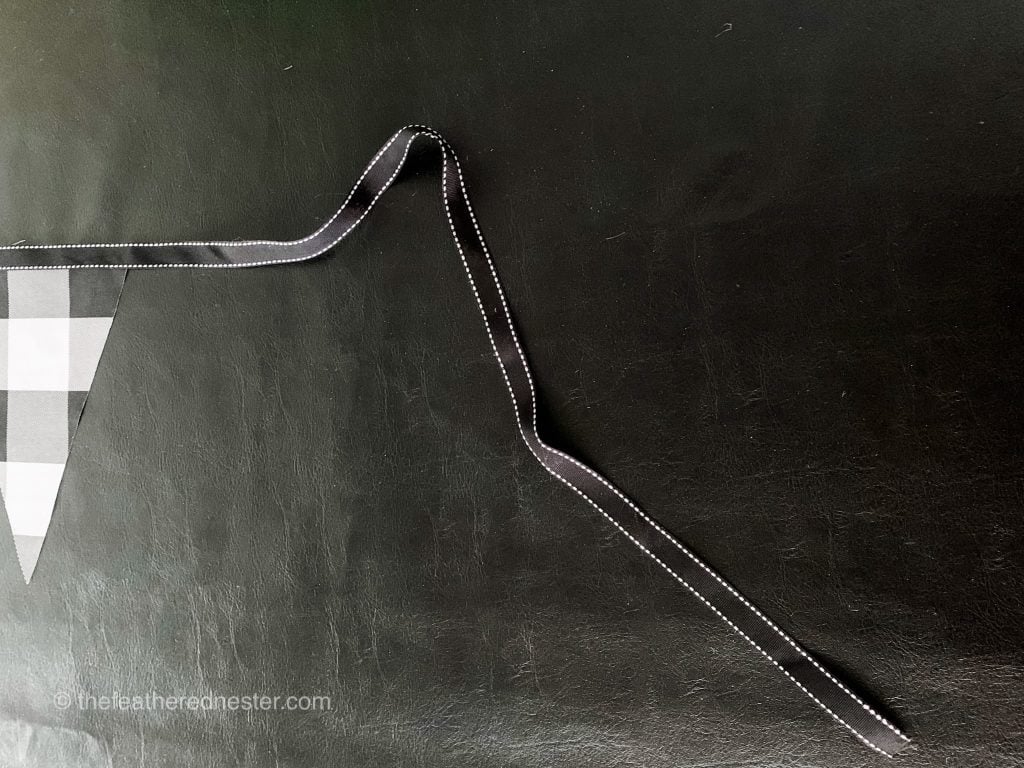
This project is perfect for helping use up any piece of fabric scraps you might have. But you can also purchase new one.
I bought a yard of fabric, and it’s enough to make about 10 of them! But I don’t mind having the excess because I love this buffalo check.
A 15″ by 3″ length should work for most projects.
Step #2: Preparing the Fabric to Make Garland
Once you have your fabric selected and measured, it’s time to prep it.
I recommend ironing the garland fabric first. Use some fabric sizing spray on your fabric for a smooth, seamless look.

To make your fabric more durable, use freezer paper under the fabric. Before ironing, place the freezer paper’s shiny side up against the fabric’s back. Iron it on, then peel the paper off.
Not only will it give the fabric a stiffer, smoother look, but it will also helps prevent fraying.
Step #3: Cutting the Pennants for your Scrap Fabric Garland
Next, create a template for your fabric pennants. You can buy templates, but I decided to make mine from some thin cardboard.
It measures 7″ wide x 15″ long. Although I used the cutting board shown below, you don’t need one. The pointed tip should be at the mid-point of the width. Use a ruler to help guide your markings, then cut.

Lay the template over your fabric, print side down. Align the tops of the fabric and template. Trace the template onto your fabric with a fabric (or regular) pencil.
Due to the nature of how the triangles align, there is only minimal leftover fabric material.
Use very sharp scissors for cutting the fabric. Or use a rotary cutter if you have one. If you use older or dull scissors, they won’t cut your fabric smoothly. Following your tracing lines, cut the pennants.
Cut some or all of them with pinking shears to add a little flair to your fabric pennants. The lines they create are zig zag and add an element of fun.
Step #4: Putting it All Together
As my fabric pennant garland would be underneath the wooden pumpkin one, I wanted the fabric pennants to lay between each pumpkin.

If that’s your intent, too, then align each pennant on the ribbon and pin it as a guide.

If you are a seamstress and have a sewing machine at the ready, then the best method for attaching the pennants to the ribbon is sewing them.
Otherwise, use a hot or low temp glue gun. This is the no-sew method I used to make this easy pennant garland. It is fast and effective and holds well for a decorative craft.
I bought a new low-temp glue gun for this scrap fabric garland project! Trust me, it’s well worth the investment.
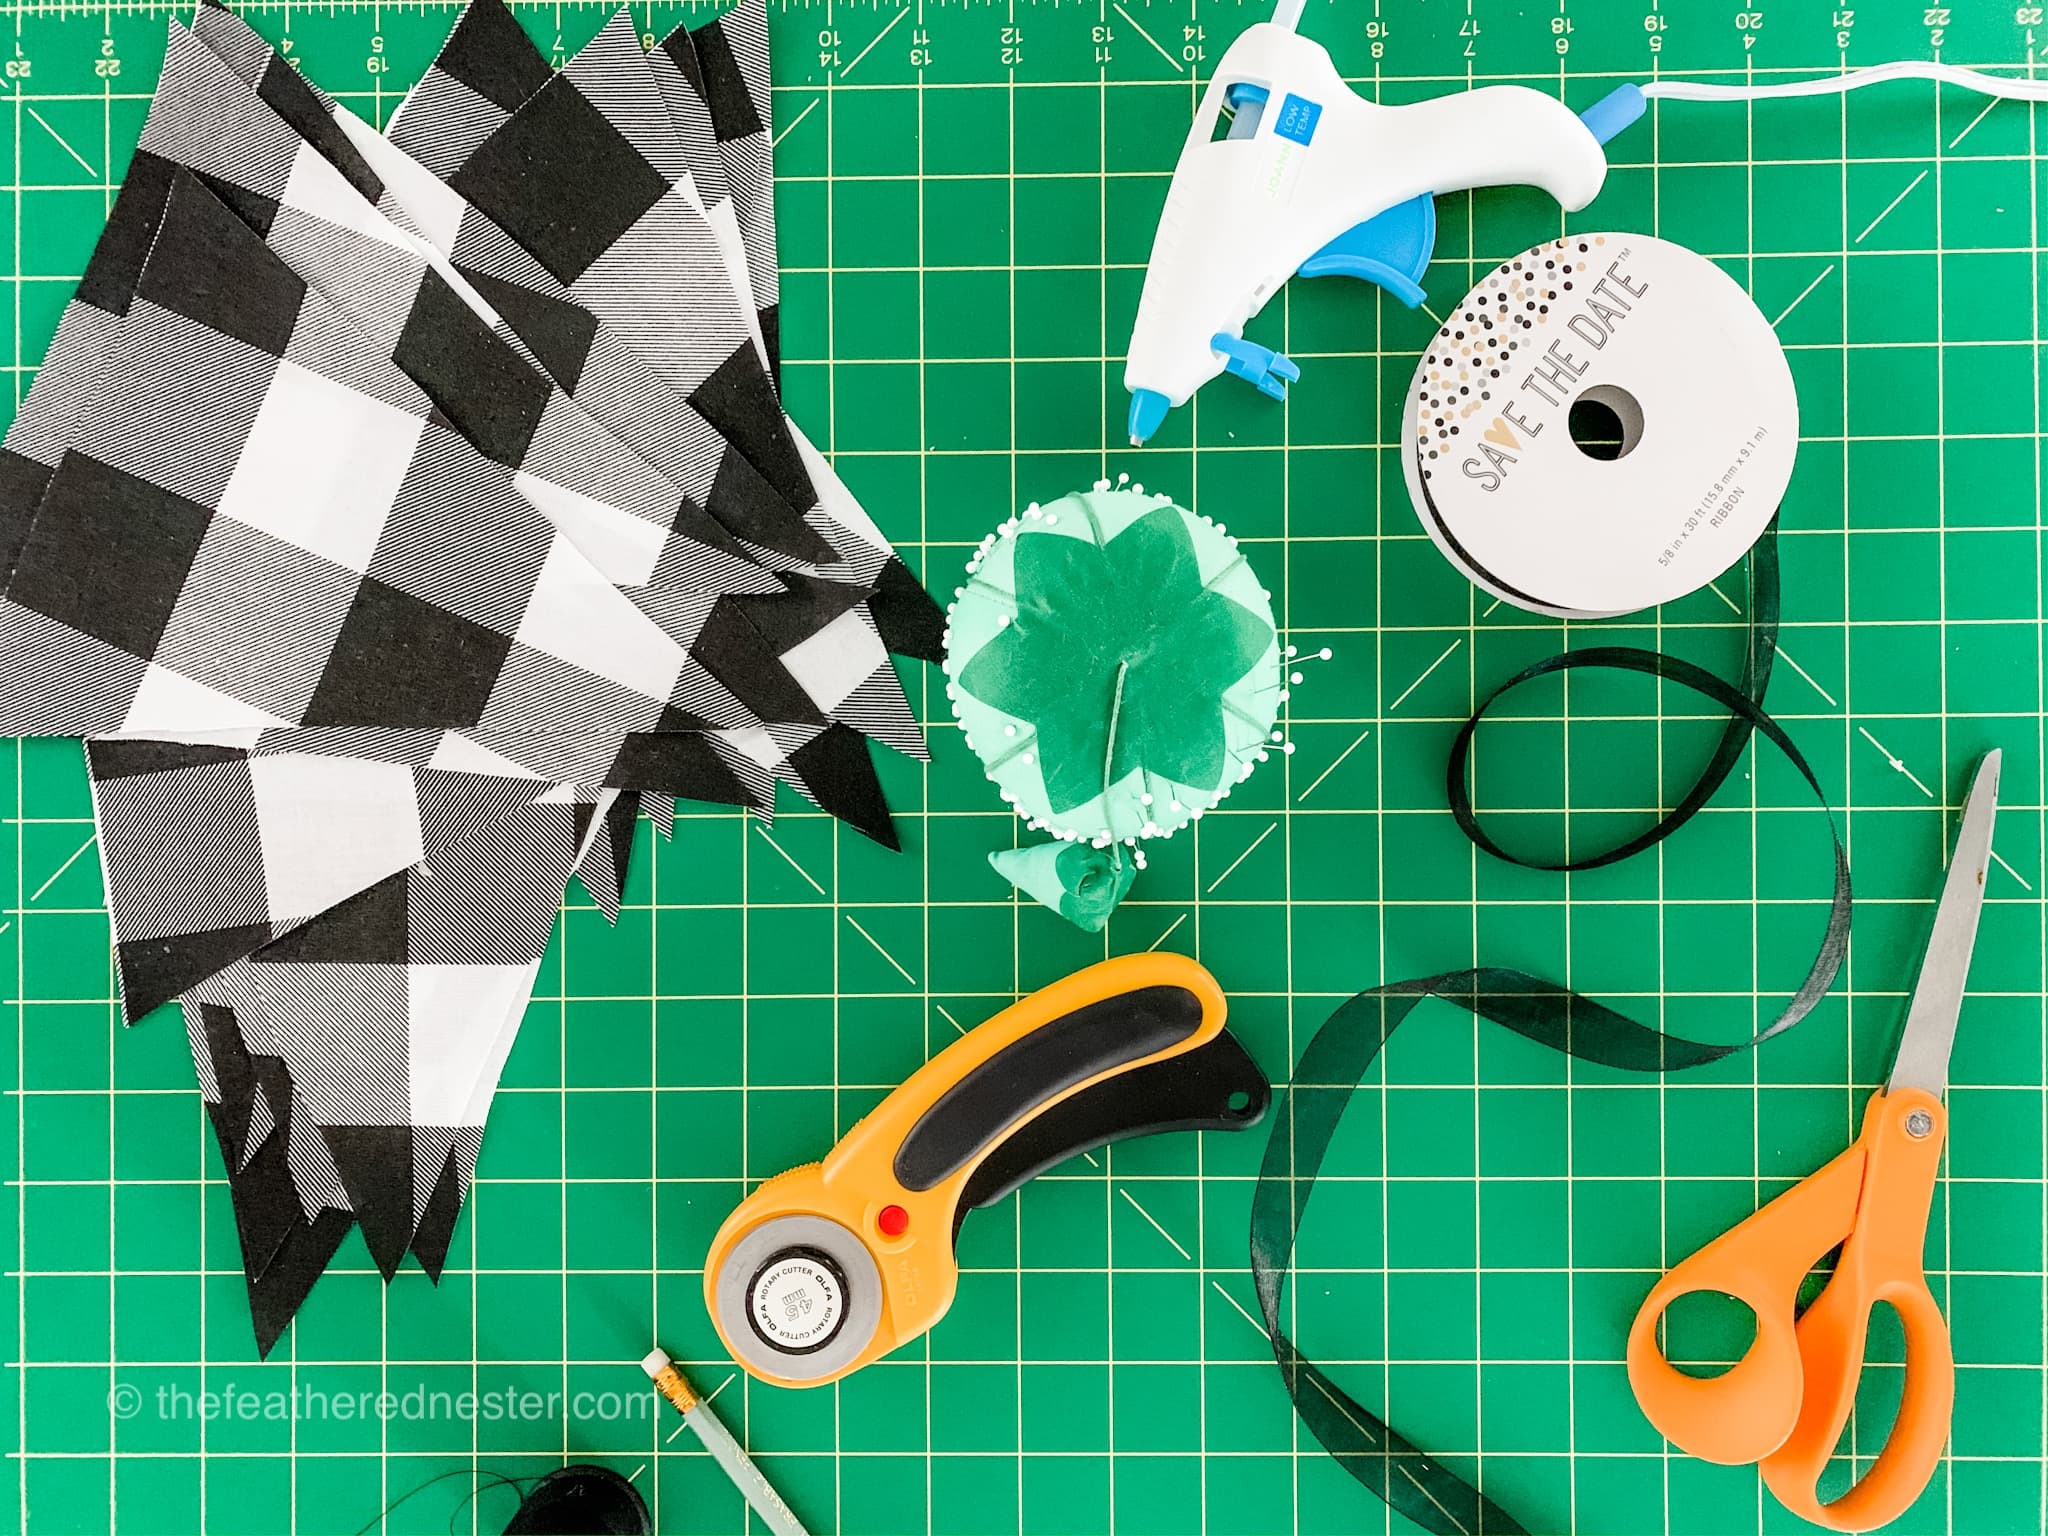
Lay your fabric pennants print side down. My squared cutting mat was really useful during this step. It gave me a protective surface to glue on. And the ruler was a guide for laying out my fabric pieces.
Remember to leave 12″-15″ of ribbon free on the sides.
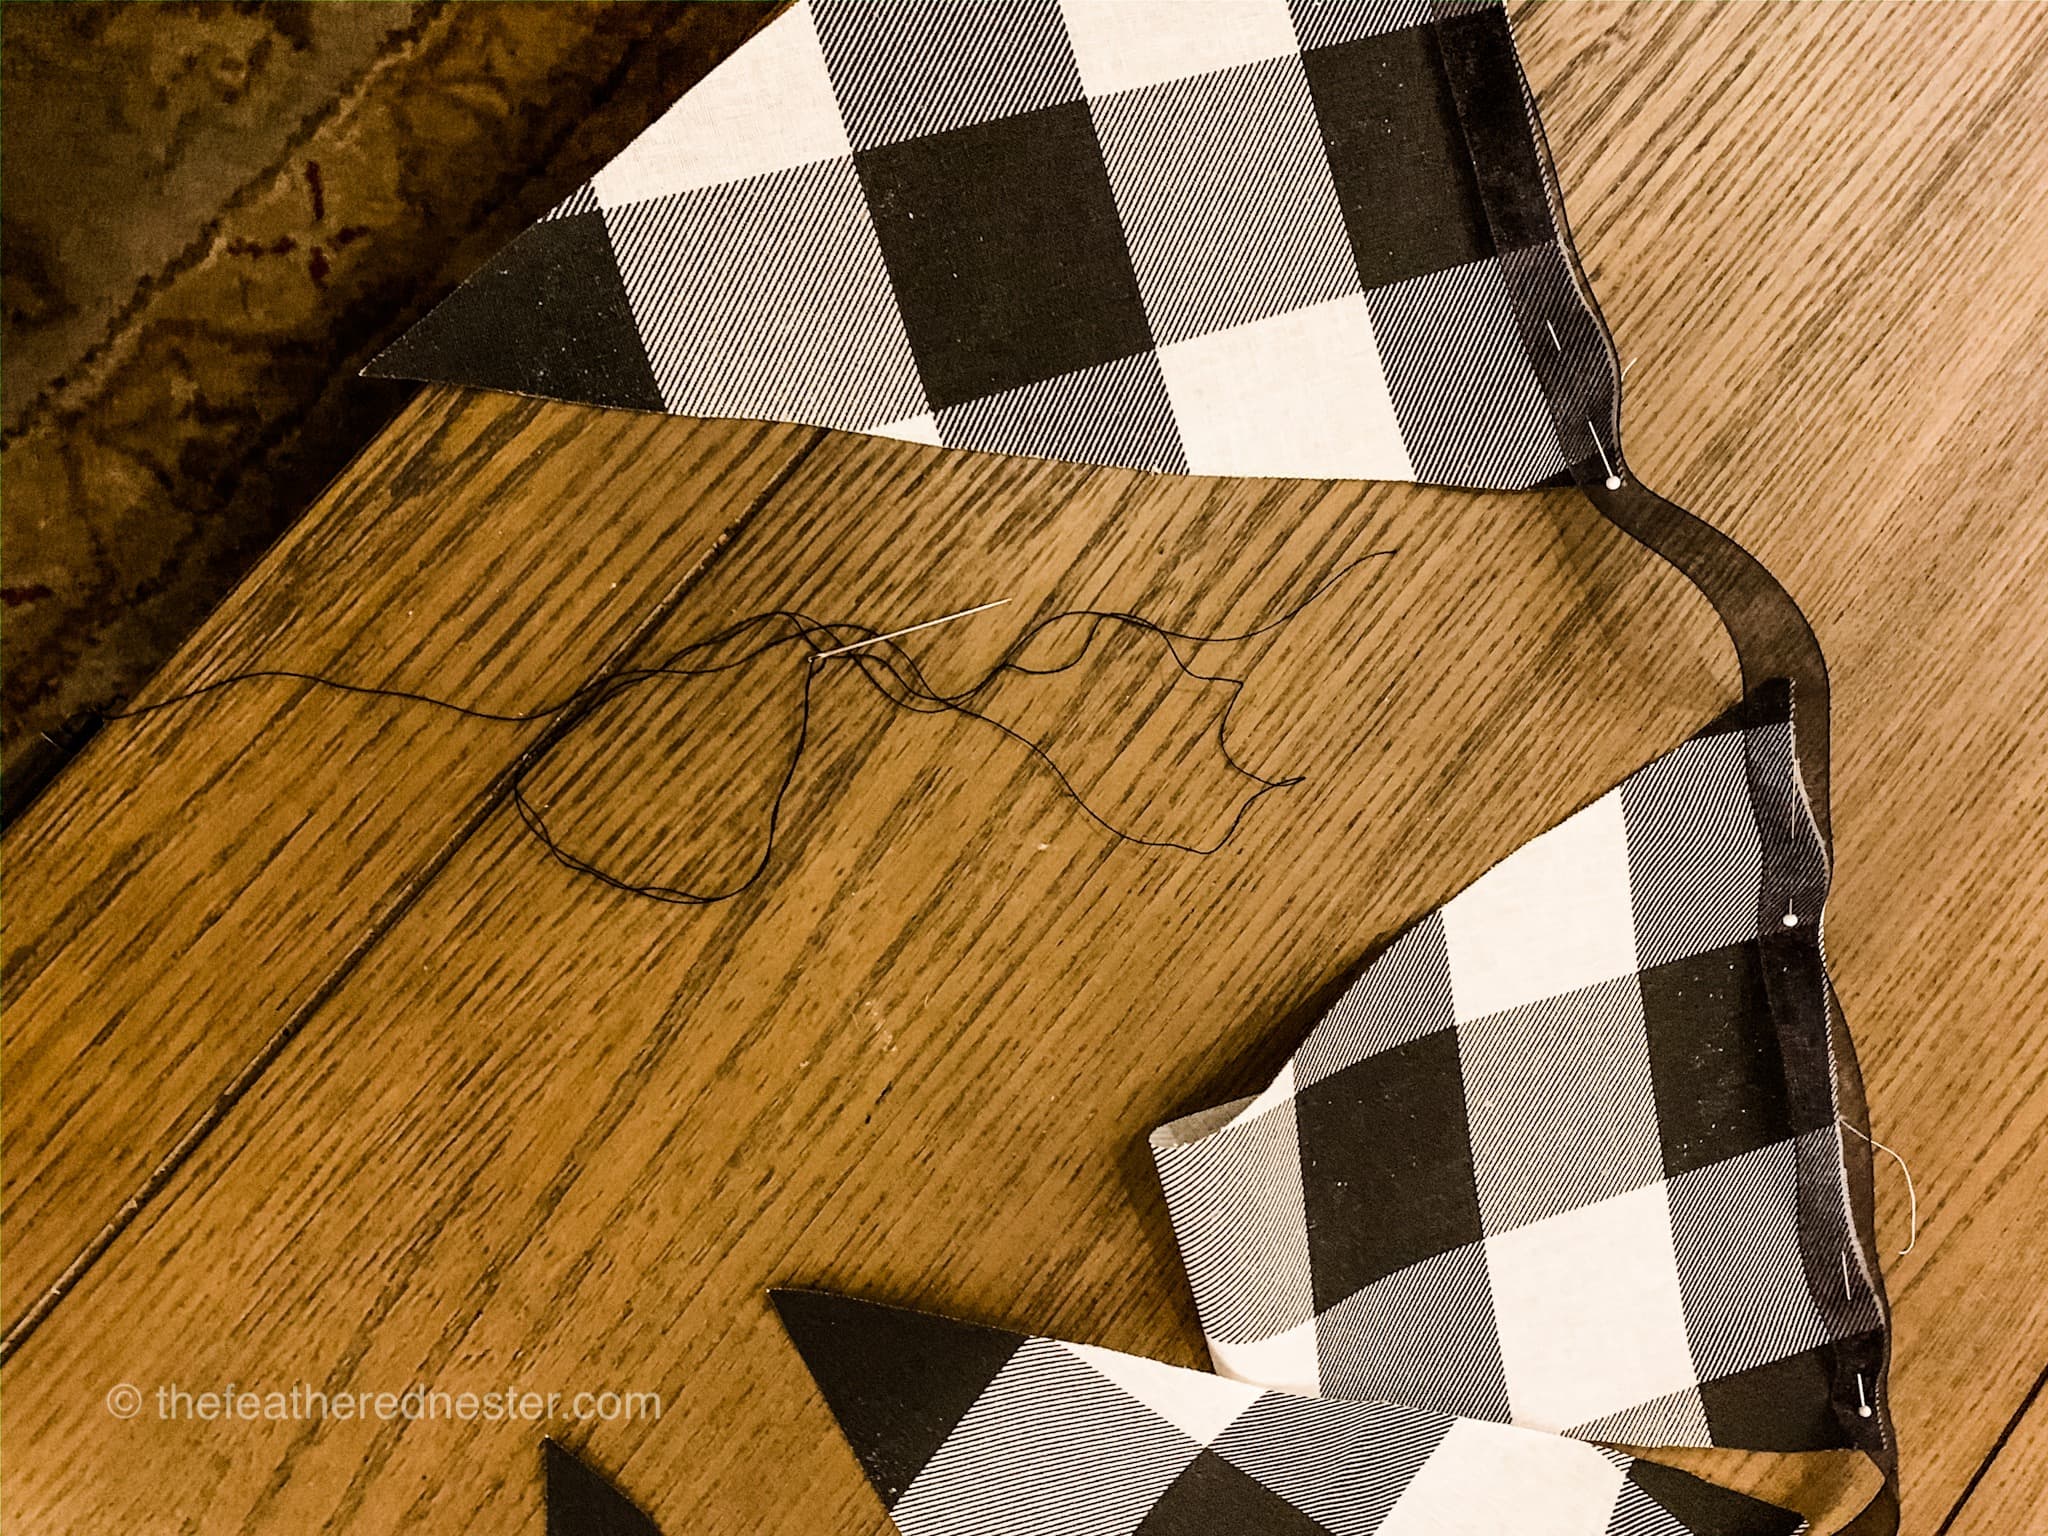
If you’re sewing, then pin the fabric pieces to the ribbon. Since my garland was lying under another one, my pennants were already pinned to the ribbon (as mentioned above).
I’d definitely recommend pinning if you don’t have a ruled surface, like quilting or cutting mat, to work on.
I let the gun heat up, applied a thin layer of glue at the top of the fabric, and then carefully placed the ribbon over it. I used my finger to smooth out the ribbon.
If you use a hot glue gun, wait a minute or two for the glue to cool. With the low-temp glue, I could smooth it right after gluing.

Let the fabric scrap banner rest on a flat surface for several minutes to let the glue set.
Step #5: Applying the Finishing Touches to Your Fabric Garland
Add some fancy and fun trim to the edges of your fabric pennants for a more polished decorative look. Sewing notions like rip rac trim, lace, fringe, or braided trim can easily be added for whatever holiday season you are celebrating.
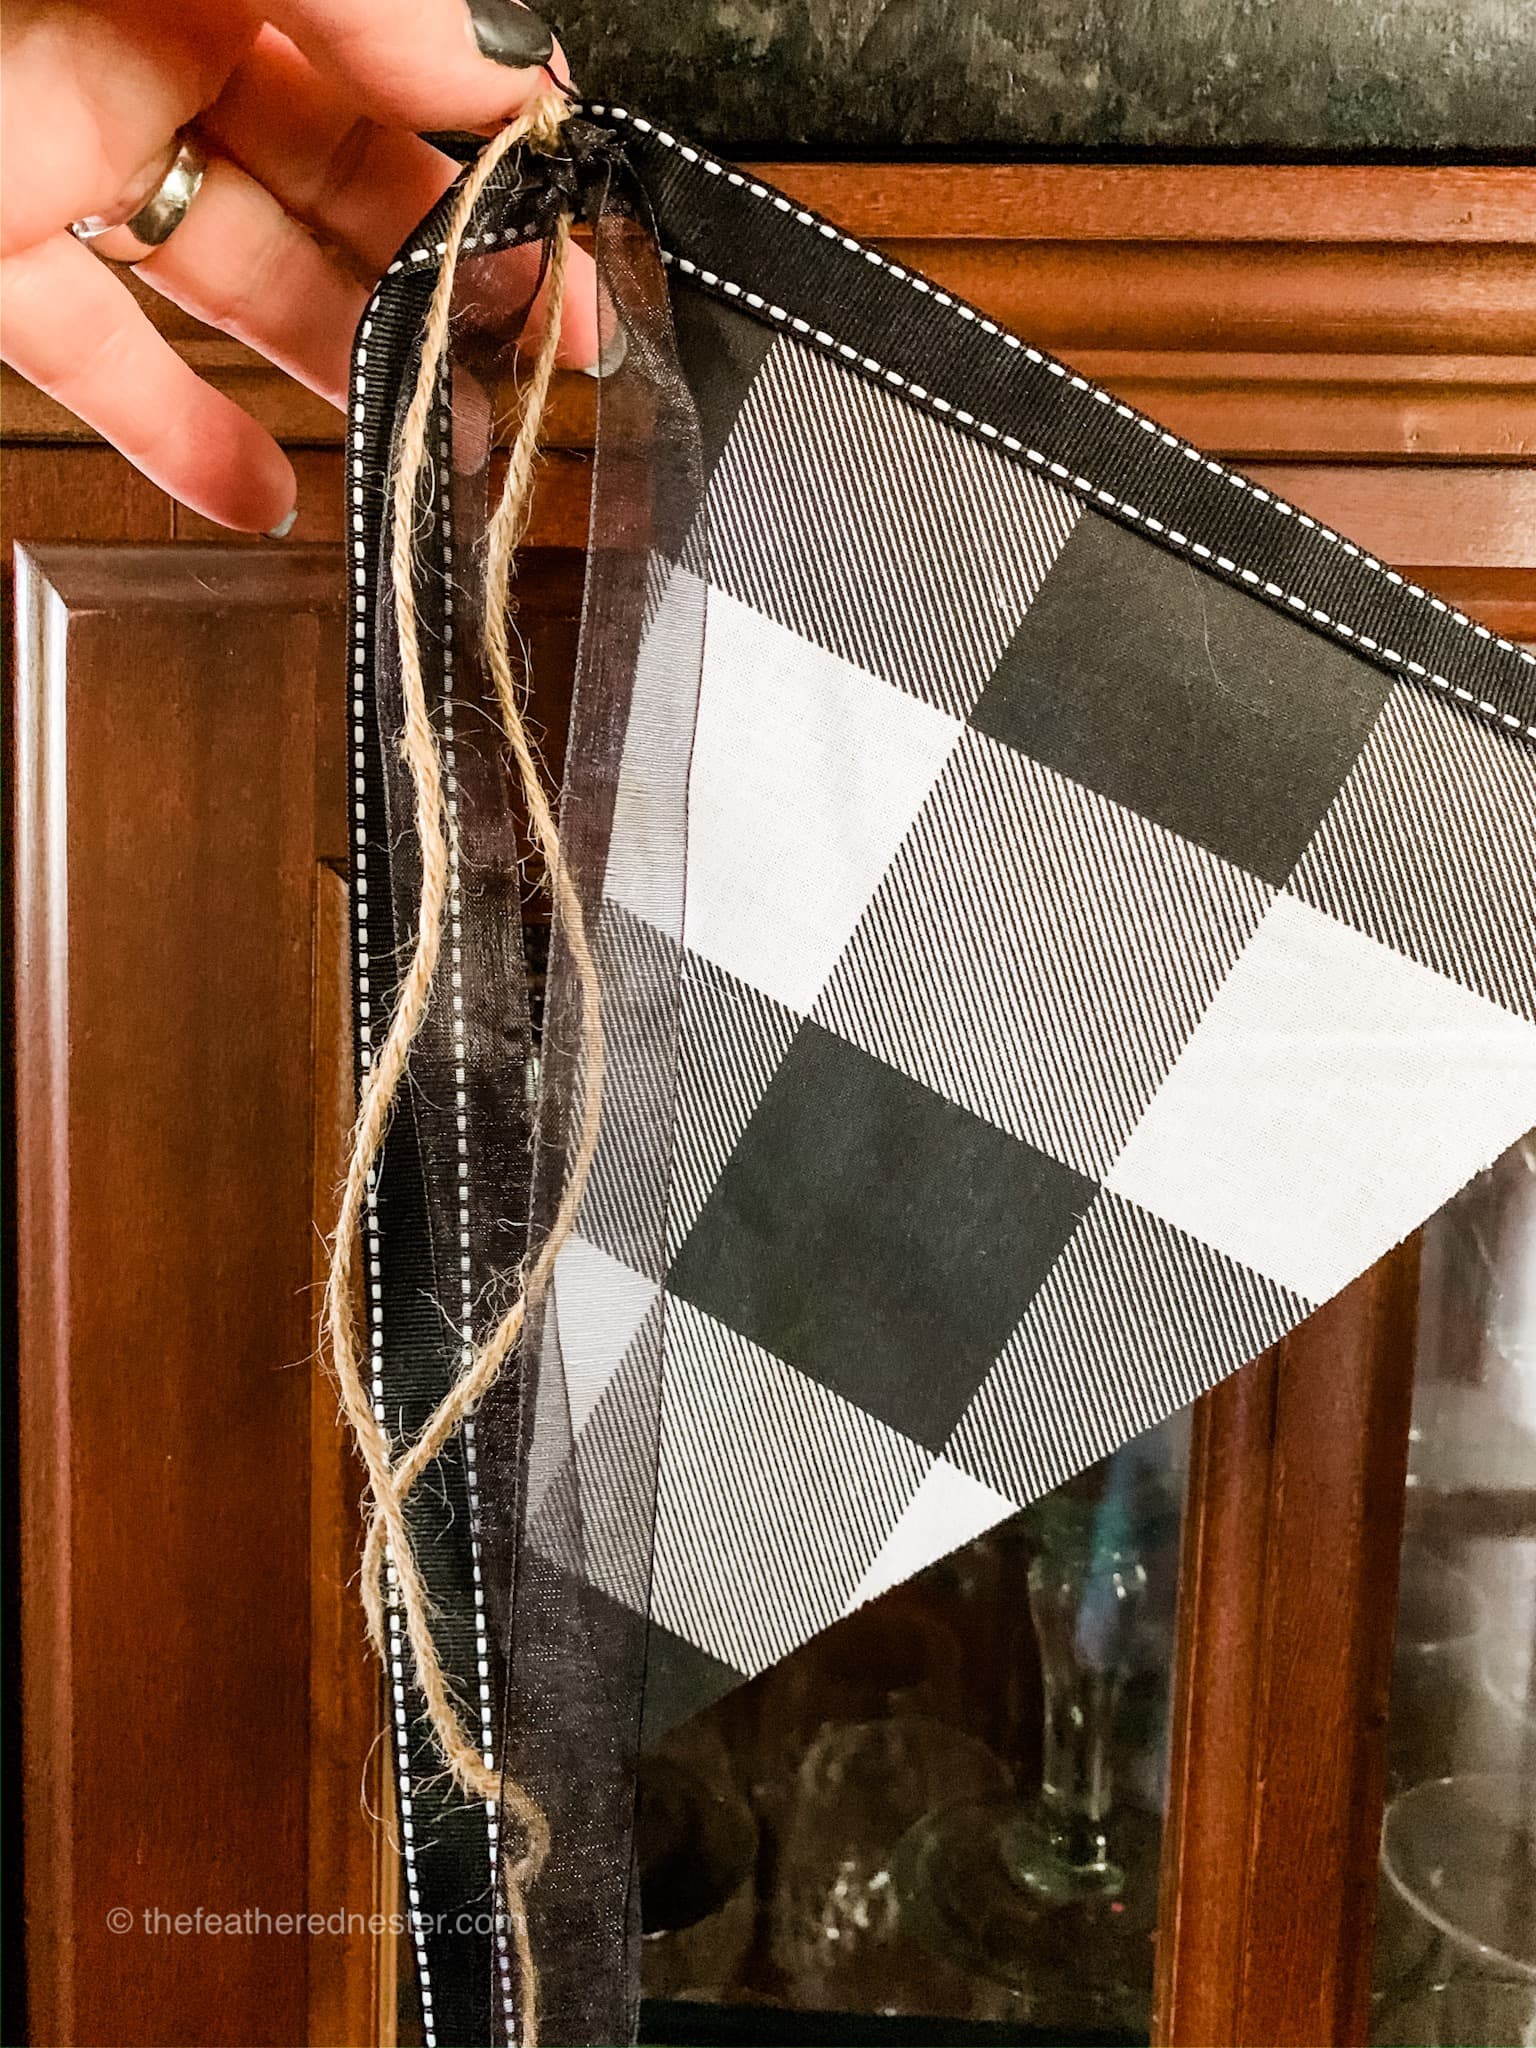
Add more ribbon streamers to the sides to give the banner a more customized look.
In mine, I added some twine and sheer ribbon for a rustic farmhouse style. But you can add fabric tassels or make pom pom out of yarns.
There are various ways to accessorize the streamers of your DIY no-sew fabric garland!

For my Valentine’s Day garland (above), I used little bells tied to the ends of the twine.
If you leave your streamers unadorned, cut the ends to add a little visual interest. Fold the end of the ribbon in half, and cut at an angle or cut on the diagonal.
You can add pom-poms, buttons, bells, or any number of decorative items to the end of the ribbons. This is a great project for changing the trimmings to match whatever holiday you celebrate.
With just a few adjustments, making this a no-sew Christmas fabric garland, Thanksgiving pennant garland, and more is easy!
Hanging Your No-Sew Fabric Pennant Garland
Use bulb pins or small rings to hang the garland. You can find them in your local crafts store’s knitting or embroidery supplies.
I tied the ribbon streamers to the bulb pin and then pinned it through the ribbon. Then hang.
And you’re finished!
This fabric garland is such an easy and fun craft project to make. You can also make one with other design like Christmas tree pattern for Christmas or make some for the cake table on birthdays or graduation parties. Let your kids help you make it! It’s a fun way to make them busy plus you can make this as a decoration for your child’s room, nurseries, or playroom.

What a gorgeous decor addition this garland is to my cabinet!
Looking for more decor and style? Check out these fun and inspiring blog posts:
- Lessons on Decor, Inspiration, and Style
- Fall Recipes Roundup & Home Styling Decor Share
- Our Home – Before Remodeling
- Modern Homemaking Top 5 Tips
- Dining Room Decor – New Rug?
For more stylish living inspiration, follow me on Instagram and Facebook!
Leave a Reply