

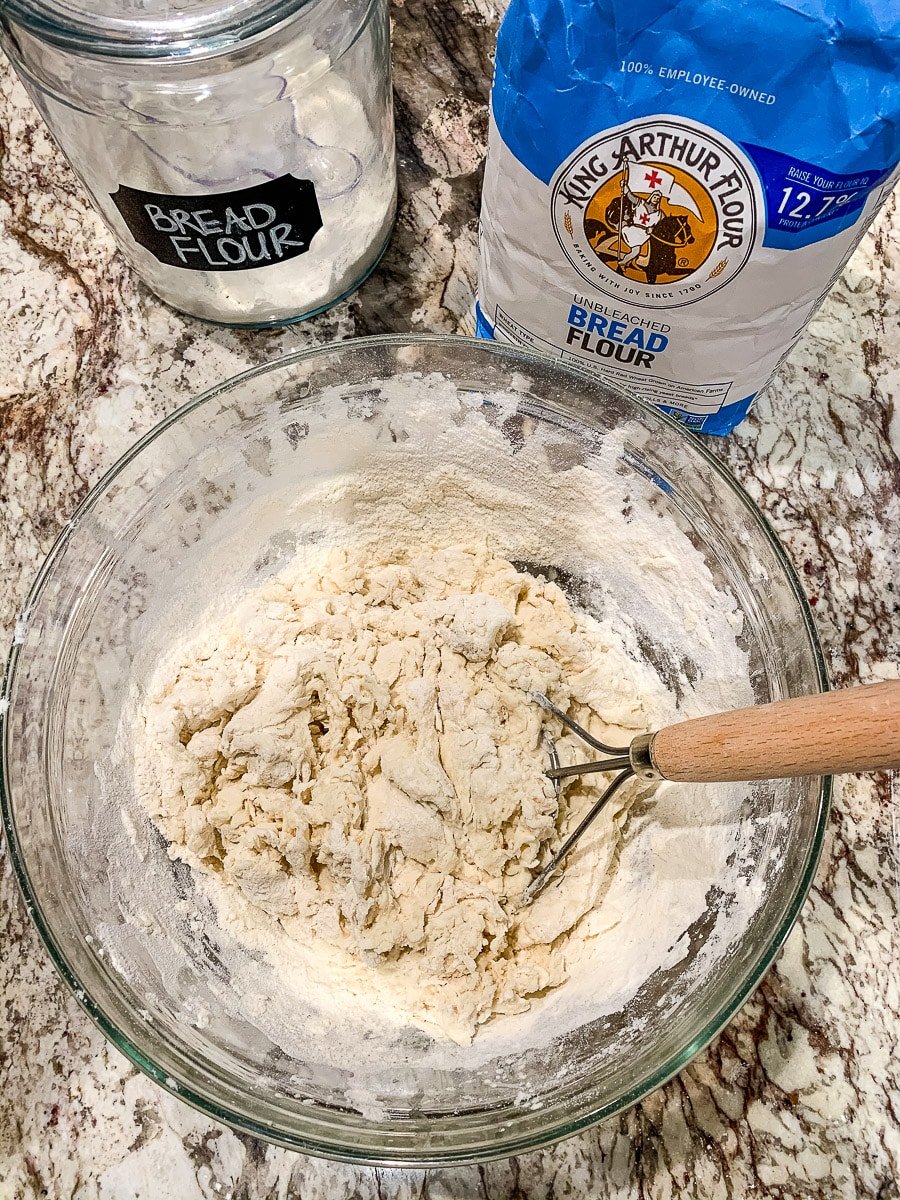
Sourdough proofing is the magical process that transforms a shaggy dough into a light, airy loaf. It’s where the flavor, structure, and texture truly develop—so mastering it is key to bakery-worthy bread at home. If you’re new to baking, understanding bulk fermentation sourdough techniques is key to achieving an airy, well-structured loaf.
Determining the correct sourdough proofing times is essential for optimal results. Factors like dough temperature, room temperature, and the strength of your sourdough starter all play a role. Whether you opt for a slow proofing sourdough in the fridge or a quicker proof time at room temperature, understanding these variables is essential to achieving the desired textures and crumb. With a little bit of patience, you can make delicious breads, like overnight sourdough bread and sourdough French bread recipes.
The process of proofing sourdough involves allowing the fermentation time to reach its peak before baking. This stage is where the gluten structure develops, creating the airy pockets and characteristic tang of sourdough. Understanding how to gauge the proof time accurately will lead to consistent and delicious results.
Content Covered Here
The Importance of Proofing Sourdough
- It builds flavor
Bulk fermentation is when wild yeast and bacteria in the starter work their magic, breaking down the flour to create that signature tangy flavor. - You get amazing textures
Long sourdough proofing times produce a better crumb and crust, giving you soft, chewy interiors with a golden, slightly crunchy exterior. - It’s flexible
Once you understand timing, proofing sourdough in the fridge lets you bake on your own schedule with little hands-on time.
Mastering Bulk Fermentation Sourdough
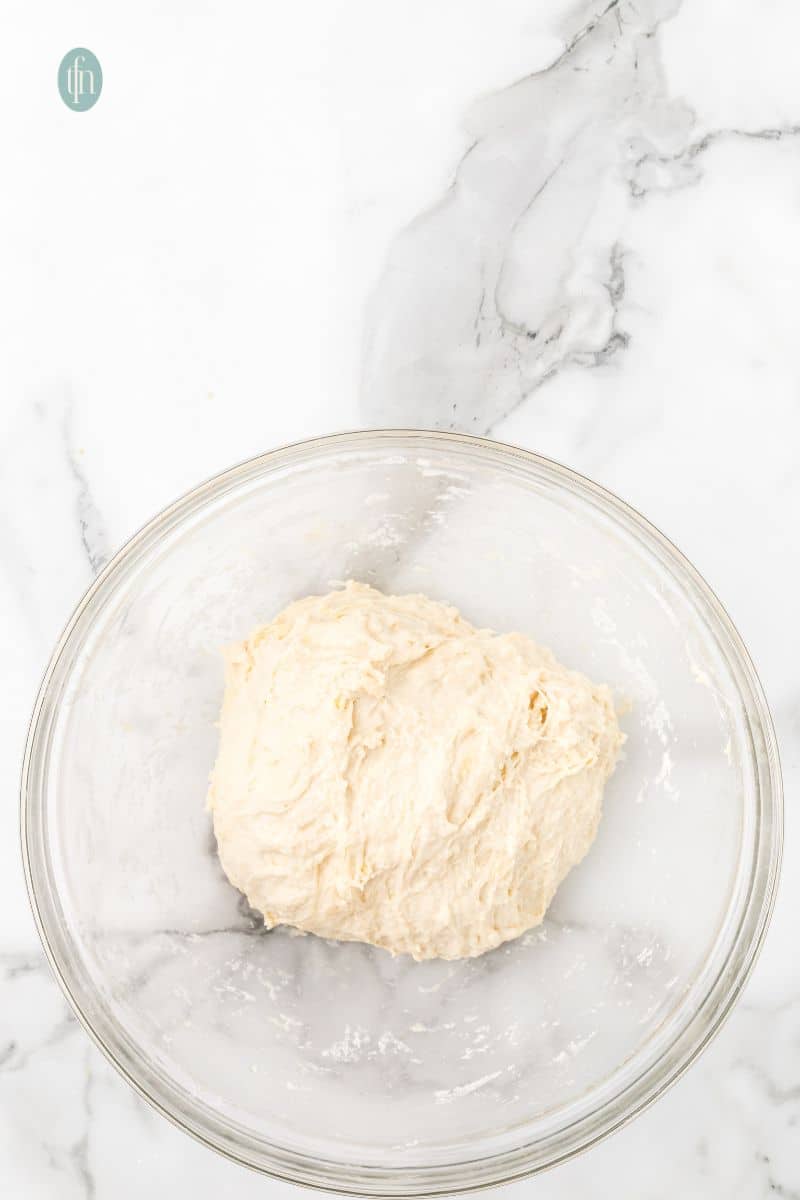
Bulk fermentation is the heart of sourdough bread making. It’s the phase after mixing when your dough begins to transform—developing gluten, flavor, and strength. During this rise, the wild yeast and beneficial bacteria in your sourdough starter feed on the flour, releasing gases that aerate the dough and create those beautiful bubbles you look for in a perfect crumb.
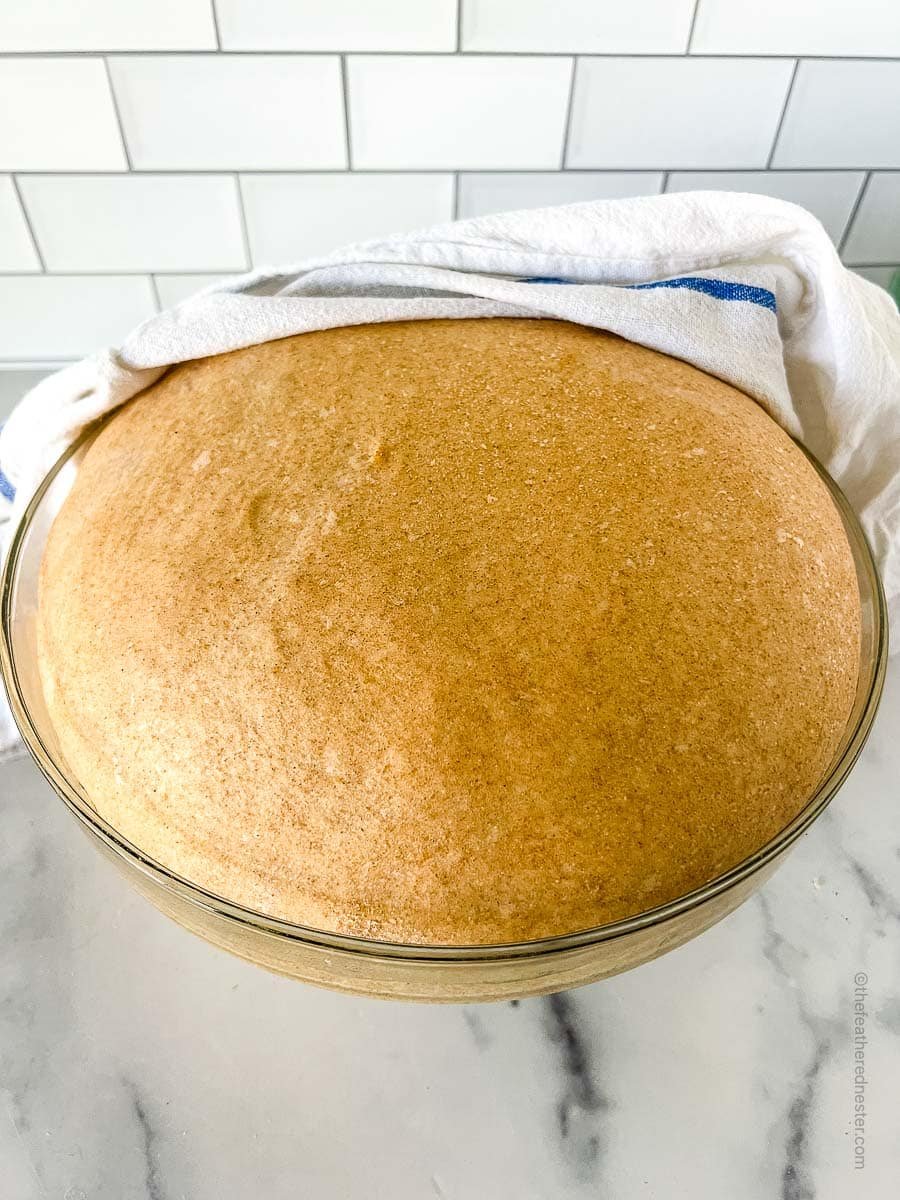
The bulk fermentation sourdough process isn’t just about time—it’s about watching your dough come to life. The key is to monitor the dough, not the clock, and use visual cues like increased volume, puffiness, and light bubbling to know when it’s ready for shaping.
🎯 TFN Pro Tip
Use a digital thermometer to monitor your dough temperature during bulk fermentation sourdough for consistent results. A cooler environment will slow down the process, and a warm environment will speed it up.

Understanding Sourdough Proofing Times
Sourdough proofing times can vary depending on the temperature of your kitchen, the strength of your sourdough starter, and the type of bread you’re baking. Generally, there are two main proofing stages: bulk fermentation and final proofing—and each has its own time range and purpose.
- Bulk fermentation time isn’t one-size-fits-all. At room temperature (around 75°F), it generally takes 6 to 8 hours, but in a warm kitchen, your dough might be ready in as little as 4 hours. In colder weather it can take as long as 12 hours. Adjust bulk fermentation time based on ambient conditions, and always watch your dough more than the clock.
- Final proofing is generally the period after shaping and before baking. Final proofing times can range from 1 to 2 hours at room temperature or 8 to 24 hours in the fridge (cold proofing). Room temperature proofing is great when you plan to bake the same day, while a longer, cold proof builds deeper flavor and enhances crust and oven-spring.
It’s important to remember that timing for sourdough proofing is flexible. Dough that rises faster in a warm kitchen may need less time, while a cooler environment will slow fermentation. For best results, learn to observe your dough’s bubbles, smooth feel, and volume changes (at least 50% increase)—not just the clock.
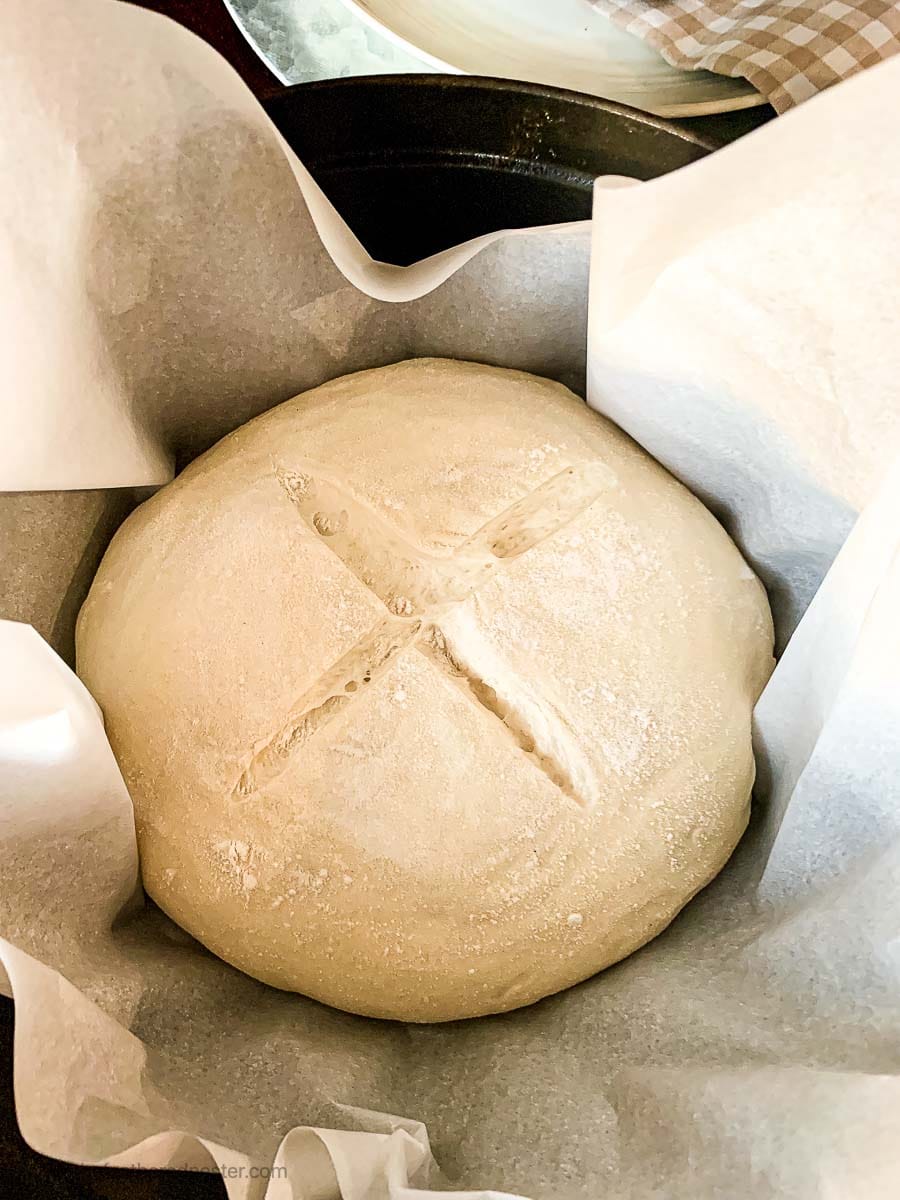
Final Shaping Before the Last Rise
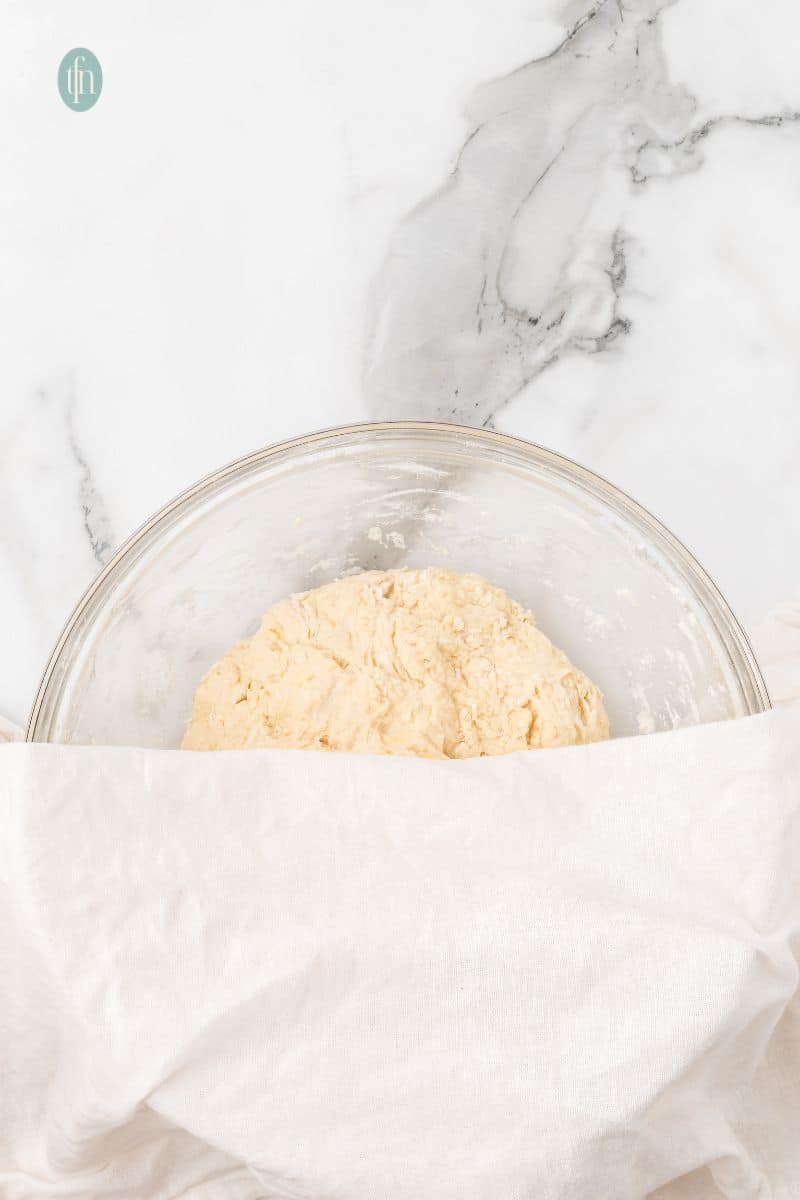
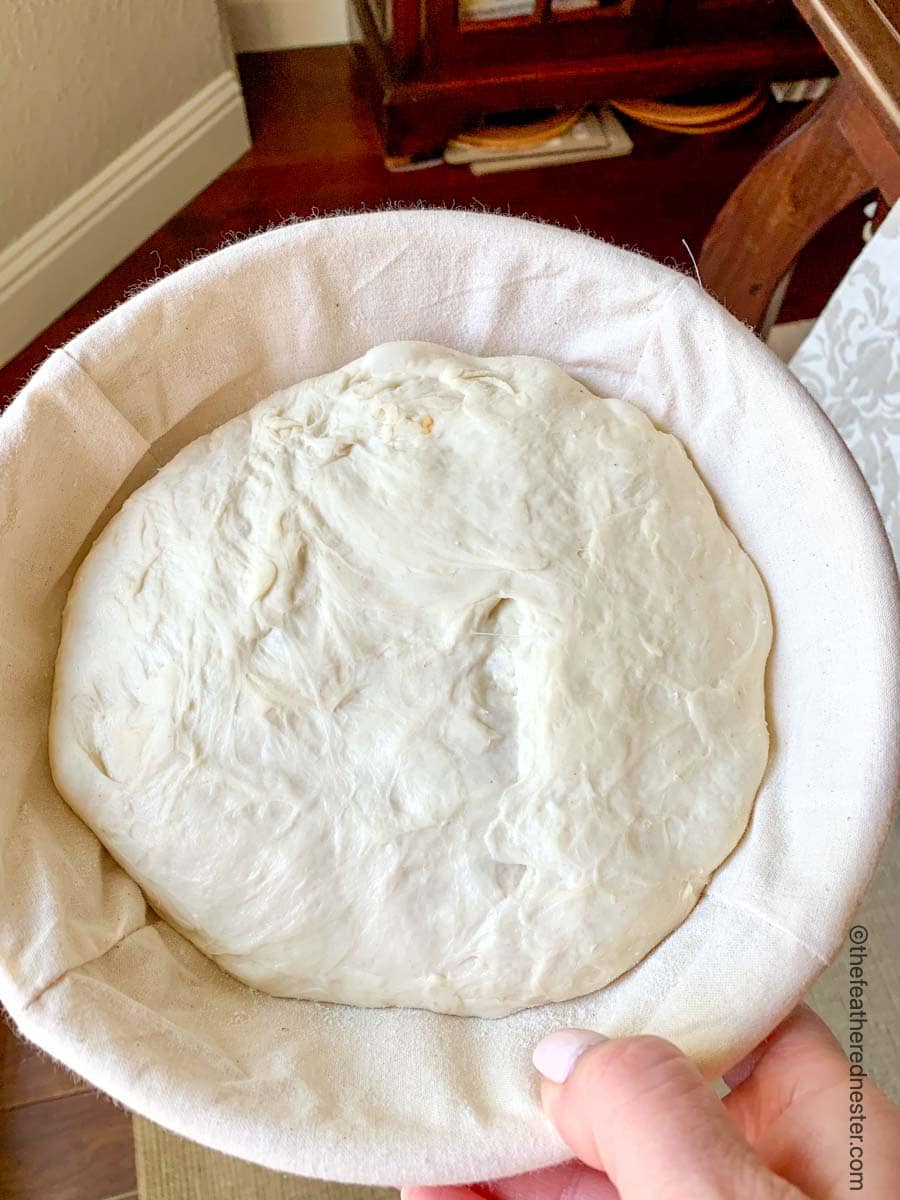
After bulk fermentation, final shaping is crucial to creating the structure your dough needs for oven spring. Whether you’re making boules, sandwich bread, or even baguettes, shaping helps align the gluten and builds surface tension to trap the gases from ongoing yeast activity. Once shaped, transfer the dough to a proofing bread dough vessel like a banneton, pan, or lined bowl for the final rise.
If you’re having trouble with your sourdough starter or discard and suspect it’s impacting your bread, check out how to fix common sourdough starter issues. We have some helpful tips to get you back on track.
Best Way to Final Proof Sourdough Bread
There are a few ways to do your final proof sourdough bread, and choosing the best one depends on your schedule and baking goals.
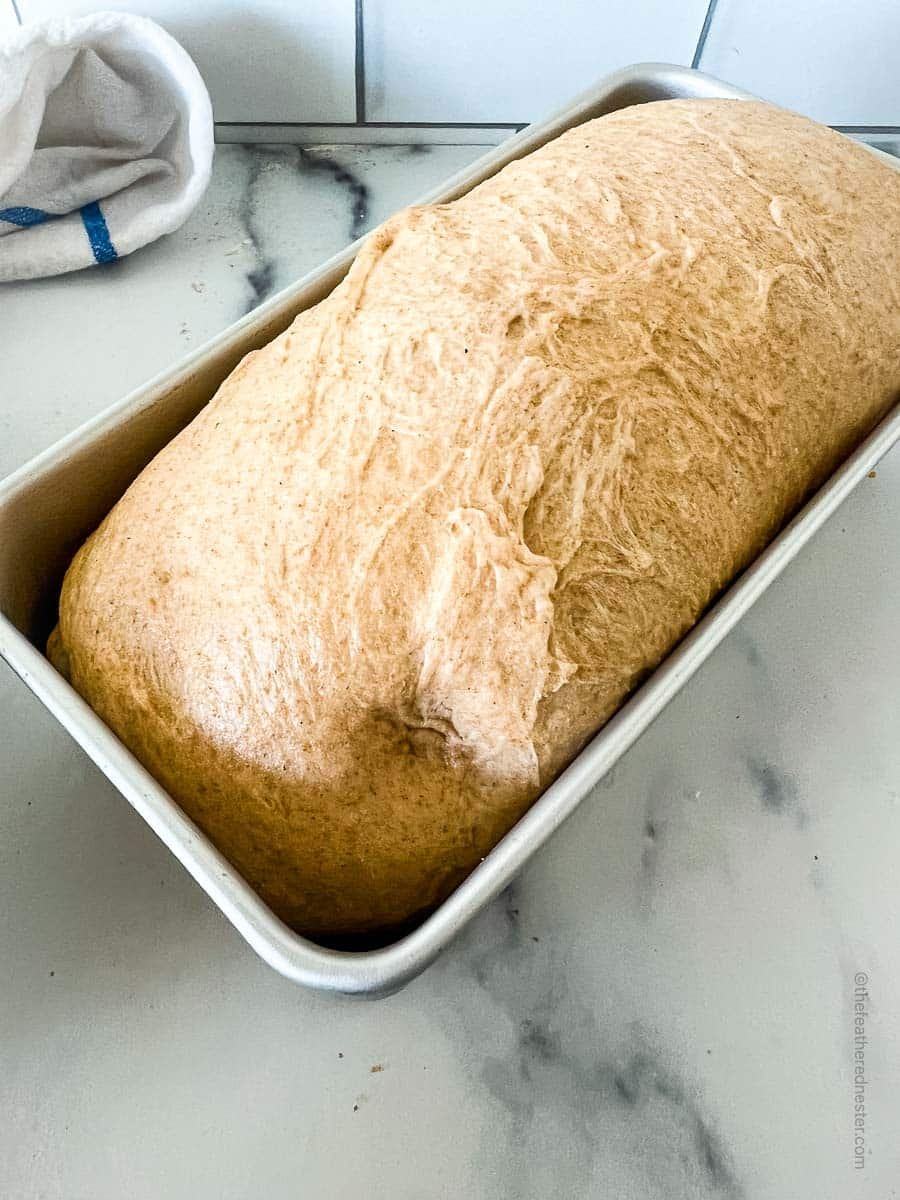
- Room temperature final proof (typically 1–2 hours in a warm environment) is ideal if you’re planning to bake the same day. This method allows the dough to finish rising at a steady pace, encouraging consistent yeast activity and a soft, even crumb. It’s especially great for a classic sandwich loaf baked in a pan, where structure and tenderness are key.
- For deeper flavor and crispier crusts, cold fermentation is a go-to technique. Also called proofing sourdough in the fridge, this method involves placing your shaped dough into a proofing basket or loaf pan, covering it, and refrigerating it for 8–24 hours. This slows fermentation, allowing the dough to develop a rich, tangy flavor and build strong gluten. It also helps retain the dough’s shape and encourages beautiful oven spring when baked.
- If your kitchen is cooler than 70°F, you may want to create a warm proofing environment to maintain proper dough temperature and ensure an effective final rise. Use a proofing box, or place the dough inside a turned-off home oven with the light on or a bowl of warm water underneath. If trying the light on method be sure to test this out with a thermometer to ensure it doesn’t get too hot.
Remember, the goal is to balance proof time with your dough’s readiness. Most of our recipes use proofing on the counter or at room temperature, like our easy sourdough garlic bread, sourdough dinner rolls, and whole wheat sourdough bread.
Difference Between Proofing and Rising
- Rising (bulk fermentation) occurs after mixing, when the dough develops flavor and gluten strength through fermentation.
- Proofing (also called final proof) happens after shaping the dough into a boule or sandwich loaf and is the last rise before baking.
Both steps are critical! An underproofed loaf will be dense, and overproofed dough can collapse in the oven. Timing and temperature are everything.
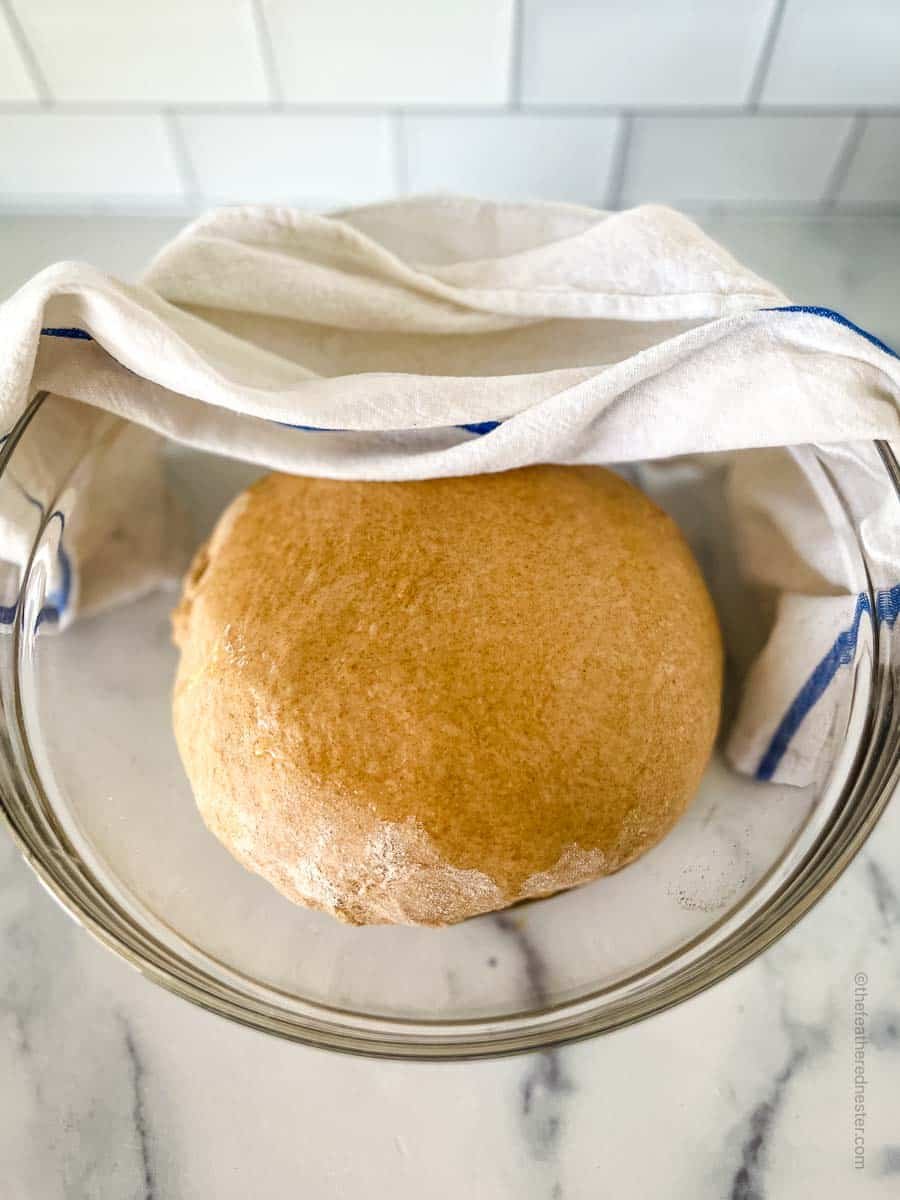
🎯 TFN Pro Tip
Use a clear bowl for bulk fermentation so you can see the bubbles forming at the bottom and sides of the dough. It’s a visual cue that your fermentation time is on track!
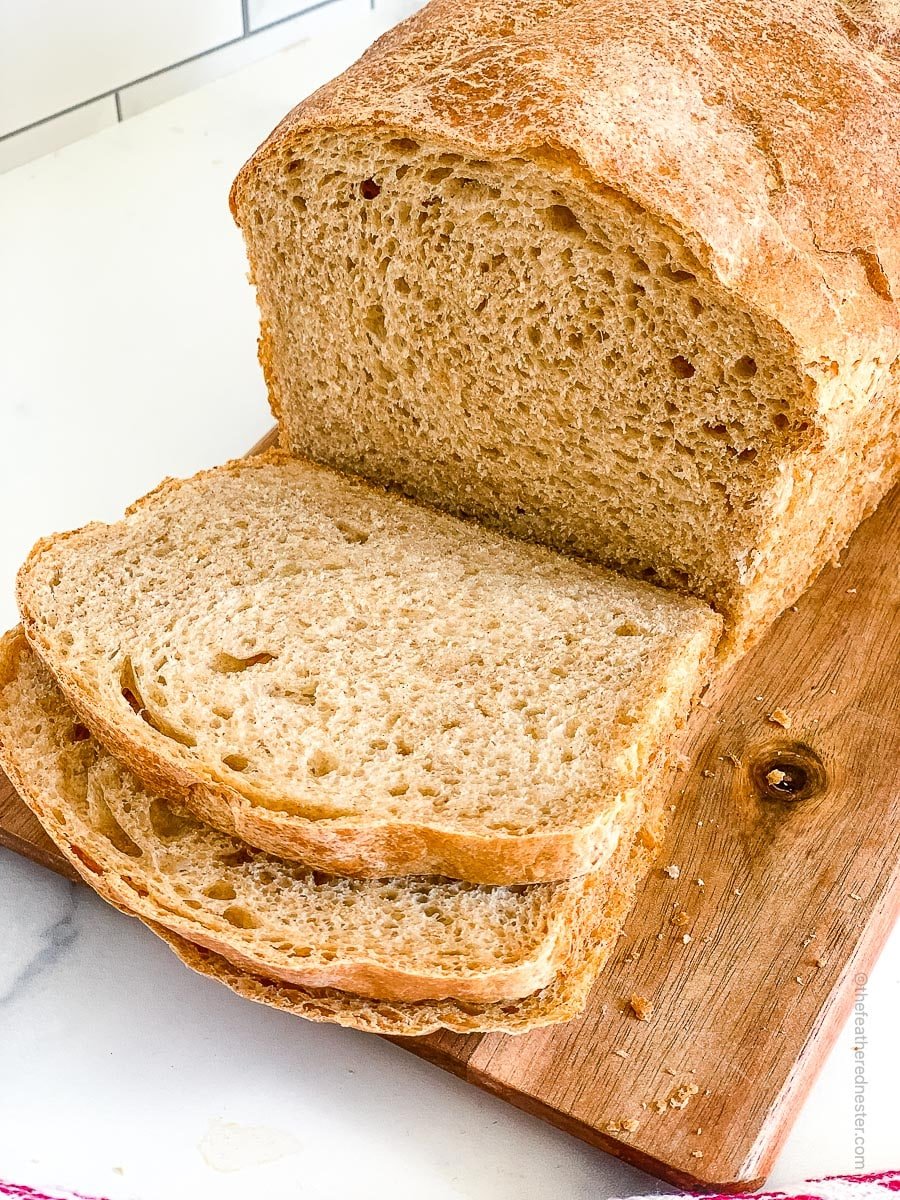
How Can You Tell if Your Sourdough is Properly Proofed?
Knowing when your sourdough is perfectly proofed is crucial for achieving the ideal texture and crumb. Let’s explore the telltale signs of a well-proofed dough.
- The poke test: Gently poke test the dough. A slight indentation that slowly springs back indicates readiness.
- Visual cues: Look for bubbles on the surface and a significant increase in volume.
- Texture and feel: The dough should feel soft, light and airy, not dense, flat or sticky.
An underproofed loaf will have a dense crumb and an overproofed loaf will likely not rise. You’ll develop a feel for this with practice!
If you want to practice sourdough making, try our beginner-friendly recipes: Sourdough Cinnamon Bread, Sourdough Focaccia Recipe, and Chocolate Sourdough Bread
Frequently Asked Questions
Yes! Cold fermentation adds depth of flavor to your final loaf and makes baking more convenient.
Overproofing can lead to a flat loaf. Watch for large bubbles and a very soft dough—signs that it’s gone too far.
Only slightly—if your kitchen is warm or your dough is very active, it may be ready sooner.
Use a proofing basket or bowl, cover with a lid or towel, and store in the refrigerator if doing an overnight proof.
It could be due to a weak starter, cold dough temperature, or underfermentation. Let it rest longer in a warm spot.
If you tried our tips on sourdough proofing or any other recipe on my website, please leave a 🌟 star rating and let me know how it went in the 📝 comments below. Follow us on Facebook, Pinterest, or Instagram for more. Thanks for visiting!
Rosa says
Hello, I need some help.
Can you explain why my dough after 12 hours if fermentation is sticky and will not form into a ball. It just spreads out. My apartment is normally on the cold side so I put the dough to rise in my oven with the light on. Looking for tips to resolve this issue.
Disappointed in Connecticut.
Thank you.
Danielle - TFN Team Member says
Hi! Thank you for using our recipe! Two things could have happened here, did it ever start to rise? If it began to rise and then flattened back down, it was over-proofed. Either the inside of your oven got too hot (we recommend checking with a thermometer) or it spent too much time in there and began to deflate after it hit its peak. If it never started to rise at all your starter might not have been ready for creating bread. Let me know whether it started to rise at all or not and I can help you from there.
Zenaya says
This was such a helpful explanation! I couldn’t have told you the difference between proofing and bulk fermentation before this! Thanks for the great info!