

When I started my sourdough journey back in early 2019, I’ll be honest, I was completely overwhelmed. I’d see beautiful photos of sourdough starters in fancy jars with all sorts of gadgets around them, and I thought, “Do I really need all of this just to make bread?”

Here’s what I wish someone had told me then: you don’t need much to get started. But having the right sourdough tools makes everything so much easier. After spending the last seven years learning how sourdough works and developing new recipes, I’ve figured out what’s actually essential and what’s just nice to have. So, I created this guide to help you build your own sourdough starter kit with exactly what works for your budget and kitchen!
In this sourdough for beginners equipment guide, I’m going to walk you through exactly what you need to create and maintain a healthy sourdough starter, organized from absolute must-haves to those splurge items that make the process even more enjoyable. In this guide, I’ll share what I use, what I recommend, and why each tool is important.
I’ve included some affiliate links in this post for products I genuinely recommend. As an Amazon Associate, if you buy something through these links, I get a small commission at no extra cost to you!
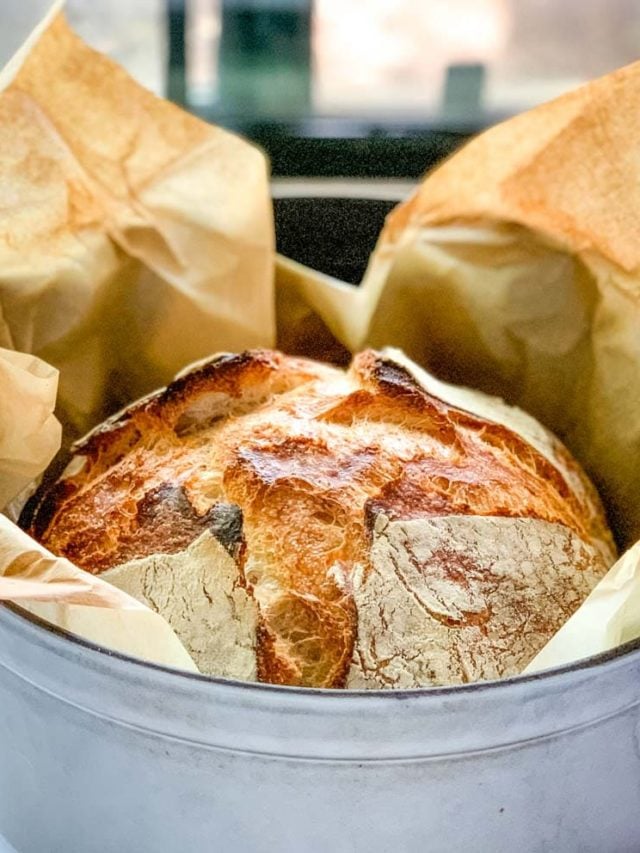
Content Covered Here
The Absolute Essentials: What You Need to Get Started
These five things are what you really need to create a thriving sourdough starter. Everything else is optional and we will go over it later on!
1. A Glass Jar
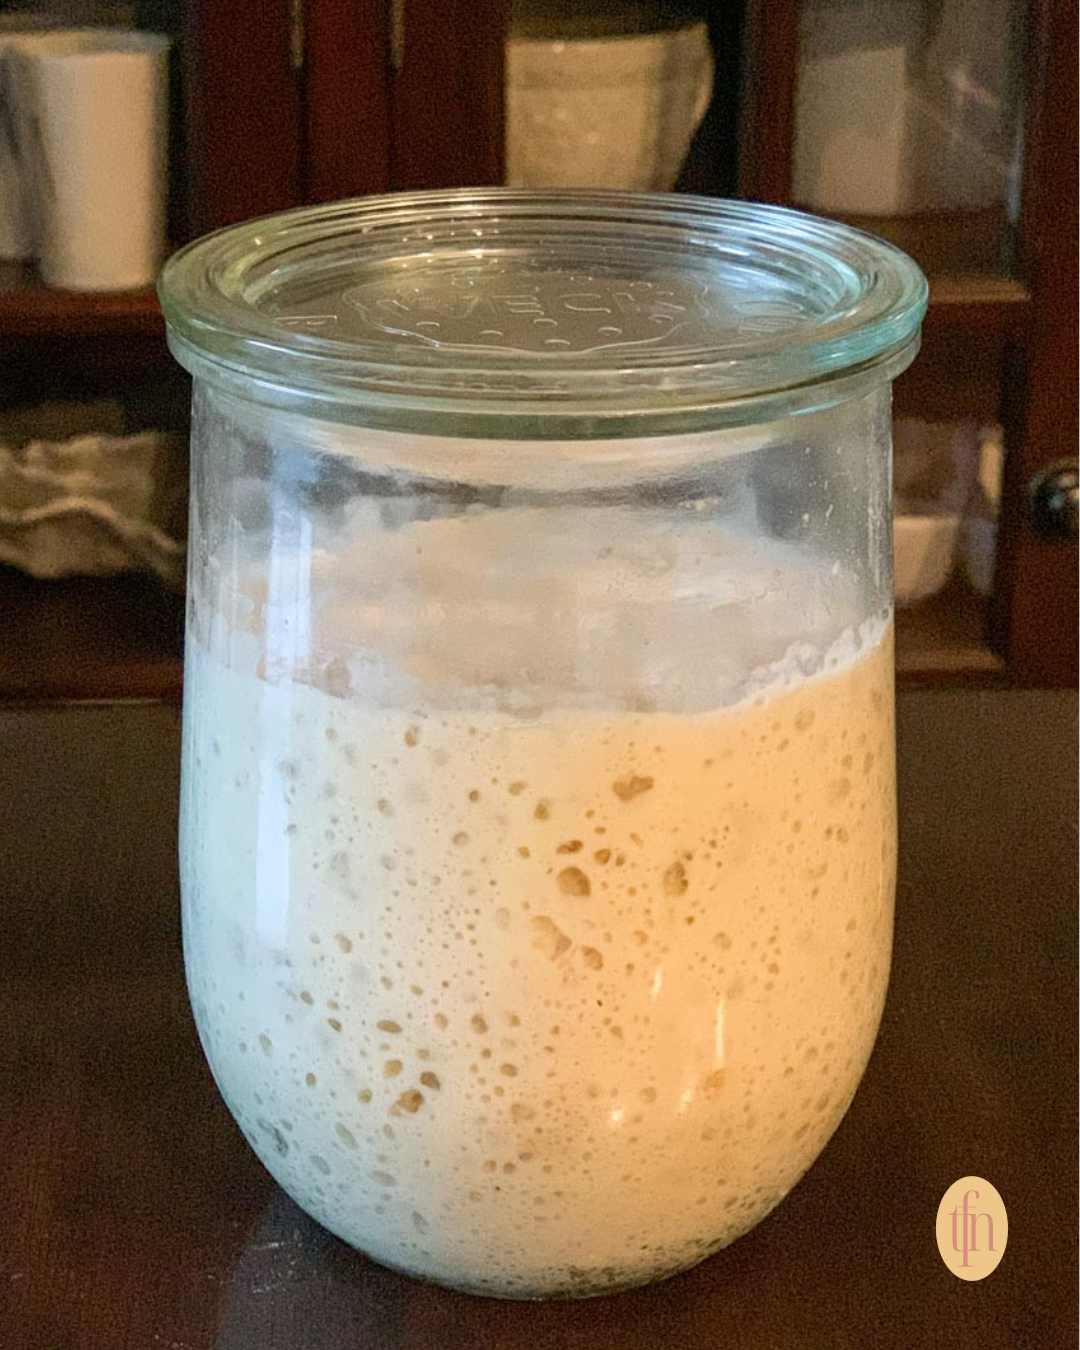
Why: Your starter needs a home, and not just any container will do. I learned this the hard way when I used a regular canning jar and found it hard to keep clean and struggled with the right top to use. Glass is non-reactive, which means it won’t interact with the acids in your starter. You can also see through the sides to watch all that beautiful bubbly activity as your starter grows. Plus, glass jars are easy to clean and can go right in the dishwasher.
Your jar needs to be big enough for your starter to double (or even triple) in size without overflowing. I recommend a 3/4 to 1-liter (or quart-size) jar. Trust me, cleaning dried starter off your counter is not fun!
Your options:
Budget-Friendly: Ball Wide-Mouth Mason Jar ($5-10) You might already have one of these in your pantry. Wide-mouth mason jars work fine for starting out. The only downside is the narrower opening makes stirring a bit awkward, and the curved bottom can trap bits of unmixed flour in the corners. But they’re perfect if you’re just testing the sourdough waters.
Moderate: Weck Jar ($18-20) After using mason jars for a while, I switched to Weck jars and never looked back. I use the 3/4 liter Weck (743) or 1-liter Weck Tulip jar (745) for my active starter. The wide mouth of the Weck makes feeding so much easier. And the Tulip jar’s rounded bottom makes mixing easy.
Renae Recommends:
I highly encourage you to purchase a Weck jar. These German-made jars are incredibly sturdy (I’ve dropped mine and it didn’t break), and they look beautiful sitting on your counter. The 3/4 liter Weck Mold jar (743) is another popular choice that’s slightly smaller but has the same straight sides.
2. Digital Kitchen Scale
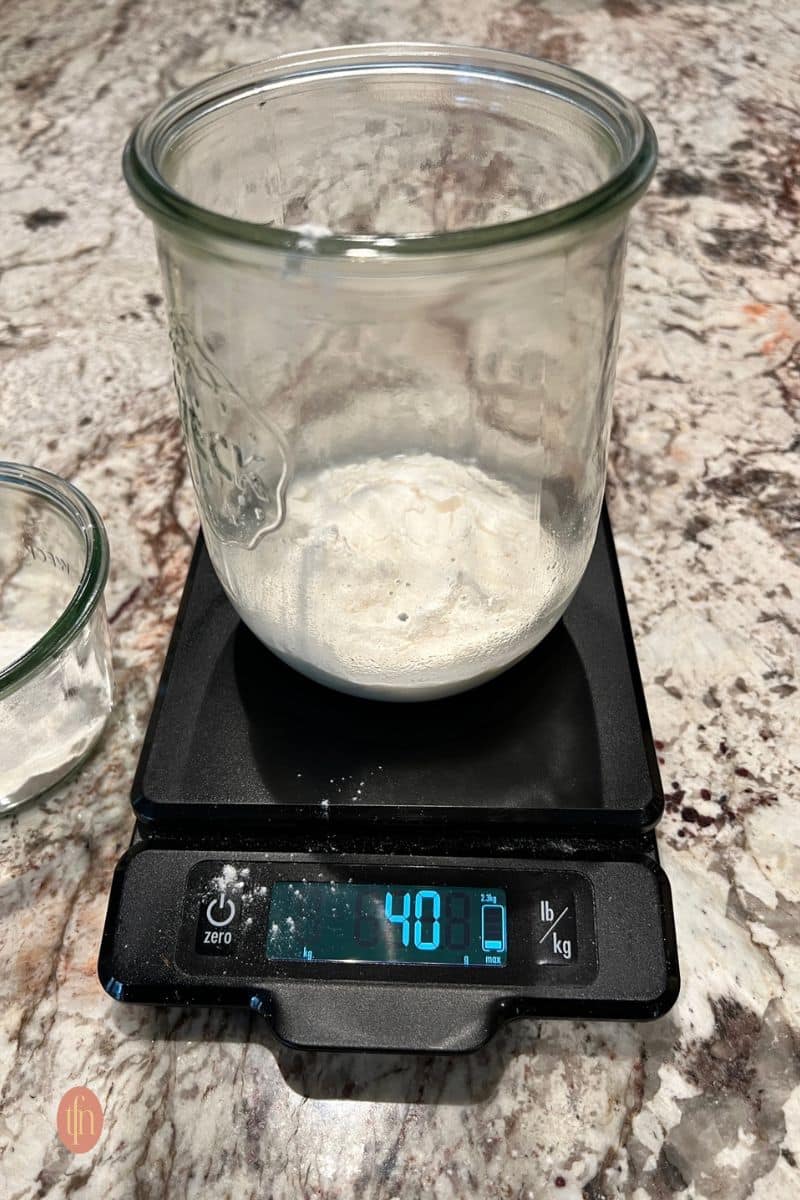
Why: This is the one tool I tell everyone to invest in, even if you’re on a tight budget. A scale completely changed sourdough for me.
Here’s the thing about measuring cups: they’re not very accurate! A cup of flour can weigh anywhere from 120 to 150 grams depending on how you scoop it or how compacted it is. Water, on the other hand, is much heavier. When you’re trying to feed your starter equal parts flour and water by weight (which is what makes it healthy and balanced), you need a scale.
Your options:
- Budget-Friendly: Basic Digital Scale ($10-15) Any basic kitchen scale that measures in grams will work. Just make sure it can handle at least 5 pounds and has a tare function (so you can zero it out with your jar on it).
- Moderate: OXO or Similar Brand ($25-35) These mid-range scales are more durable and often have better accuracy. They’re great workhorses for everyday baking. I have this scale as well and use it up at the cabin.
- Splurge: OXO 11 pound ($60-70) It doesn’t turn off in the middle of a recipe like so many other scales do. How frustrating is that? This scale can run on batteries or plug into the wall, and it’s incredibly accurate. I’ve had mine for years and it works well.
My feeding formula: With a scale, feeding becomes simple. I use: 1/4 cup (60 grams) of starter, 1/4 cup (60 grams) of warm water, and 1/2 cup (60 grams) of flour. See how the weights are all equal even though the volumes are different? That’s why the scale is worth it!
3. Spatula or Spoon
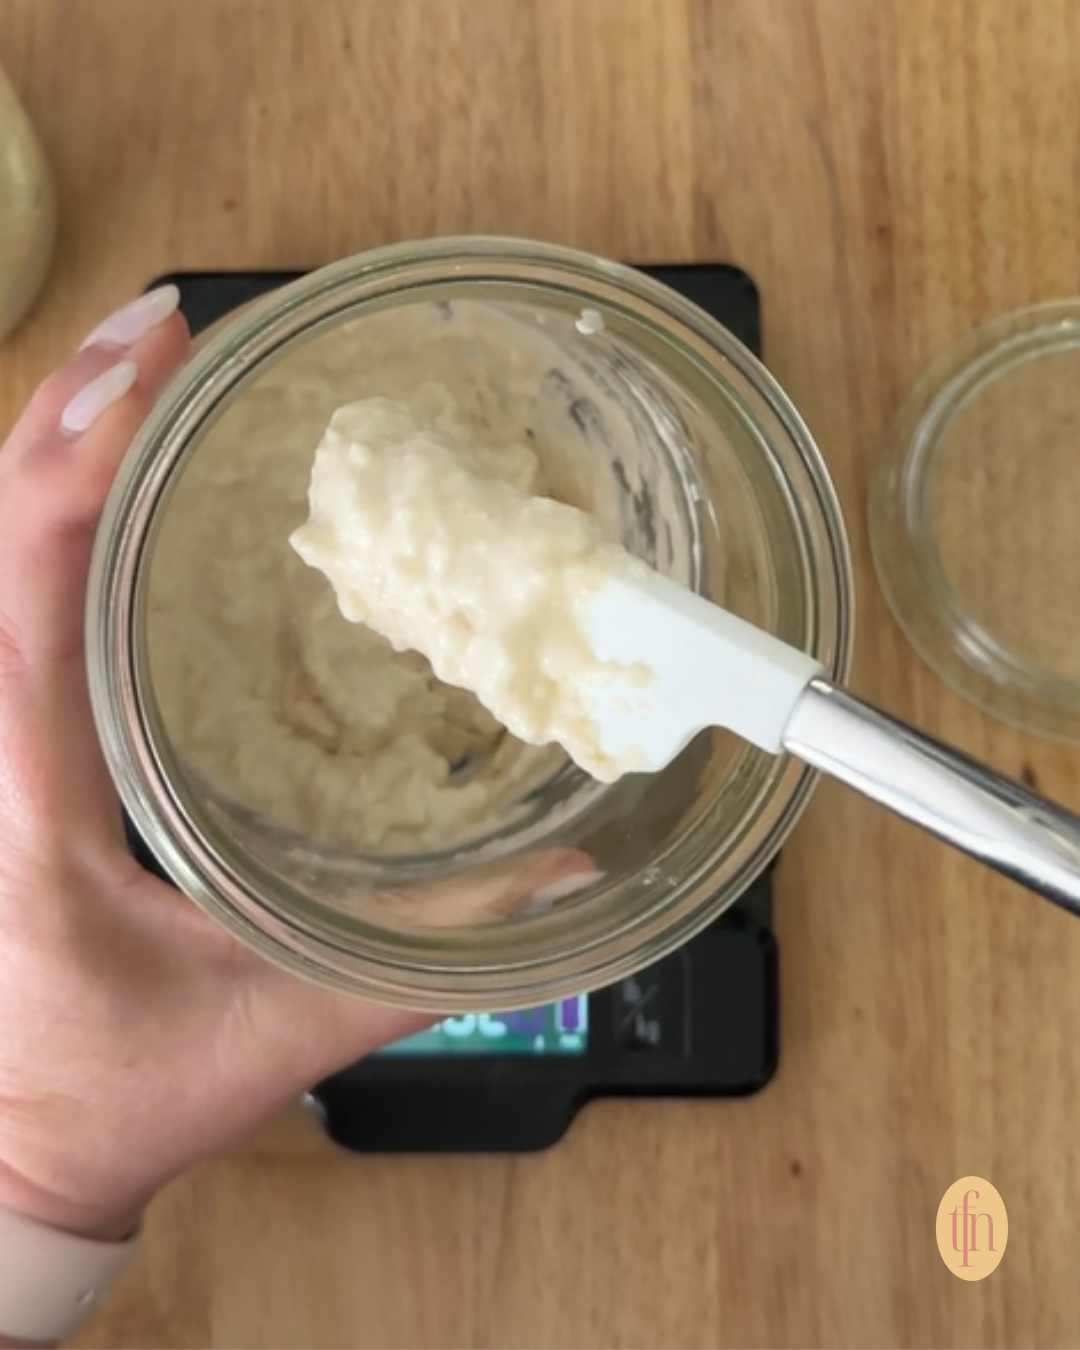
Why: You need something to stir your starter when you feed it, and it should be non-metallic. While metal won’t ruin your starter, some metals can react with the acids over time.
Skinny silicone spatulas are my favorite. They fit easily into the jar, reach all the way to the bottom, and scrape the sides clean. Regular rubber spatulas work too, just make sure they can fit through your jar opening.
Your options:
- Budget: Any Silicone Spatula ($3-8) Use what you already have in your kitchen drawer. As long as it’s silicone or rubber and fits in your jar, you’re good to go.
- Moderate: Narrow Jar Spatula ($8-12) These are specifically designed for reaching into jars. They’re usually 1-2 inches wide and have a long handle. Super handy if you plan to keep your starter long-term.
4. Quality Flour
Why: The flour is important. Your sourdough starter is basically a tiny ecosystem of wild yeast and bacteria, and they need the right food to thrive, this is why unbleached flour is essential. The bleaching process strips away the natural coating of wild yeast that exists on wheat grains. Since your sourdough starter depends on capturing and feeding those wild yeasts, bleached flour makes it much harder for your starter to get established and stay active.
The rye flour trick: If you can get your hands on rye flour, use it for Day 1 when you’re creating your starter from scratch. Rye gives your baby starter a nutritional boost and often helps it become active faster. After that first day, you can switch to unbleached all-purpose flour for all your feedings.
Your options:
- Budget-Friendly: Store Brand Unbleached All-Purpose ($3-5 per bag) If budget is tight, any unbleached all-purpose flour will work. Just stick with the same brand for at least the first month so your starter can adjust to that specific flour.
- Moderate: King Arthur or Similar Quality Brand ($5-7 per bag) This is my go-to. The consistency is worth the few extra dollars, and it’s available at most grocery stores.
- Splurge: Organic Unbleached Flour ($7-10 per bag) Some bakers swear by organic flour. I’ve used both organic and non-organic successfully for my starters. Here’s something I learned though: if you use organic flour and your starter looks thick and has less bubbly activity, switch to non-organic flour for several feedings. I’ve seen this fix help quite a few starters perk back up.
My recommendation: I use King Arthur unbleached all-purpose flour for feeding and maintaining my starter. It’s consistently high quality, and the protein content stays reliable from bag to bag. Once your starter is established and active, you can experiment with other brands, but starting with a good, consistent flour makes such a difference.
What about bread flour? If you can’t find unbleached all-purpose flour, bread flour works as a substitute. It has a higher protein content, so your starter might look and behave slightly differently, but it will still work.
5. Filtered Water
Why: This is the easiest thing to overlook, but it can cause problems for your starter. Most tap water contains chlorine, which is great for keeping our drinking water safe but not so great for the beneficial bacteria and yeast in your starter. Chlorine can slow down or even prevent fermentation.
Your options:
- Budget: Let Tap Water Sit Out (Free) If filtered water isn’t an option right now, fill a pitcher with tap water and let it sit uncovered on your counter for 24 hours. The chlorine will evaporate naturally. Just plan ahead and fill your pitcher the day before you need to feed your starter.
- Moderate: Water Filter Pitcher ($20-40) A basic Brita or PUR pitcher removes chlorine and other impurities. This is what most home bakers use, and it works great. Plus, you’ll have better-tasting drinking water too.
- Splurge: Under-Sink or Faucet Filter ($50-200) If you’re doing a lot of baking and cooking, an installed filter system is convenient. But this is definitely optional for sourdough!
Renae Recommends: I have a Brita water pitcher at the cabin, but sometimes I also just leave a glass of water out for a day or two.
Temperature tip: When you feed your starter, use warm water (around 85-90°F). Not hot, just warm. This gives your starter a little energy boost and helps fermentation get going.
Or Splurge: Sourdough Starter Jar Sets with All the Extras ($30-60)
If you want a complete setup right from the start, some brands now make starter jar kits that include everything in one package. These sets take the guesswork out of what you need.
Popular Amazon Options:
- KneadAce Sourdough Starter Kit ($29-33) This is one of the most popular sets on Amazon. The 24oz jar has measurement markings printed right on it, plus an elastic band that you can move to track when you last fed your starter.
- Premium Pro Sourdough Starter Jar Kit ($35-45) These larger kit has a 34 oz sourdough jar, round & oval cotton rope banneton bread proofing basket, and bread lame for effortless sourdough bread baking
Are these sets worth it?
If you’re someone who likes having everything organized and ready to go (like me!), these sets can be worth the investment. The temperature strips and feeding trackers are genuinely helpful when you’re learning what “active and bubbly” really means. Plus, everything is designed to work together, which takes out the guessing.
That said, you absolutely do not need a fancy set to make great sourdough. A simple Weck jar and a rubber band work just as well. The extras just make the process a little more convenient and help you track patterns more easily.
Temperature Control: Keep Your Starter Happy in Any Climate
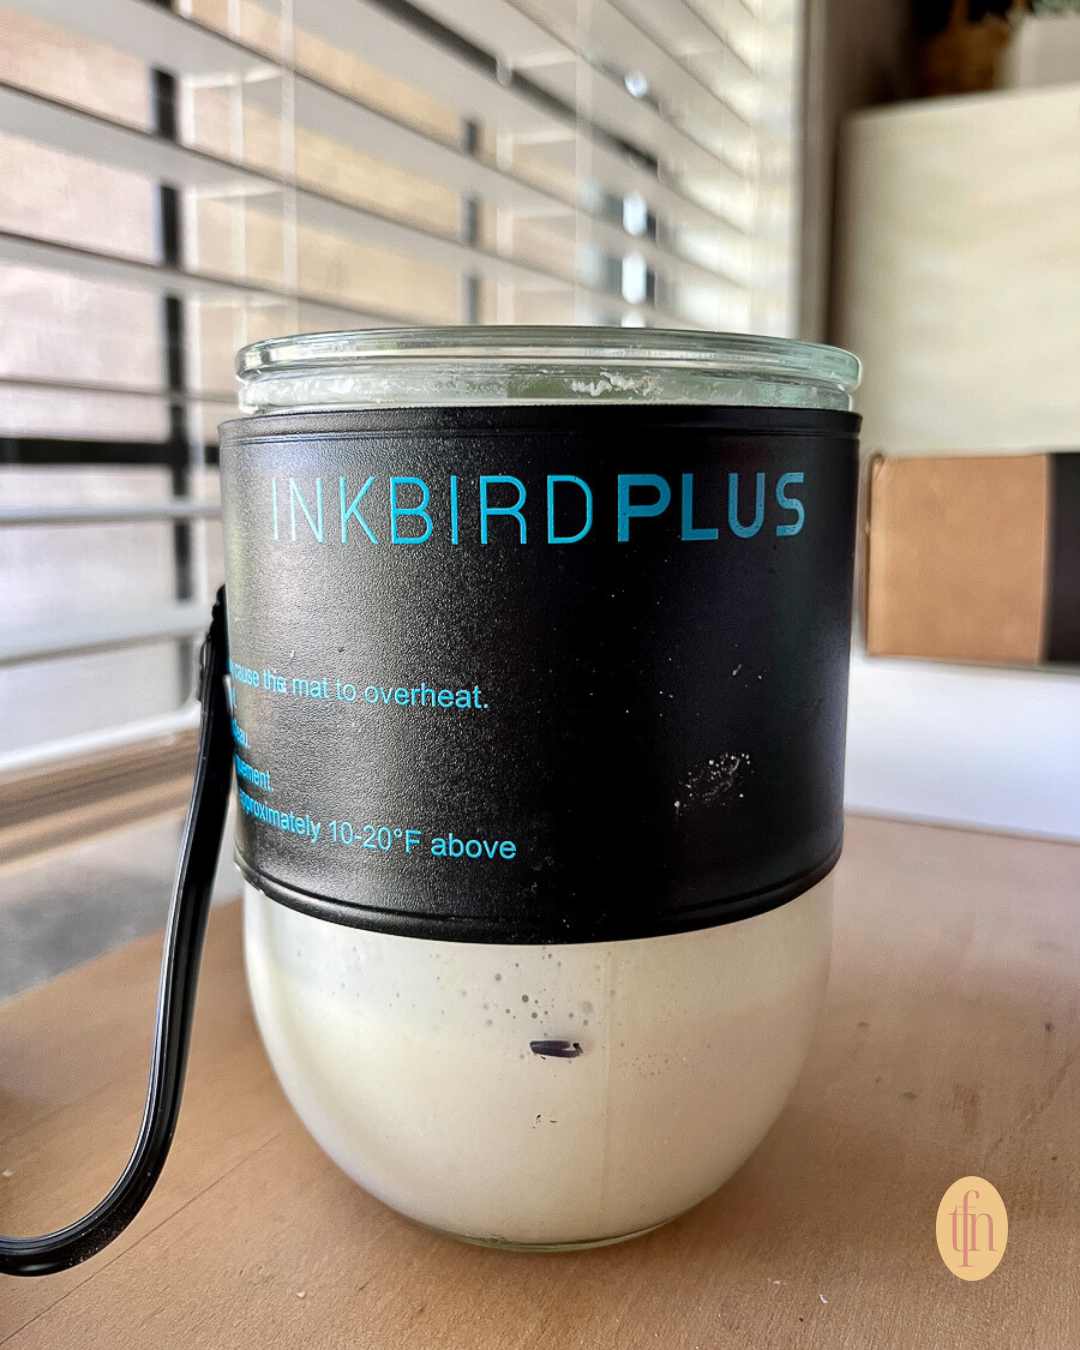
Here’s something I wish I’d known from the very beginning: temperature is one of the most common reasons new sourdough starters fail or stay sluggish. Your starter is most active and healthy when it’s kept between 75 and 85°F. That’s just a little warmer than most of us keep our homes, especially in winter.
I live in California where it’s usually pretty warm, but I still use a heating wrap on my starter jar during cooler months. If you’re in a cold climate or your house runs cool, temperature control isn’t optional. It’s essential.
Signs your starter is too cold:
- Takes forever to show any bubbles
- Never seems to double in size
- Looks flat and lifeless even after feeding
Options:
1. Budget-Friendly: Heating Wrap or Mat ($15-30)
This is what I use and recommend to everyone starting out. It’s affordable, effective, and doesn’t take up counter space.
What to look for: Search for “kombucha heating wrap” or “seedling mat” on Amazon. You want one that’s about 3 inches by 20 inches long. Some come with temperature controls, which is helpful but not required.
How I use mine: I wrap it around the top portion of my Weck jar, not the bottom. This gives indirect warmth that keeps my starter cozy without overheating it. In my kitchen, this keeps my starter right in that perfect 75-80°F range.
Important safety note: Never place your jar directly on a heat mat that doesn’t have temperature control. Basic mats without thermostats can get too hot. If you have one of those, wrap it loosely around the jar without direct contact.
Where to keep it: Don’t keep your starter in a dark cabinet, microwave, or oven with just the light on for more than the first 12 hours. I know this seems like it would keep things warm, but sourdough starter needs light and air to thrive, just like any living organism.
2. Mid-Range: Bread Proofer
If you plan to bake bread regularly, a folding bread proofer is a solid investment.
Bread Proofer: Budget priced folding bread proofer with temperature control.
Brod & Taylor Folding Proofer This is the one you’ll see in a lot of baking blogs and kitchens. It folds flat when not in use, and you can set precise temperatures. The big advantage? You can use it for your starter and for proofing bread dough.
3. Splurge: Dedicated Starter Warmers
These are newer products designed specifically for sourdough starters, and they’re pretty impressive. I haven’t personally tested these yet, but based on my research and what other bakers are saying, they solve a real problem for starters.
Brod & Taylor Sourdough Home ($169-199)
What makes it unique:
- Temperature range from 41-122°F (that’s for heating and cooling)
- Precise temperature control
- Creates less discard because you can slow fermentation and feed less often
The best feature: You can set it to a cool temperature (like 65°F) that slows your starter down but keeps it active. This means you might only need to feed once or twice a week instead of daily. For busy bakers, this is huge.
Who it’s for: Bakers who are serious about consistent results and want maximum flexibility in their feeding schedule. It’s pricey, but if you’re baking weekly and want to reduce the time spent maintaining your starter, this could pay for itself in convenience.
4.Free or DIY Options
Not ready to spend money on temperature control? Here are some ways to keep your starter warm without buying anything:
Warm spot near a heating vent: Just don’t put it directly on or right next to the vent. You want gentle ambient warmth, not hot air blowing on it.
Oven with the light on: This works, but be very careful. I actually killed my first starter this way because someone turned the oven on without checking inside. If you use this method, put a big note on your oven controls. And remember, this is only good for the first 12 hours or so. After that, your starter needs to be out in the light and air.
Sunny window with a box: Place your jar inside a shoebox or other opaque box, then put it in a sunny window. The box protects your starter from direct sunlight (which yeast doesn’t like) while the sun warms the box. This works surprisingly well on cold but sunny days.
Near your water heater or on top of the fridge: Both of these spots tend to stay a bit warmer than the rest of your kitchen. Just check the temperature with a thermometer first to make sure it’s not too hot.

Nice-to-Have Tools
Once you have your essentials covered, these extras can make maintaining your starter even easier. None of these are required, but they solve specific sourdough for beginners type problems!
1. Rubber Bands or Jar Markers
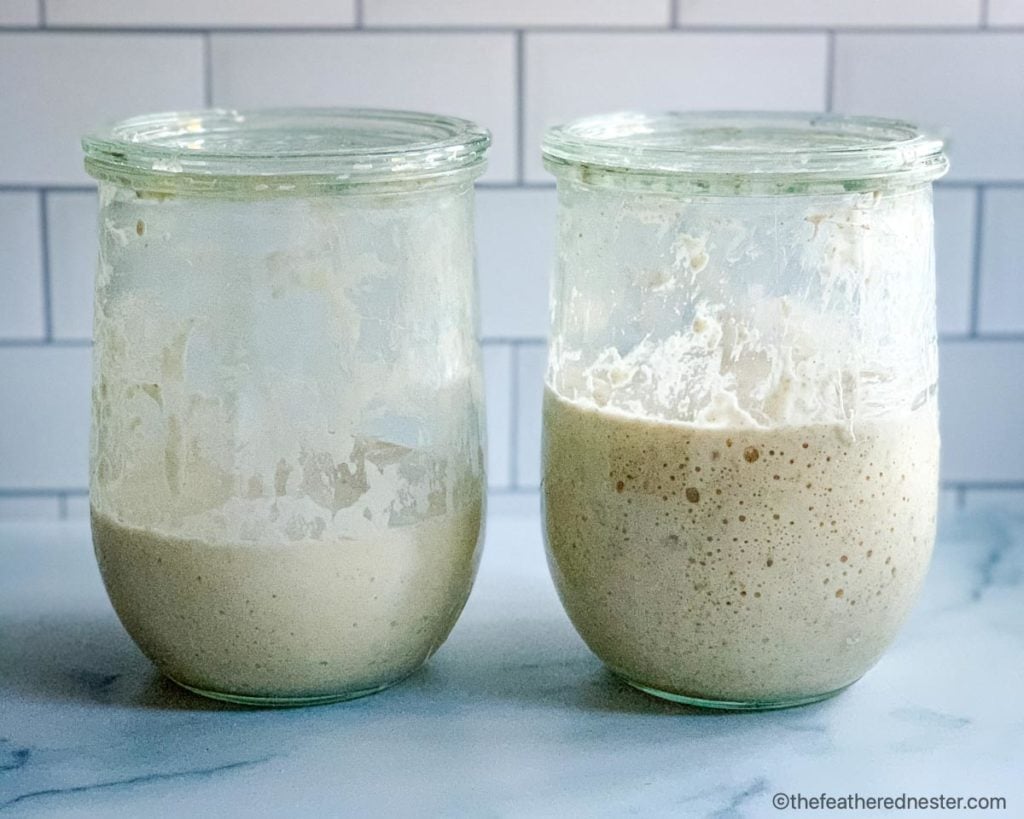
When you’re first learning how active your starter is, being able to track its rise and fall is incredibly helpful.
Right after you feed your starter, it’s at its lowest point. Over the next few hours, it should rise (ideally doubling or tripling in size). But it’s hard to remember exactly where it started, especially if you’re feeding it daily. A simple marker helps you see the pattern.
Your options:
- Budget: Rubber Band (Free or $2) This is what I recommend in my starter recipe and it’s what I use most of the time. Just wrap a rubber band around your jar at the level of your starter right after feeding. Check back in a few hours to see how much it’s grown. Simple and effective.
- Moderate: Erasable Marker ($3-8) Some people prefer marking directly on their jar with a dry-erase marker or glass marker. You can note the time and level, then wipe it clean after each feeding. This works great if you want to track multiple feedings over a few days to see patterns.
My method: I use a rubber band right after feeding, then set a timer for 4 hours. If my starter has doubled by then, I know it’s healthy and active. If not, I set another timer for 2 more hours. This simple tracking helped me learn my starter’s rhythm, and now I can tell just by looking at the bubbles whether it’s ready to use.
2. Extra Jars for Discard
This is one of those things I didn’t know I needed until I had it.
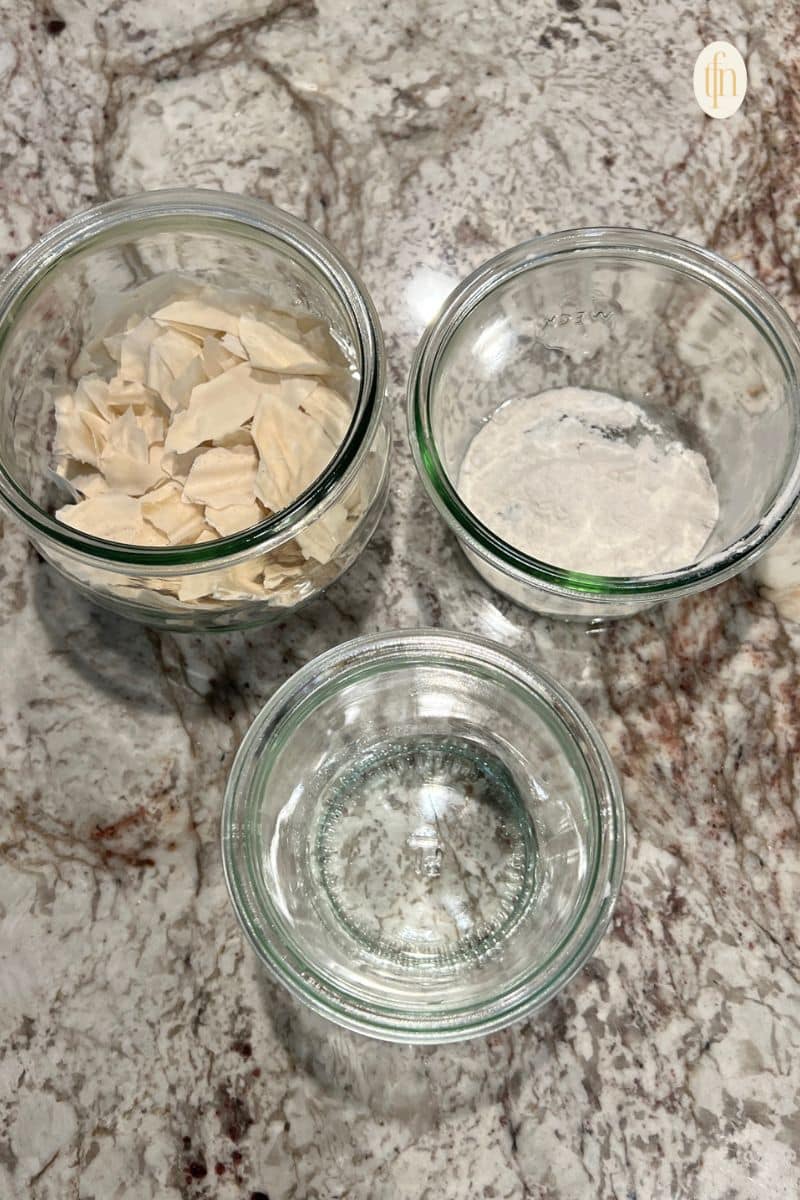
When you feed your starter, you remove a portion before adding fresh flour and water. For the first 5 days of a new starter, you throw that discard away. But once your starter is active, that discard is perfect for recipes like pancakes, waffles, crackers, and pizza dough.
Why a separate jar helps: Instead of throwing away perfectly good starter, I keep a discard jar in my fridge. Whenever I feed my active starter, I add the discard to this jar. When I want to make pancakes on Saturday morning, I have discard ready to go.
What to use: Any extra jar works. It can be a mason jar, another Weck jar, or even a large glass container with a lid. I use a second Weck tulip jar so they match on my shelf, but that’s just my visual preference showing.
3. Thermometer
Temperature is important for your water when feeding and the ambient temperature where you keep your starter plus, it is helpful for new barkers to determine where their bread is done!
Two types you might want:
- Instant-Read Thermometer ($10-25) This is helpful for checking your water temperature before feeding. Remember, you want warm water around 85-90°F. Too hot and you’ll damage the yeast, too cold and fermentation slows down.
- Room Thermometer ($5-15) A simple room thermometer placed near your starter helps you understand if your kitchen is warm enough. If your starter is sluggish and the thermometer shows 68°F, you know temperature is likely the issue.
If you got a starter jar kit with a stick-on temperature strip, you already have this handled. Those strips show the temperature of the jar contents in real time.
Do you really need this? Not necessarily. If your starter is doubling consistently within 4-6 hours after feeding, your temperature is fine. But if you’re troubleshooting a slow or inactive starter, a thermometer helps you eliminate temperature as the problem.
4. Bowl Scraper ($5)
This is more of a general baking tool, but it’s handy when you start making bread with your starter.
What it does: A bowl scraper (also called a dough scraper) is a flexible plastic or silicone tool shaped like a rounded rectangle. It hugs the curve of your mixing bowl and helps you scrape out every bit of dough or batter.
When you’d use it:
- Mixing bread dough by hand
- Scraping down the sides of bowls
- Portioning dough
- Cleaning up sticky messes
Budget option: Basic plastic bowl scrapers are just a few dollars and work great.
Setting Up Your Starter Station: Bringing It All Together
Now that you know what tools you need, let’s talk about how to set everything up so maintaining your starter becomes part of your routine instead of a chore.
Where to keep your starter: You have two options. On the counter or in your refrigerator.
On the counter: If you’re baking frequently (weekly or more), keep your starter on the counter where you can see it. This reminds you to feed it. I keep mine next to my coffee maker so I see it every morning.
Pick a spot that is:
- Away from direct sunlight
- Not too close to the stove (temperature swings aren’t good)
- Warm enough (75-85°F is ideal)
In the fridge: If you only bake occasionally, store your starter in the fridge between uses. Take it out 12 hours before you want to bake, feed it, and let it come to room temperature and get active. After baking, feed it once more and return it to the fridge.
My actual setup: I keep my active starter in its Weck jar on my kitchen counter. My heating wrap is wrapped around the upper portion of the jar. Next to it, I have a small bowl with my narrow spatula and a container with my flour. Everything I need for feeding is right there in one spot.
In my fridge, I keep my discard jar on the top shelf where I can see it easily.
Making it pretty and functional: Here’s where my love for aesthetics comes in. I keep my starter setup on a small wooden tray. It looks intentional and pretty, plus the tray catches any drips if my starter gets too enthusiastic and bubbles over the top.
You could also use:
- A small cutting board as a base
- A ceramic tile (which also helps stabilize temperature)
The point is to make your starter station something you enjoy looking at. When it feels like part of your kitchen rather than a science experiment hidden away, you’re more likely to stay consistent with feeding.
Common Questions About Starter Tools and Supplies
No! You can absolutely start with just a jar, flour, water, and a spoon. The essentials I listed are what make the process easier and more reliable, but people have been making sourdough for centuries with much less.
Start with what you have, then add tools as you discover what would make your life easier.
Yes! Here’s what you can substitute:
Any glass jar instead of a Weck jar (just make sure it’s big and wide enough)
A regular spoon instead of a spatula (it just might be harder to scrape the sides)
Measuring cups instead of a scale (though a scale really does make a difference)
Tap water that’s been sitting out instead of filtered water
The only thing I’d really encourage you to invest in is a digital scale if you don’t already have one. Everything else can be improvised.
If I had to choose just one item to splurge on, it would be temperature control if you live in a cold climate. A heating wrap or mat makes such a huge difference in how quickly your starter becomes active and how consistently it performs.
Second choice would be a good jar with a wide mouth and straight sides. The right jar makes feeding so much easier that it’s worth the $15-20 investment.
Here’s a realistic breakdown:
Absolute minimum ($15-25):
Mason jar: $5
Digital scale: $10-15
You already have: spoon, flour, tap water
Comfortable sourdough starter kit ($50-75):
Weck jar: $15-20
Quality digital scale: $30-40
Heating wrap: $15-25
Good flour: $6
Water filter pitcher: already have or $20
Full setup with extras ($100-150):
Starter jar kit: $35-50
KD-8000 scale: $40-50
Heating wrap or Goldie: $25-130
Premium flour: $7
All the nice-to-haves: $20-30
Remember, you don’t need everything at once. Start with the basics, see how you like sourdough baking, then add tools that solve problems you’ve actually encountered.
Ready to Get Started?
The most important thing to remember is this: your starter is more important than fancy gear. A healthy, active starter in a basic mason jar will make better bread than a neglected starter in the fanciest setup.
When I started my sourdough journey in 2019, I had a mason jar, a regular kitchen scale, and a wooden spoon. That first starter (before the oven incident) made delicious bread. As I baked more and learned what would make my life easier, I gradually added better tools.
Start simple. Pay attention to what frustrates you or slows you down-then invest in tools that solve those specific problems.
Ready to create your starter? Head over to my sourdough starter recipe for step-by-step instructions on getting your starter going. You’ll find everything you need to know about feeding, troubleshooting, and getting your starter ready to bake with.
If you are ready to get started and don’t want to make your own starter check out Etsy for a way to purchase sourdough starters or sourdough starter kit.
Once your starter is active and bubbly, try your first loaf with my overnight sourdough bread recipe it is sourdough for beginners!
Have questions about sourdough starter tools? Drop them in the comments below! I love helping readers find the right setup for their kitchen and budget.
Not ready yet? Save this for later so you have it handy when you’re ready to start your sourdough journey! Pin it or add to as a bookmark.
Leave a Reply