

You may not know this, but I loved watching Martha Stewart and I learned so many home making tips from her! One of the things I’ve learned early on is what a big difference it makes when you brine your turkey. Since then, we have used a brine on our turkey every Thanksgiving! If you’ve ever used a wet brine then you know what an inconvenience it can be- you have to have to have a heavy duty bucket to hold the water weight and a large space available in your refrigerator. I created a Dry Brine Turkey recipe to help give you the flavor of a brined turkey- without any of the inconvenience.
Keep reading to see our handy dry brine timeline to make sure you get the turkey on the table when you need it to be there.
Content Covered Here
Wet Verses Dry Brine
Wet brining involves adding meat to a salt and warm water solution (often flavored with spices or citrus as well). This is best for leaner meats. Dry brines are salt and herb mixtures that tend to do better with heavier or fattier meats. Whole turkeys are leaner meat but they also still have skin on, which can sometime cause a rubbery texture when wet brining. Our process of dry brining the turkey helps lock in the moisture while the skin is left to dry in the open air refrigerator. This makes for a crispy texture on the outside and a juicy meat on the inside.
If you prefer a traditional wet brine we have a Cajun Turkey Brine recipe, we mix Cajun flavor with a traditional wet brine. Whichever way you choose to brine your turkey, once you try it- you’ll always want to brine it!
Why We Love Dry Turkey Brine
- It’s a dry brine: no large holding containers, no need for finding space for a submerged turkey in the refrigerator.
- It’s simple: You rub salt over the bird, put it in the fridge, and walk away until cook time.
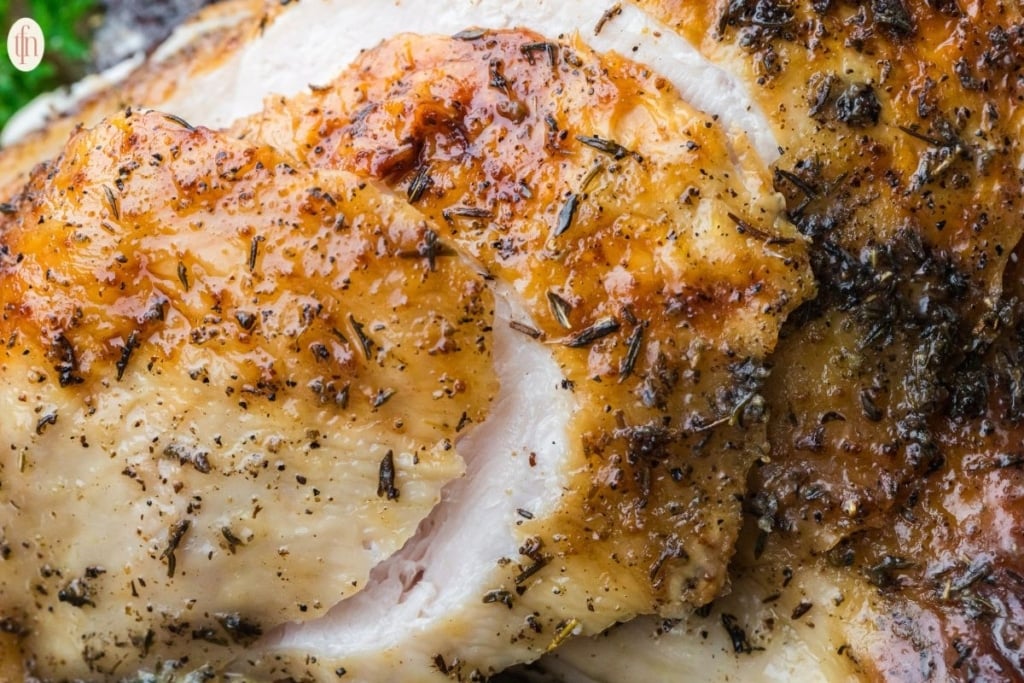
- Why Brine? The salt draws moisture out of the skin, then that seasoned moisture soaks back into the meat. What you get is a turkey seasoned all the way through and skin dry enough to crisp up golden in the oven.
Ingredients and Substitutions
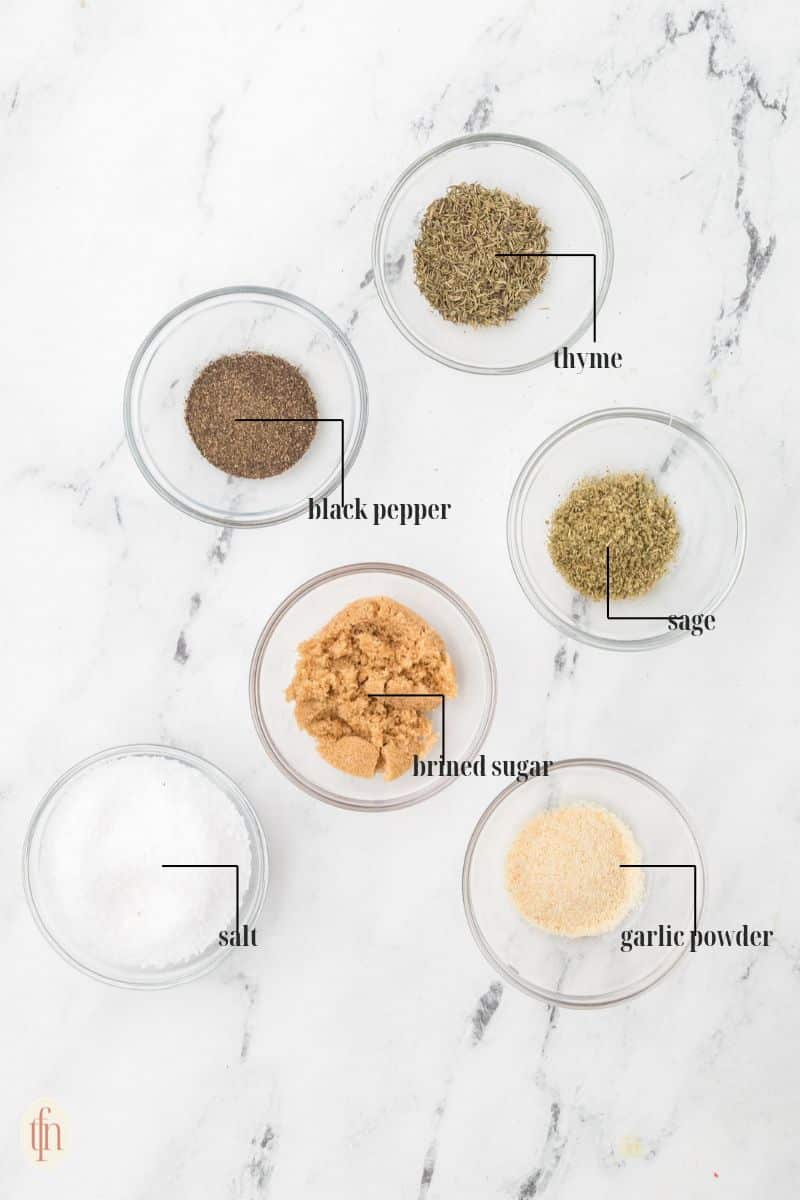
- Diamond Crystal kosher salt: review the salt measurements thoroughly according to the chart, for example: 14 tsp for a 14 lb bird. We do not recommend using a different brand only because we recipe tested with this particular brand.
- Black pepper: Freshly ground. Pre-ground works but tastes flatter. White pepper is okay, but use 3/4 of the amount. Safe to cut pepper in half for a milder bird.
- Dried thyme: If using ground thyme, use 1 teaspoon instead of 2.
- Rubbed sage: For ground sage, use half the amount.
- Garlic powder: you can use granulated garlic with the same measurement, avoid fresh garlic or garlic salt.
- Onion powder: Can omit if needed, avoid fresh onion.
- Light brown sugar (optional, helps with browning): Can swap with dark brown sugar, granulated sugar or coconut sugar in the same measurements.
Equipment
- Large roaster
- Roasting rack
How to Make Dry Brine
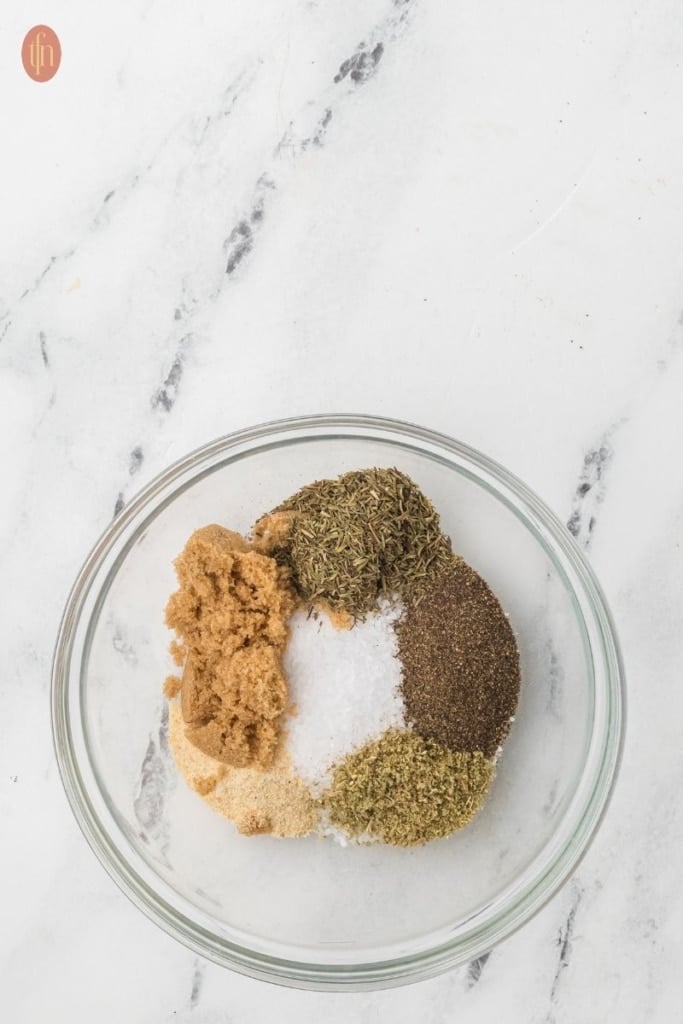
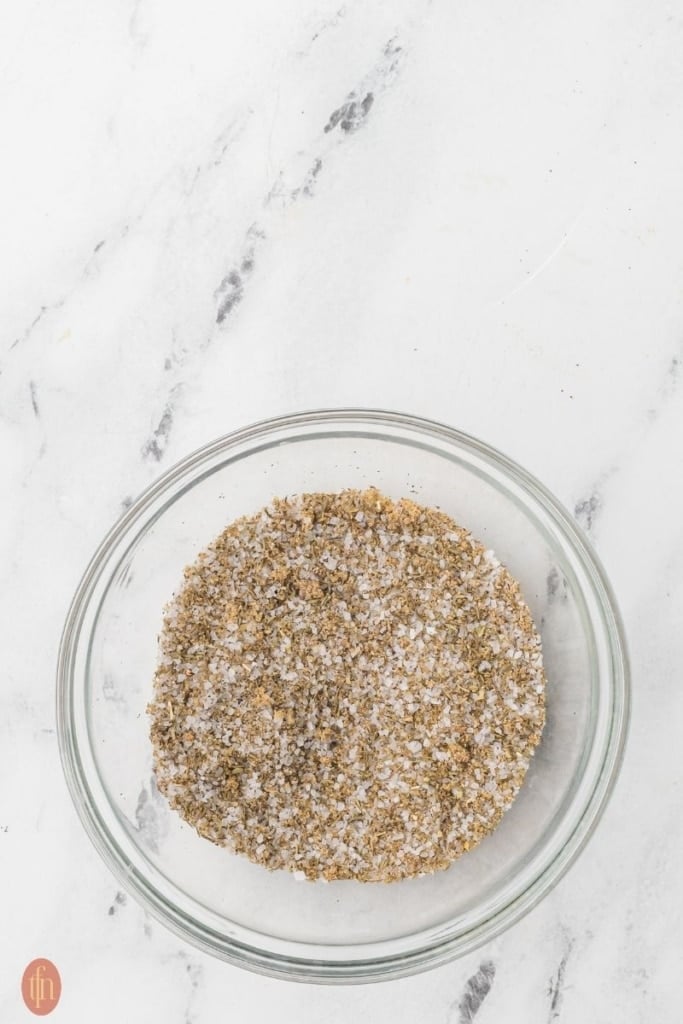
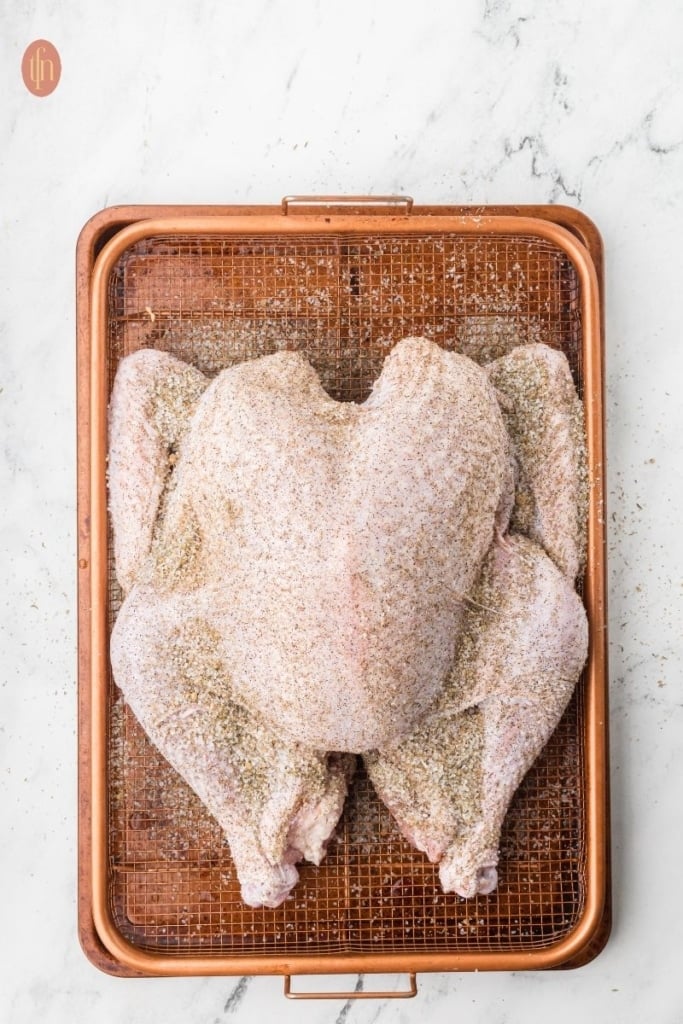
- Pat the turkey completely dry, inside and out. Remove giblets and neck.
- Mix the dry brine and season the bird all over, including underneath. Work some under the skin.
- Set skin side up on the wire rack over the sheet pan. Refrigerate uncovered for 24 hours.
How to Cook A Dry Brined Turkey
- Heat oven to 425°F with the rack placed in the lower third.
- On the sheet pan: 1 large sliced onion, 2 carrots, 2 celery stalks, 1 cup chicken broth. Don’t skip the liquid, dry vegetables will scorch at this temp.
- Set the turkey on top of the rack. Rub 4 tbsp softened butter over the skin. No more salt.
- Roast about 6 to 7½ minutes per pound (90 to 105 minutes for 14 lb). Check at 60 minutes, drop to 375°F if the skin is browning too fast.
- Pull at breast 160 to 165°F, thigh 170 to 175°F.
- Rest 20 to 30 minutes.
🎯 TFN Pro Tip
Uncovered in the fridge is correct. I know it feels wrong, but do it anyway. Your fridge will be fine and the skin will thank you by coming out crisp. Keep raw poultry below everything else so nothing drips onto food underneath and store it on a lipped tray or platter.
Dry Turkey Brine Timeline
- 1-6 days before your event, thaw your turkey according to weight. USDA recommends:
- 4–12 lbs: 1 to 3 days
- 12–16 lbs: 3 to 4 days
- 16–20 lbs: 4 to 5 days
- 20–24 lbs: 5 to 6 day
- 24 hours before you need to start cooking (determine yours start time below) your turkey, use dry turkey brine.
- USDA cooking guides for whole turkeys:
- 8 to 12 pounds: 2¾ to 3 hours (unstuffed) | 3 to 3½ hours (stuffed)
- 12 to 14 pounds: 3 to 3¾ hours (unstuffed) | 3½ to 4 hours (stuffed)
- 14 to 18 pounds: 3¾ to 4¼ hours (unstuffed) | 4 to 4¼ hours (stuffed)
- 18 to 20 pounds: 4¼ to 4½ hours (unstuffed) | 4¼ to 4¾ hours (stuffed)
- 20 to 24 pounds: 4½ to 5 hours (unstuffed) | 4¾ to 5¼ hours (stuffed)
- General cooking guide for spatchcocked turkey is 6 1/2 minutes to 7 1/2 minutes per pound
Recipe FAQs
We recommend a minimum of 12 hours for dry brine, but 24 hours is optimal. Make sure to leave the turkey uncovered in the refrigerator for best results. Use a large baking sheet or pan underneath the turkey and ensure there are no food products below the turkey tray.
Yes, just adjust the cooking time accordingly. Follow the brine instructions like a whole bird.
You do not need to rinse your turkey after a dry a dry brine.
While there is always a risk of “over salting” your turkey through brining, the biggest concerns come from wet brining (space, the mess and potential for rubbery skin). You also dont want to brine a turkey that has already been brined or injected with a salt solution.
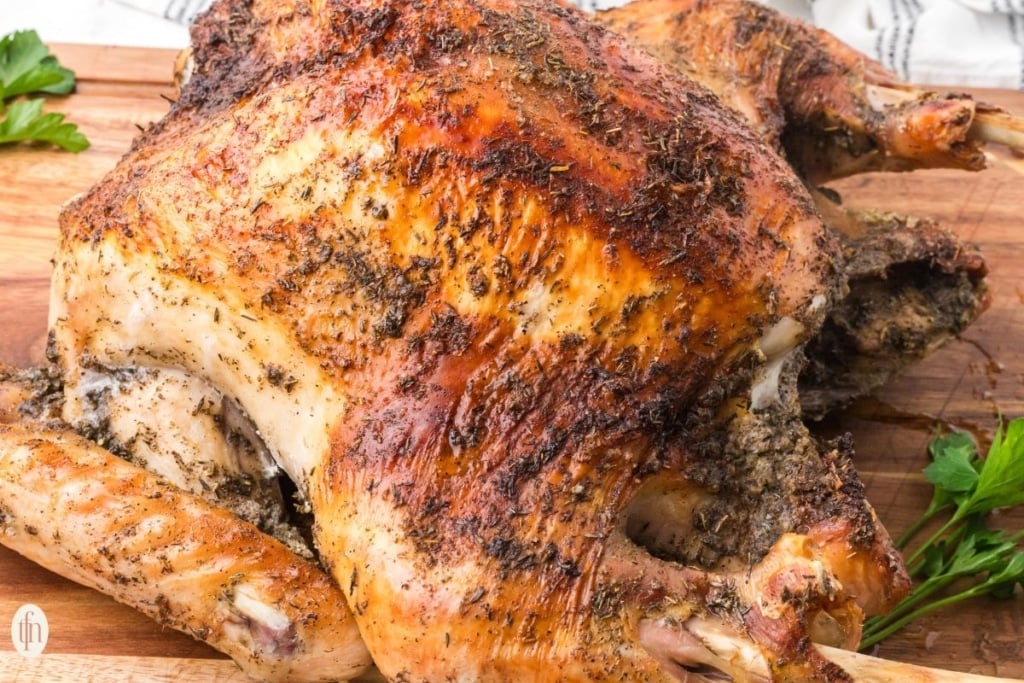
Other Recipes to Consider…
If you tried this dry brine turkey recipe or any other recipe on my website, please leave a 🌟 star rating and let me know how it went in the 📝 comments below. Thanks for visiting!
Dry Brine Turkey
Equipment
- 1 large roaster
- 1 roasting rack
Ingredients
- 1 whole turkey 12 to 16 pounds, thawed, giblets and neck removed
- Kosher salt See notes below for chart. 1 teaspoon Diamond Crystal per pound of turkey (about 14 teaspoons, or 1/4 cup plus 2 teaspoons, for a 14 pound bird). Please read the salt notes below before you measure.
- 2 teaspoons black pepper freshly ground
- 1 tablespoon light brown sugar optional, helps with browning
- 2 teaspoons dried thyme
- 1 teaspoon rubbed sage
- 1 teaspoon garlic powder
- ½ teaspoon onion powder
For roasting:
- 4 tablespoons unsalted butter softened
- 1 yellow onion quartered
- 1 lemon halved
- A few sprigs of fresh thyme and sage
Instructions
How to dry brine a turkey
- Thaw completely. In the fridge, allow 24 hours for every 4 to 5 pounds. A 12 to 16 pound bird needs 3 to 4 days. Start earlier than you think you need to. A turkey that is still frozen in the center on Wednesday night is the most common Thanksgiving problem there is, and salt cannot get into frozen meat.
- Pat it very dry. Remove the giblets and neck from both cavities. Save them for gravy. Blot the bird inside and out with paper towels. Dry skin is the whole point.
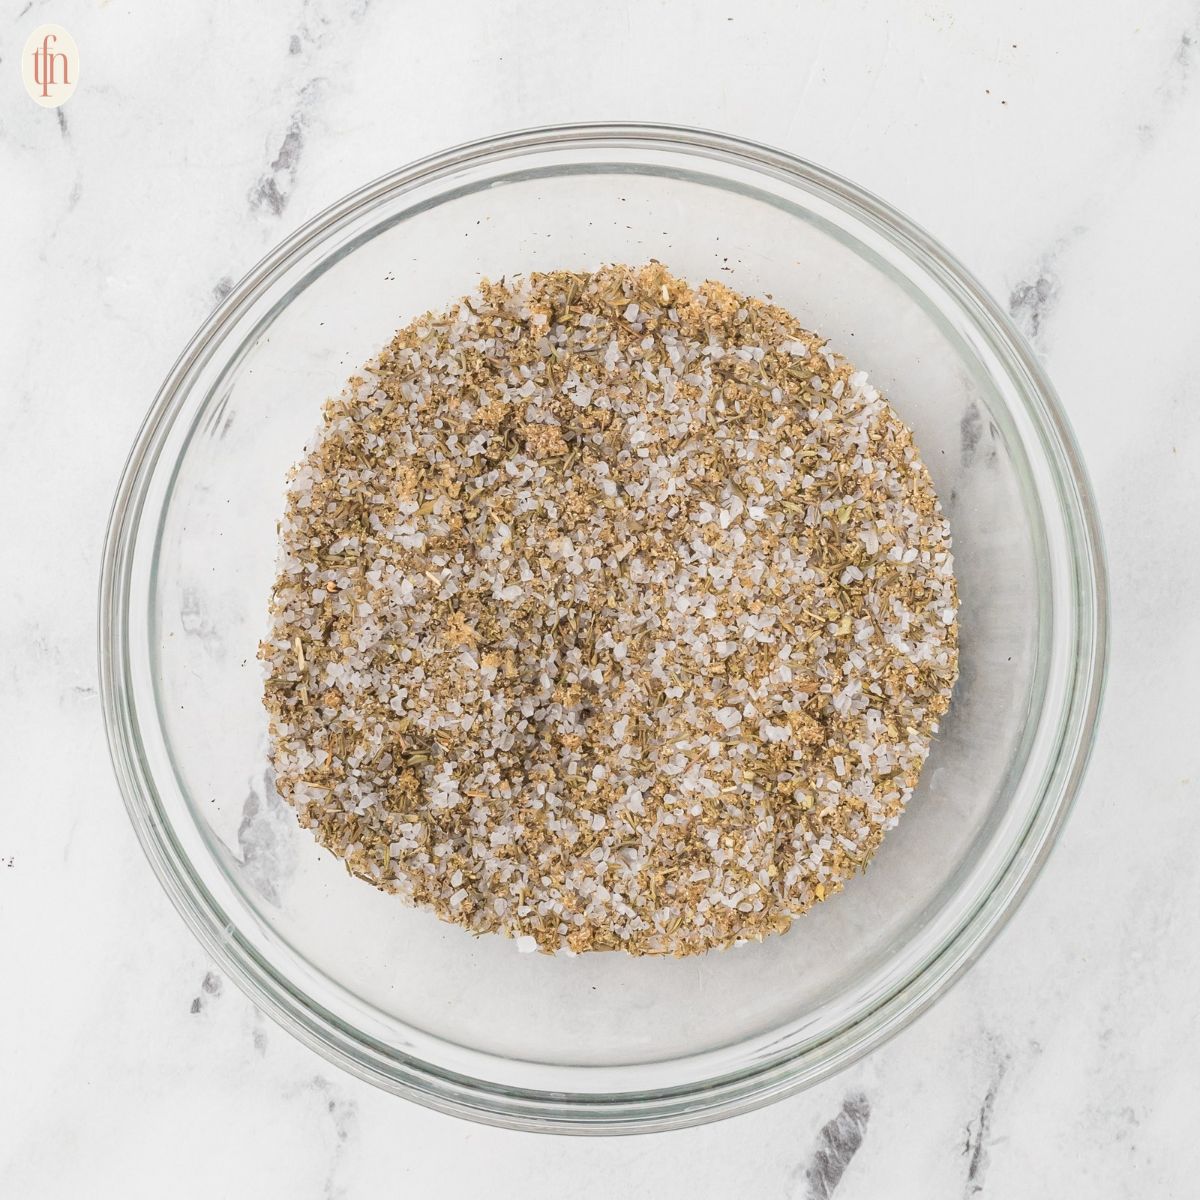
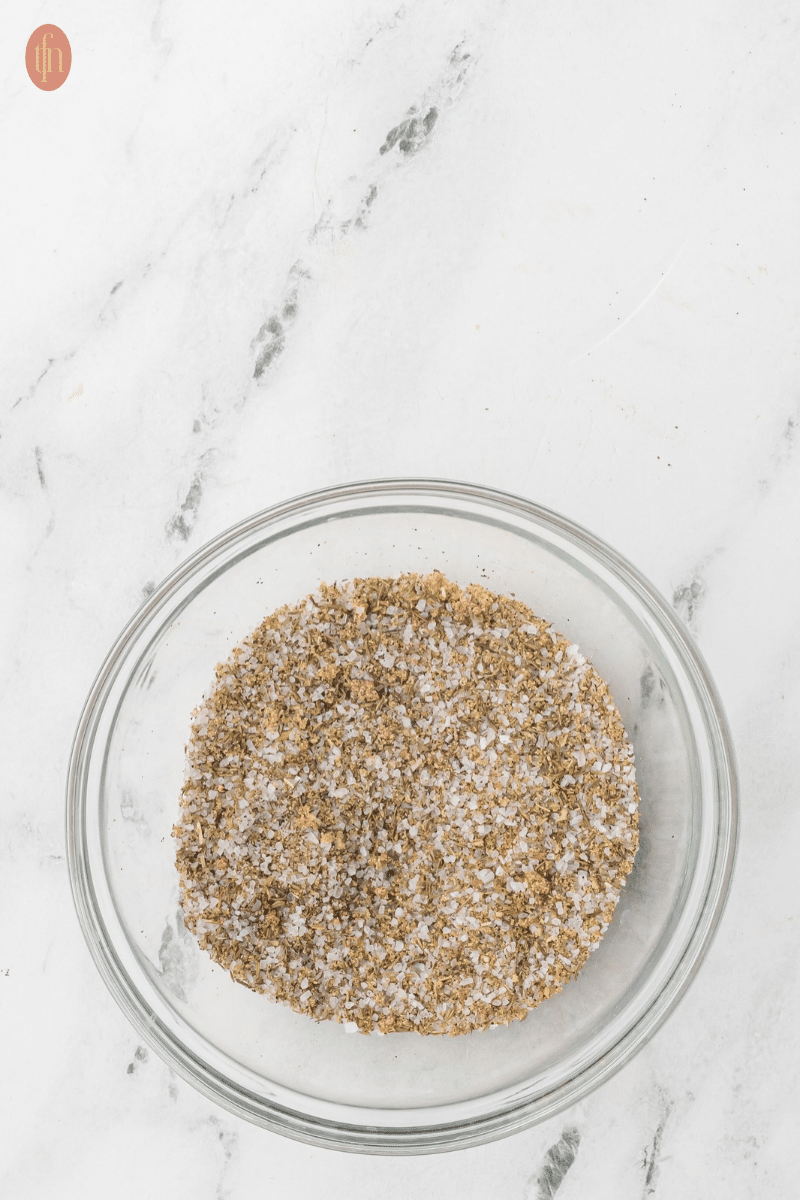
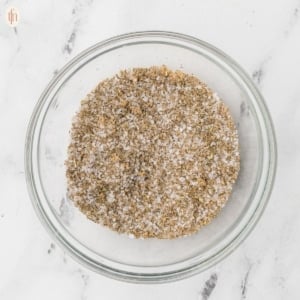
- Mix the dry brine. Stir the salt, pepper, brown sugar, thyme, sage, garlic powder, and onion powder together in a small bowl.
- Season everywhere. Sprinkle from about a foot above the bird so it lands evenly. Use roughly half on the breast and top, a quarter underneath, and the rest inside the cavity. Gently work some under the breast skin if you can slide your fingers in without tearing it.
- Rest in the fridge. Set the turkey breast side up on a rack over a rimmed sheet pan. Refrigerate uncovered for 24 to 72 hours, with the fridge at 40°F or below. Start counting from the moment the bird is fully thawed, not from when you bought it. Forty eight hours is my sweet spot. If your fridge runs warm or you are not sure how long the bird has been thawed, stay at 24 hours.
- Do not rinse. By the time you are ready to roast, the salt has gone into the meat. Rinsing washes away seasoning and splashes raw turkey juice around your sink. Just pat off any moisture you see.
How to roast your dry brined turkey
- Heat the oven to 325°F with a rack in the lower third.
- Take the turkey out of the fridge while the oven heats, no more than about 30 minutes. A bird this size barely changes temperature in that time, so there is nothing to gain by leaving it out longer.
- Rub the softened butter over the skin. Do not add more salt.
- Tuck the onion, lemon, and herb sprigs in the cavity. Tie the legs together loosely.
- Roast on a rack in a roasting pan, about 13 to 16 minutes per pound. A 14 pound bird usually runs 3 to 3 3/4 hours. Larger birds take longer, so plan by temperature and treat the clock as a rough guide.
- Tent the breast with foil around the two hour mark. This is the trick that keeps the breast and thighs finishing closer together.
- Doneness. The breast governs. Pull the bird when the thickest part of the breast reads 160°F and the thigh reads 170 to 175°F, thermometer not touching bone. If the breast gets to 160°F while the thigh is still lagging, keep the breast tented and give the thighs another 15 to 20 minutes.
- Rest 30 to 45 minutes before carving.
- About that 160°F temperature number: Turkey is pasteurized at 160°F, so the breast is safe to eat the moment you pull it, and resting usually carries it up another few degrees. USDA's recommendation for home cooks is 165°F. If you would rather cook to the USDA number, pull the breast at 165°F instead. Either way, use a thermometer and do not go by the pop up timer, which is set so high the breast is always overdone by the time it triggers.
Notes
Salt Notes:
Salt brands are not interchangeable and this is the one place people go wrong. Diamond Crystal has big airy flakes. Morton is denser. Table salt is denser still. A teaspoon of each holds a very different amount of actual salt. Measure by the row that matches the box in your pantry.| Your salt | Per pound of turkey | For a 14 lb bird |
|---|---|---|
| Diamond Crystal kosher | 1 teaspoon | 14 tsp (1/4 cup plus 2 tsp) |
| Morton kosher | 2/3 teaspoon | about 9 tsp (3 tablespoons) |
| Fine sea salt or table salt | 1/2 teaspoon | 7 tsp (2 tablespoons plus 1 tsp) |
Check your turkey label
If the package says kosher, self basting, enhanced, or “contains up to X% of a solution,” your turkey was already salted at the plant. Do not dry brine it. Season it lightly right before roasting instead. Most frozen store brands fall in this group, so it is important to check.Renae’s tips
- A rack is important. Air needs to circulate around the bird. Sitting in a puddle undoes your work.
- Uncovered in the fridge is correct. I know tt feels wrong, but do it anyway. Your fridge will be fine and the skin will thank you by coming out crisp. Put it in the bottom shelf, back corner. Keep raw poultry below everything else so nothing drips onto food underneath.
- The drippings are seasoned already. Taste your gravy before you salt it.
- Skipping the rest time causes a dry bird and a cutting board swimming in juice. Use that half hour to make gravy.
- Short on time to brine? Even 12 hours makes a real difference. Do what you can.

Leave a Reply