Fixing a sourdough starter not rising is easy if you know what to do. Our troubleshooting sourdough starter guide covers everything you need to know for an active, bubbly sourdough starter. Keep reading to learn how to fix common sourdough starter issues so you can get back to baking your favorite sourdough bread recipes.
Did you know that we have about 40 sourdough recipes here at The Feathered Nester? It’s the perfect way to use up that sourdough discard. Check them out here: sourdough recipes and discard sourdough recipes
A healthy starter is the cornerstone of great sourdough bread; understanding how to keep it healthy and thriving is key to baking success. Whether your starter is sluggish, has a strange odor, or isn’t rising as expected, we have the steps you can take to get back to baking the perfect loaf!
Let’s get those issues fixed by troubleshooting your sourdough starter!
Content Covered Here
How Can I Tell If My Sourdough Starter Has Gone Bad?
Identifying a spoiled sourdough starter is crucial for your baking success.
Mold growth is one of the most apparent signs that your starter has gone bad. If you spot any mold or unusual colors, such as orange or pink tints, it’s time to discard your starter. Mold might present itself as fuzzy patches on the surface or sides of the container.
Another indicator is the smell; a healthy starter has a pleasantly tangy, acidic aroma. It could be spoiled if your starter emits an unpleasant odor—like rotten cheese or something putrid.
A vinegar or sour smell is common with hungry starters and simply means it needs to be fed.
Why Is My Sourdough Starter Not Rising?
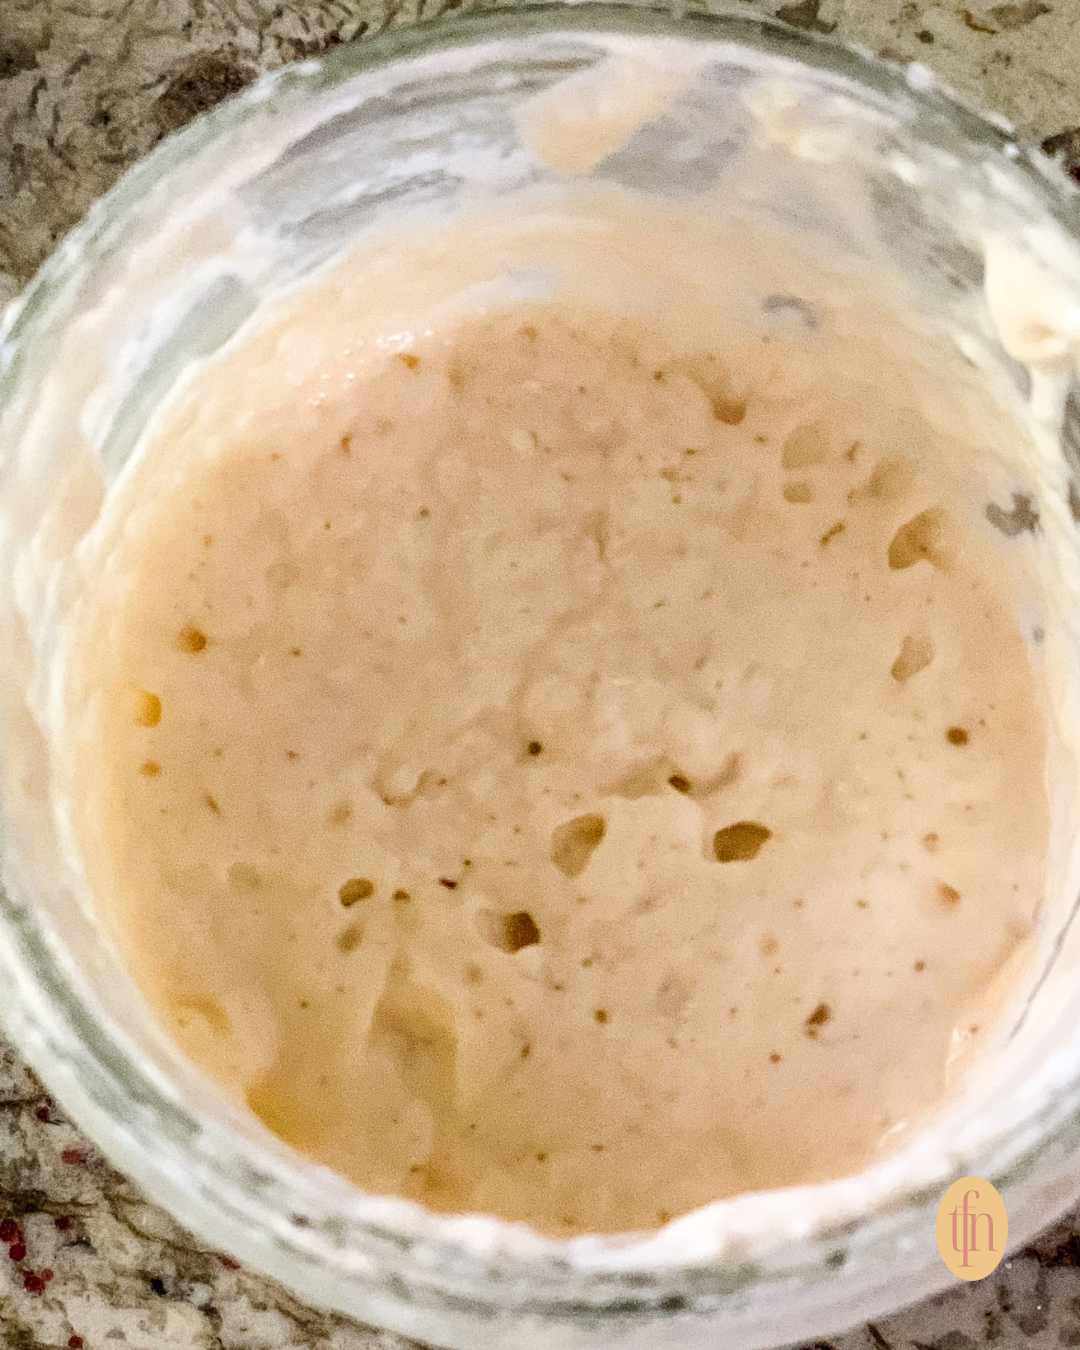
If your sourdough starter isn’t rising, there are several steps you can take to troubleshoot and remedy the issue:
Check Your Ingredients:
- Use unbleached all-purpose for feeding your starter. Bleached flour can inhibit growth as can some organic flours.
- Use filtered or dechlorinated water, as chlorine can harm the starter’s microorganisms. Spring water or bottled water are fine, too.
- If you’ve been using all-purpose flour, consider mixing in whole wheat or rye flour, which can help increase activity and rise.
Feeding Frequency:
- If your starter is kept at room temperature in a very warm environment (over 80ºF), has a dried layer on top, or you missed a few feedings, increase your feedings to once every 12 hours or store it in the refrigerator.
- If it has been neglected (in the fridge without feeding for 3 or more weeks) or on the countertop without feeding for 2 or more days, then a series of three feedings done 12 hours apart should make it active again.
Feeding and Discarding Regularly:
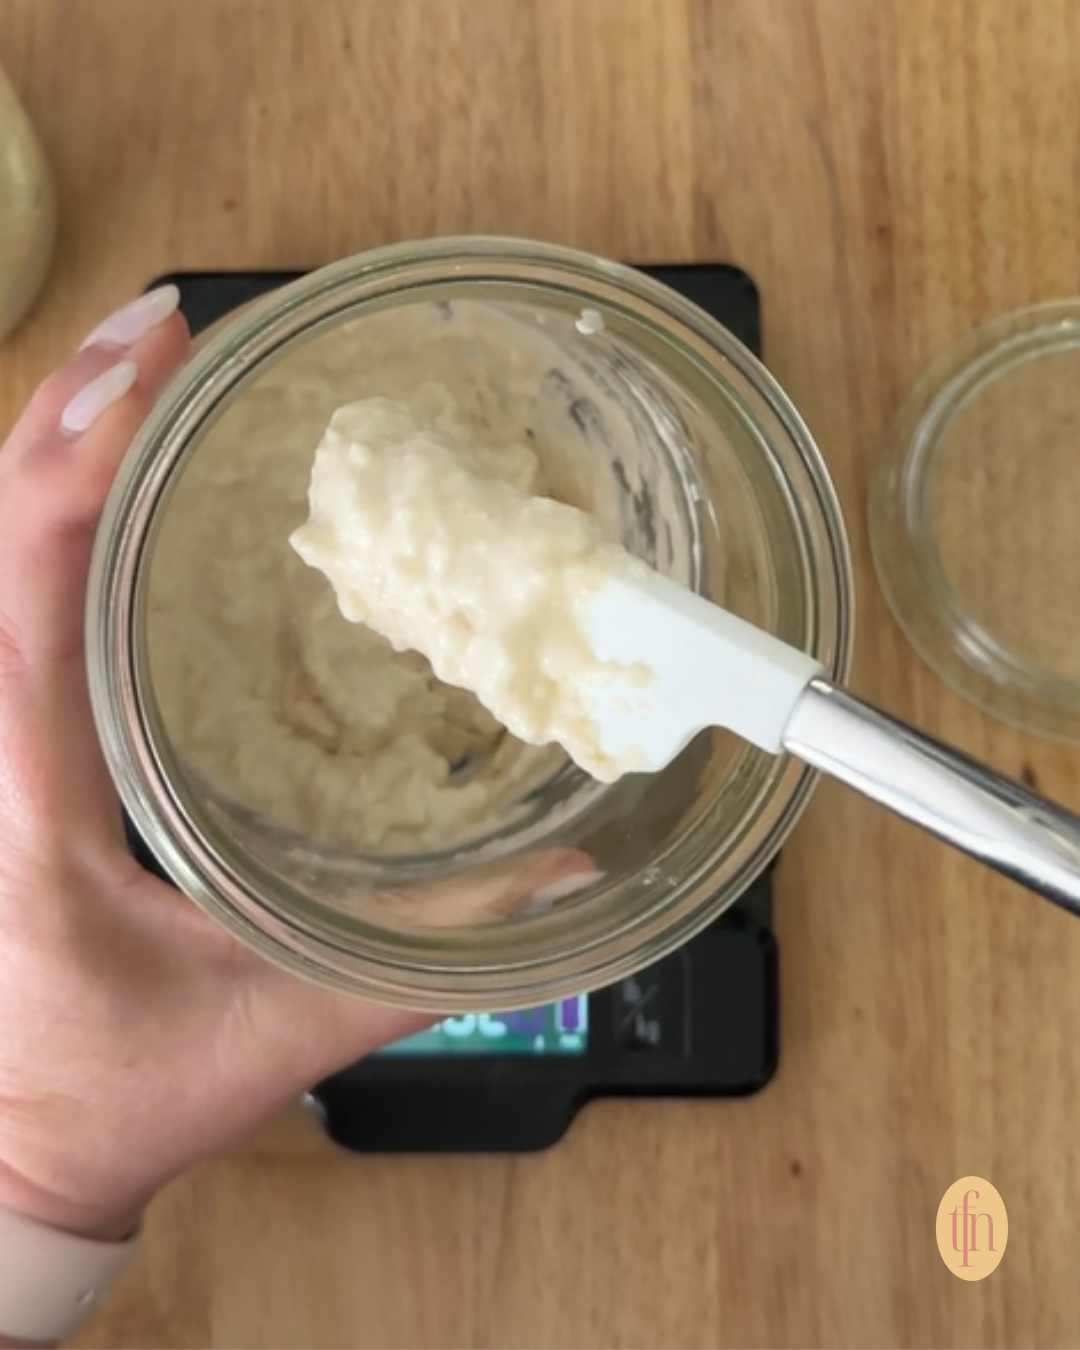
- Feed Equal parts by weight of flour and water. If you don’t have a scale, use twice as much flour as water. For example: use 1/2 cup of water to 1 cup of flour.
- Discarding: To maintain high fermentation activity, discard (or use in a recipe) half of your starter before each feeding. You can use your discard in every one of our Sourdough Recipes.
Searching for some scrumptious ways to use your sourdough discard?
We’ve got a delightful array of recipes for you to try, including tasty sourdough discard scones, fluffy pancakes made with sourdough discard, and our irresistible sourdough cinnamon rolls recipe.
Optimize Temperature:
- To encourage fermentation, maintain a consistent, warm environment between 70°F and 85°F (21°C and 29°C).
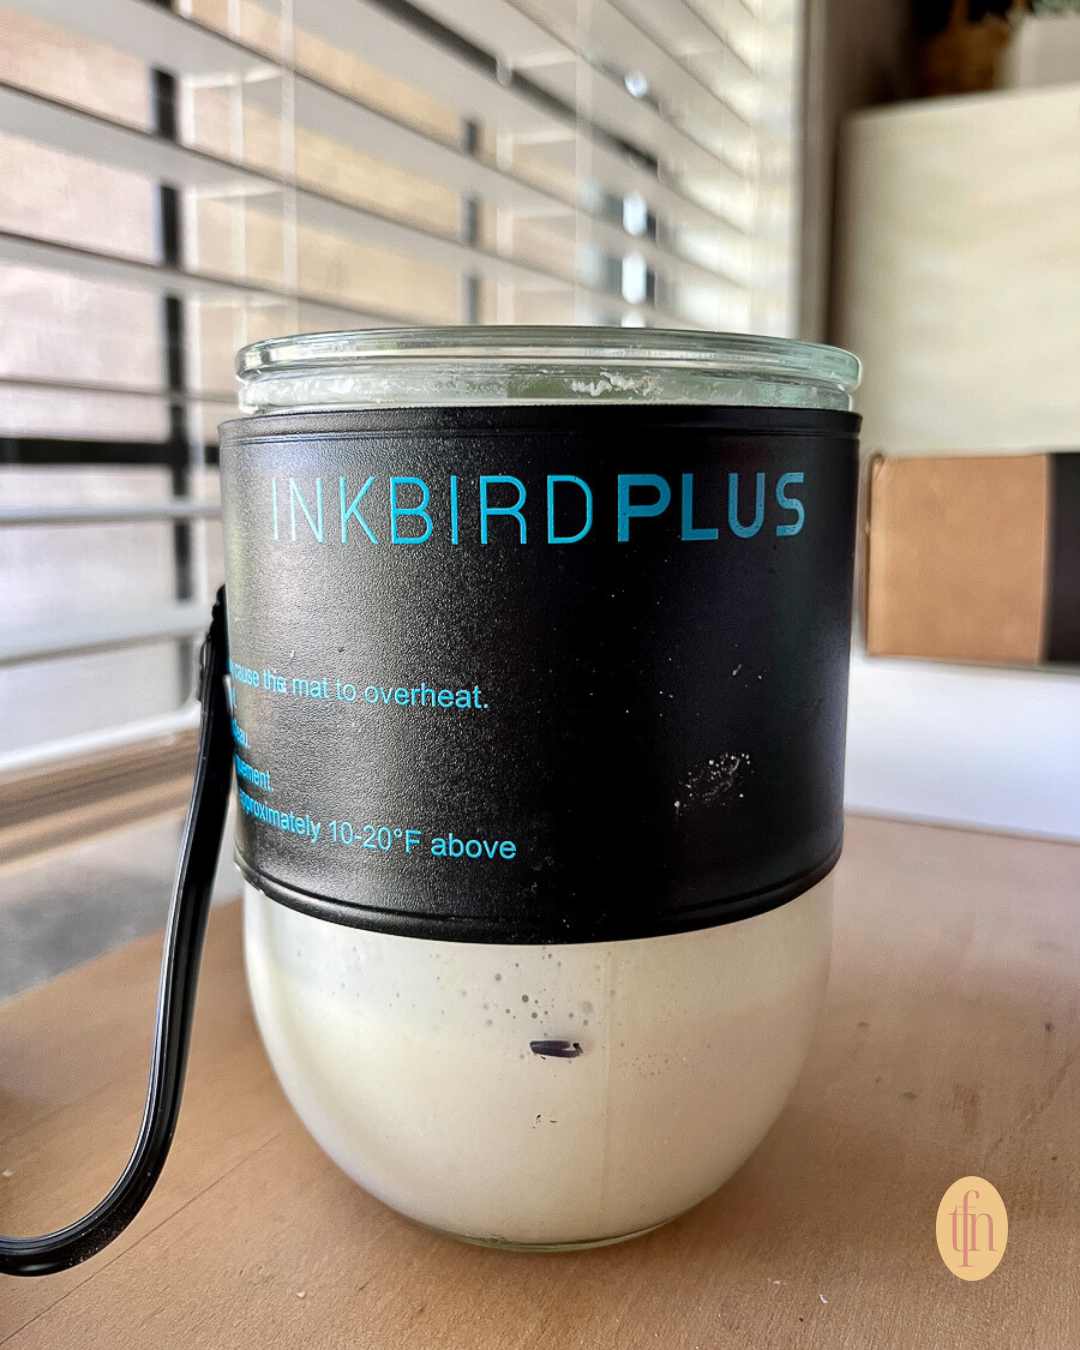
- I use a warming mat, like those for seed germination or kombucha fermentation, to provide a warmer environment in the cooler months.
Patience and Persistence:
- Sometimes, it just takes a bit of patience. Continue the care routine, and don’t get discouraged.
Remember, creating a lively sourdough starter can take time and may require a bit of adjustment to find the right balance for your specific environment and ingredients.
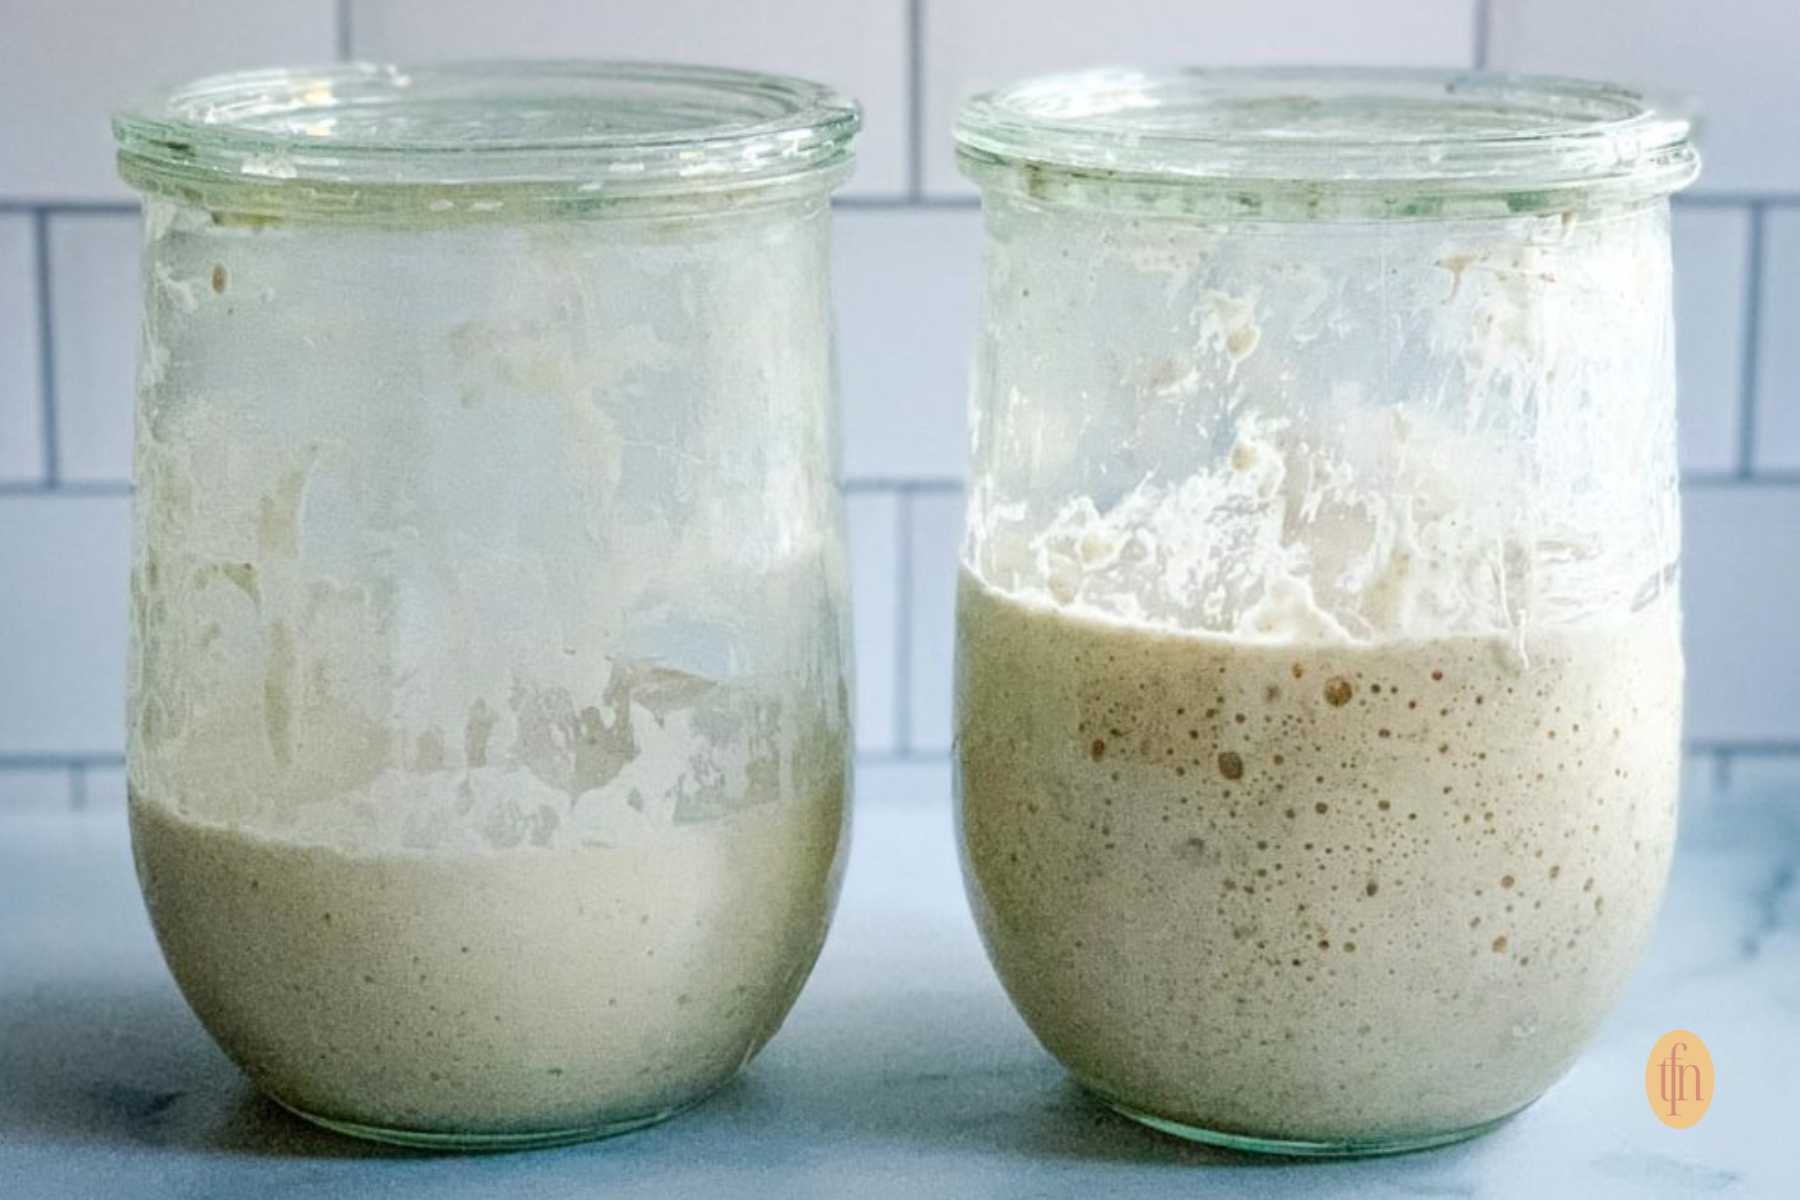
How Can I Revive a Sourdough Starter That’s Been Stored in The Fridge?
If your sourdough starter has been neglected in the refrigerator for several weeks, you can usually bring it back to life with a bit of care. Here’s a straightforward guide on how to revive your refrigerated sourdough starter:
- Assess Your Starter: Check for any signs of mold or unpleasant odors. If it looks and smells okay, it’s likely still viable. Discard any dark liquid (hooch) on top, a harmless sign of hunger.
- Discard and Feed Your Starter as you usually would.
- Wait for Activity: Place your starter in a warm spot, between 70-85°F.
- Re-Feed Schedule: Over the next 24 to 48 hours, feed your starter every 12 hours with the same 1:1:1 ratio (starter: flour: water).
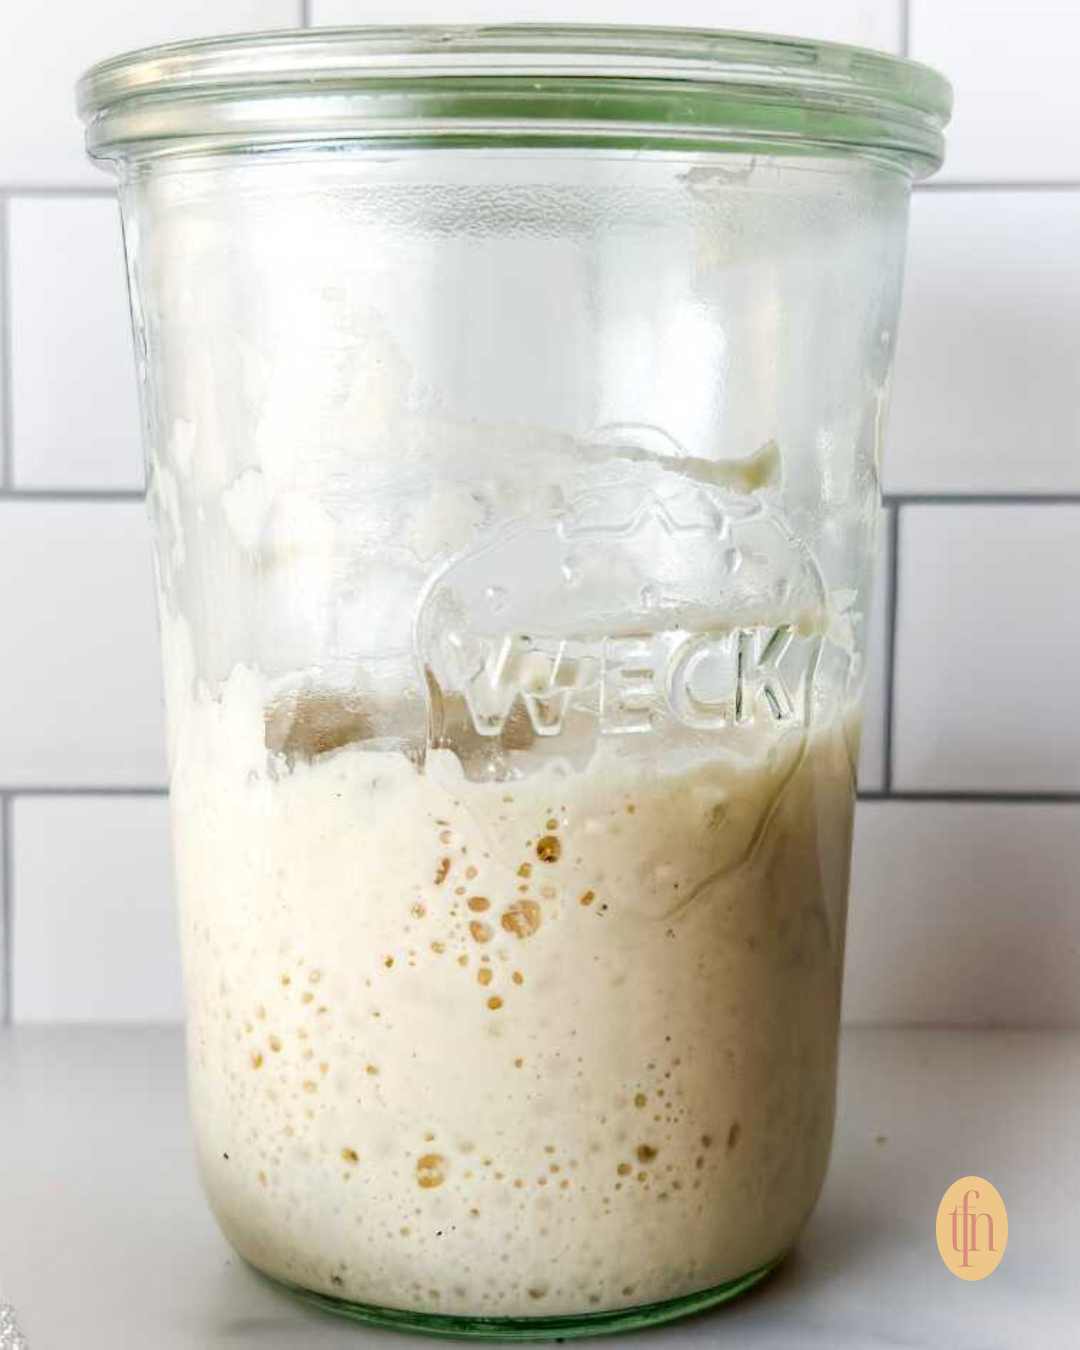
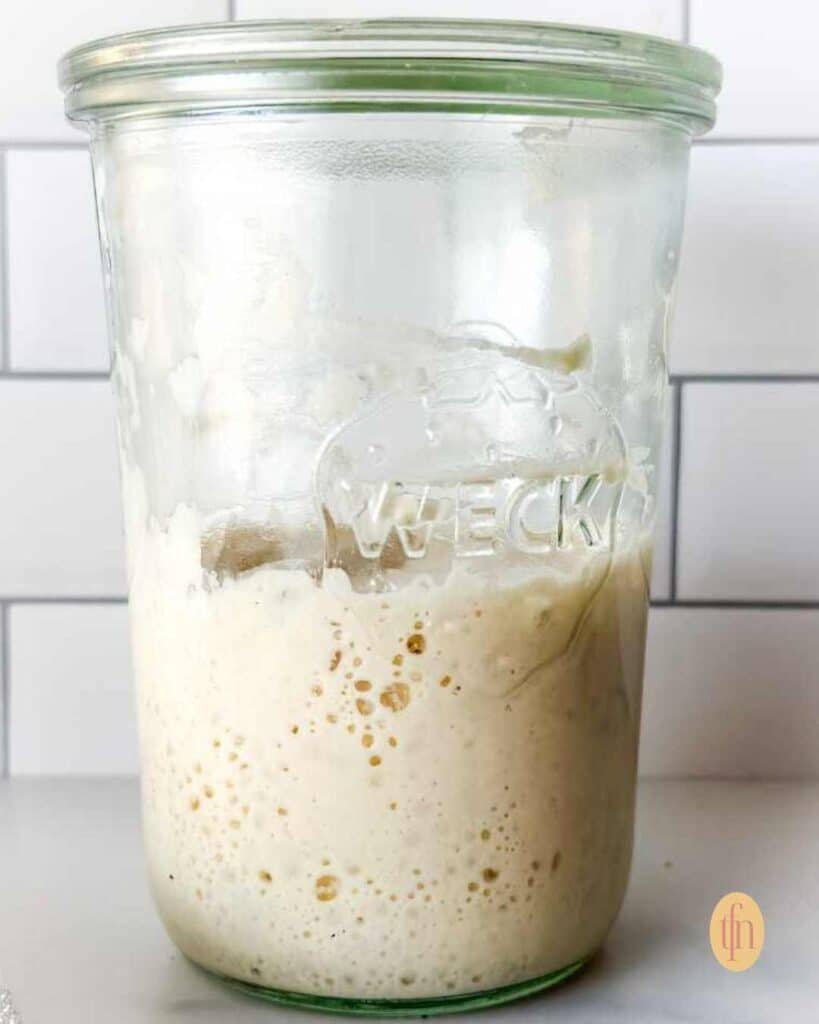
- Look for Bubbles: Observe the mixture for bubbles and a pleasant, yeasty aroma. This indicates that the natural yeasts are active and the starter is alive.
- Testing Viability: Once it doubles in volume within 4-6 hours of feeding, it’s ready to bake. Skip the “float test” (you can google it). It has never worked for me.
Remember, patience is essential when troubleshooting sourdough starter and reviving it. It may take several days for dormant yeast to become fully active again. During this time, you’re nurturing the good bacteria and yeast back to health for your delicious sourdough recipes.
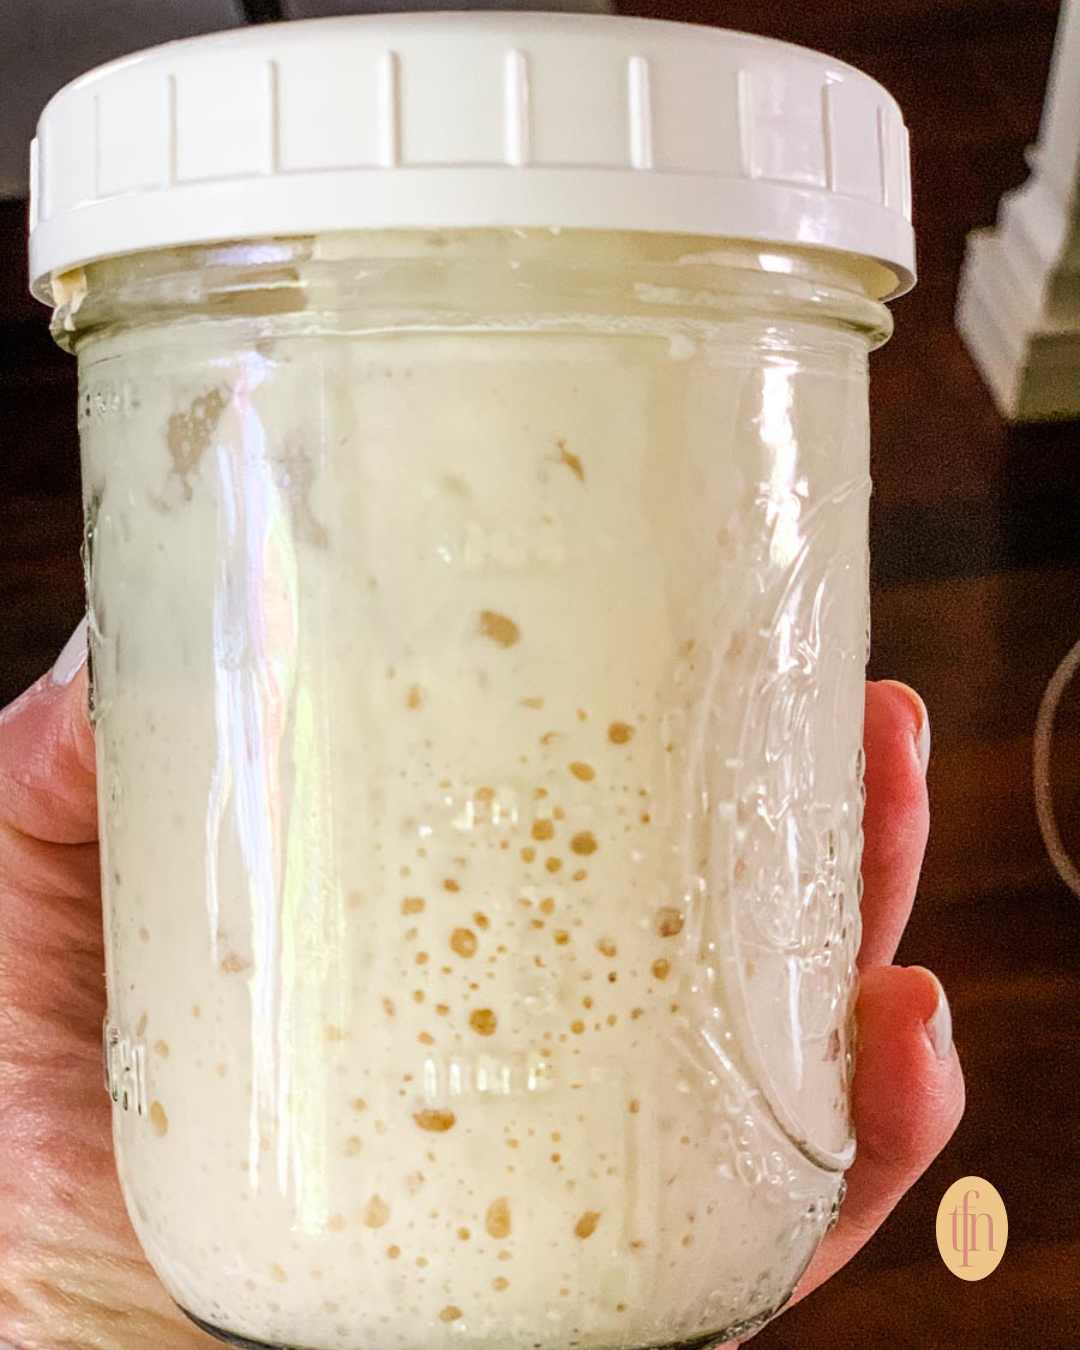
Signs That a Sourdough Starter Is Not Thriving:
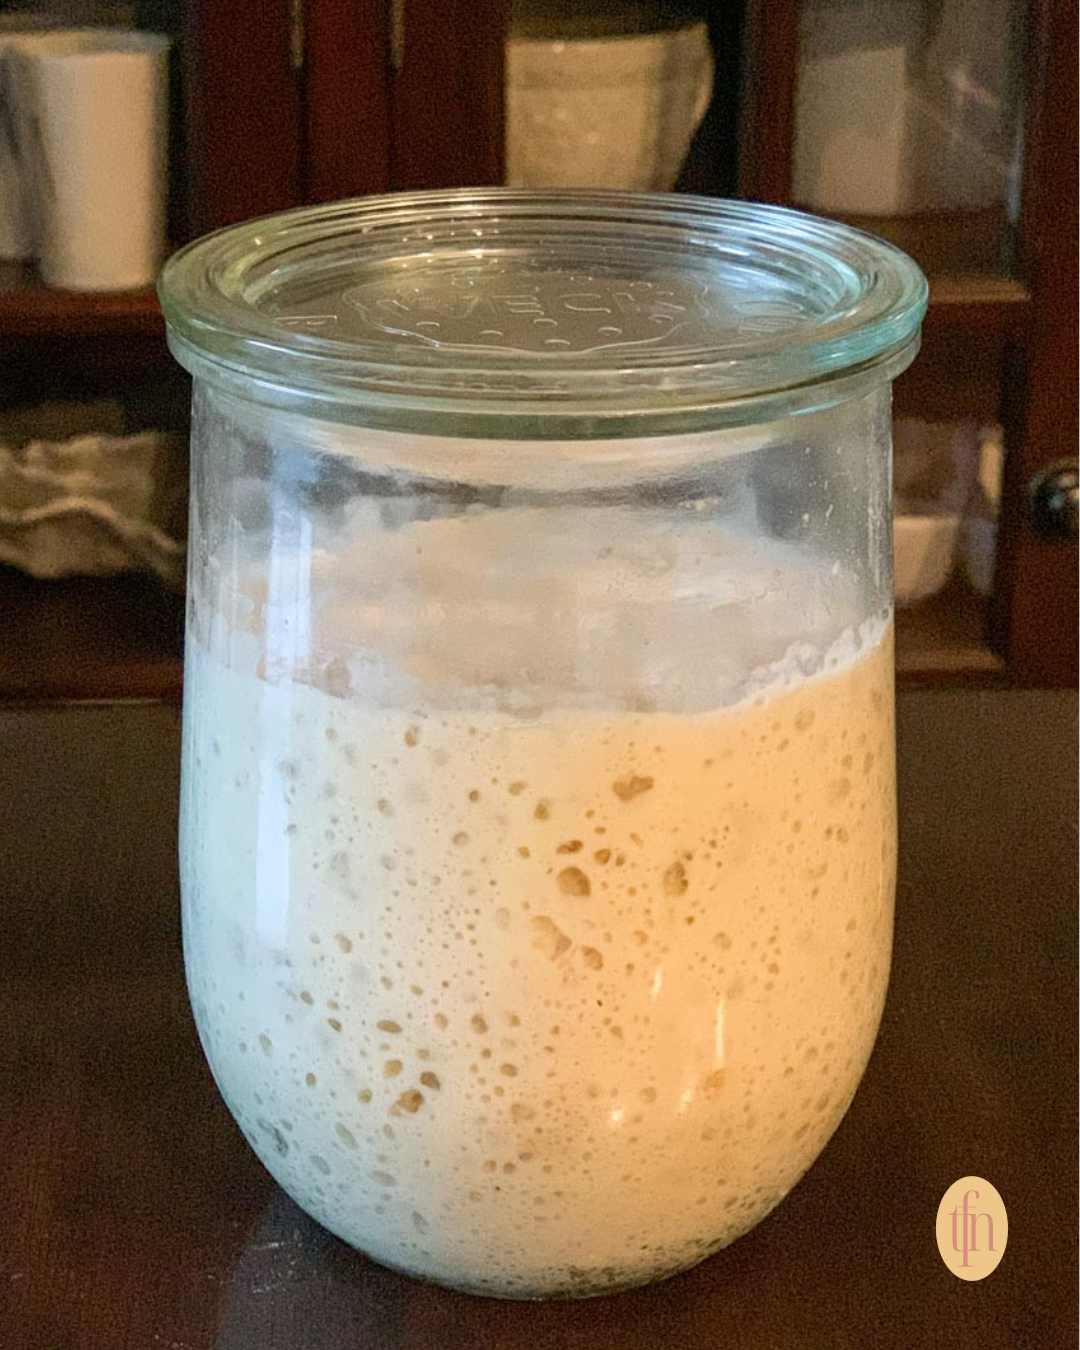
- Lack of Bubbles: An active starter is characterized by a multitude of small and large bubbles. If your starter has stopped producing bubbles, it is a sign that the natural yeast in it is not active.
- Unpleasant Odor: A healthy sourdough starter has a tangy, pleasant smell similar to yogurt or fermentation. An unpleasant, putrid odor can indicate bacterial contamination.
- Not Rising After Feeding: Typically, a healthy starter should double in volume within 4-6 hours after being fed. If yours does not, the yeast might be inactive or dead.
- Visible Mold Growth: Any signs of mold, including fuzzy spots or discoloration, mean your starter has been contaminated.
- Changes in Color: Your starter should maintain a creamy, off-white color. The appearance of any orange or pink hues indicates unwanted bacterial growth, and it would be safer to discard your starter at this point.
Troubleshooting these issues involves adjustments in feeding, temperature, and possibly starting afresh if your starter shows signs of mold or has an odd color. A responsive routine to these cues will help sustain a robust, active sourdough starter.
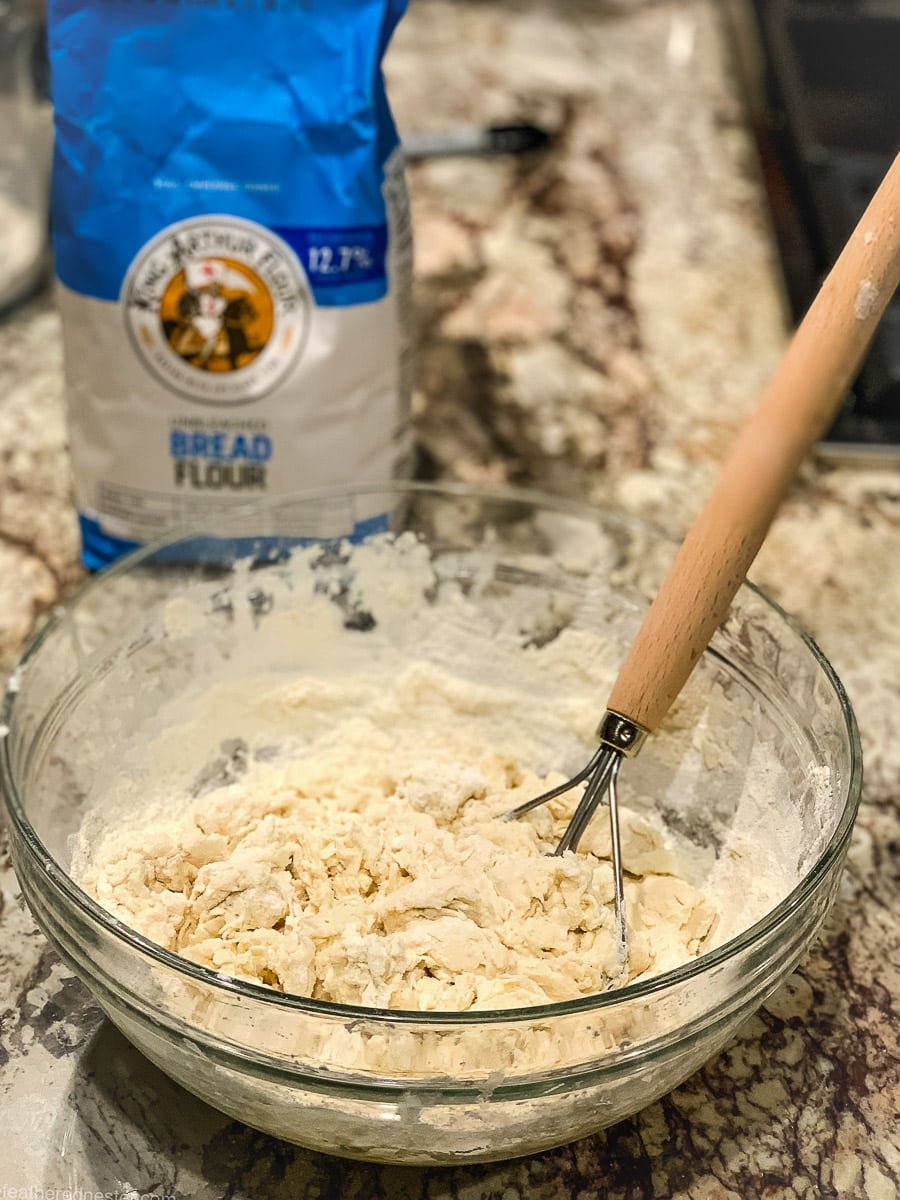
What Happens If It’s Bubbling But Not Rising?
When your sourdough starter is bubbling but not rising, this indicates that it’s alive, as the bubbles are a result of fermentation. However, it also suggests that the starter lacks the strength to increase in volume, which is essential for a good rise in your sourdough bread.
Possible Reasons:
- The temperature is too cold for fermentation.
- An imbalance in the flour-to-water ratio can affect the starter’s ability to rise.
- Bleached all-purpose flour or organic all-purpose flour can inhibit growth.
- Underfeeding your starter can deplete its resources, preventing it from rising. Conversely, overfeeding can dilute the natural yeast concentration.
- Changing brands of flour can cause a temporary loss of activity until the sourdough starter adjusts to the new flour.
Actionable Steps:
- Adjust Temperature: Find a warmer spot or use a warming mat to maintain a consistent temperature.
- Review Ratio: Use the correct flour-to-water ratio, 1:1 by weight.
- Establish Routine: Set a regular feeding schedule, adjusting the frequency and amounts as necessary.
If after these adjustments your starter still isn’t rising as it should, continue to monitor and make incremental changes. Patience is key; it might take a few days for your starter to develop the necessary strength.
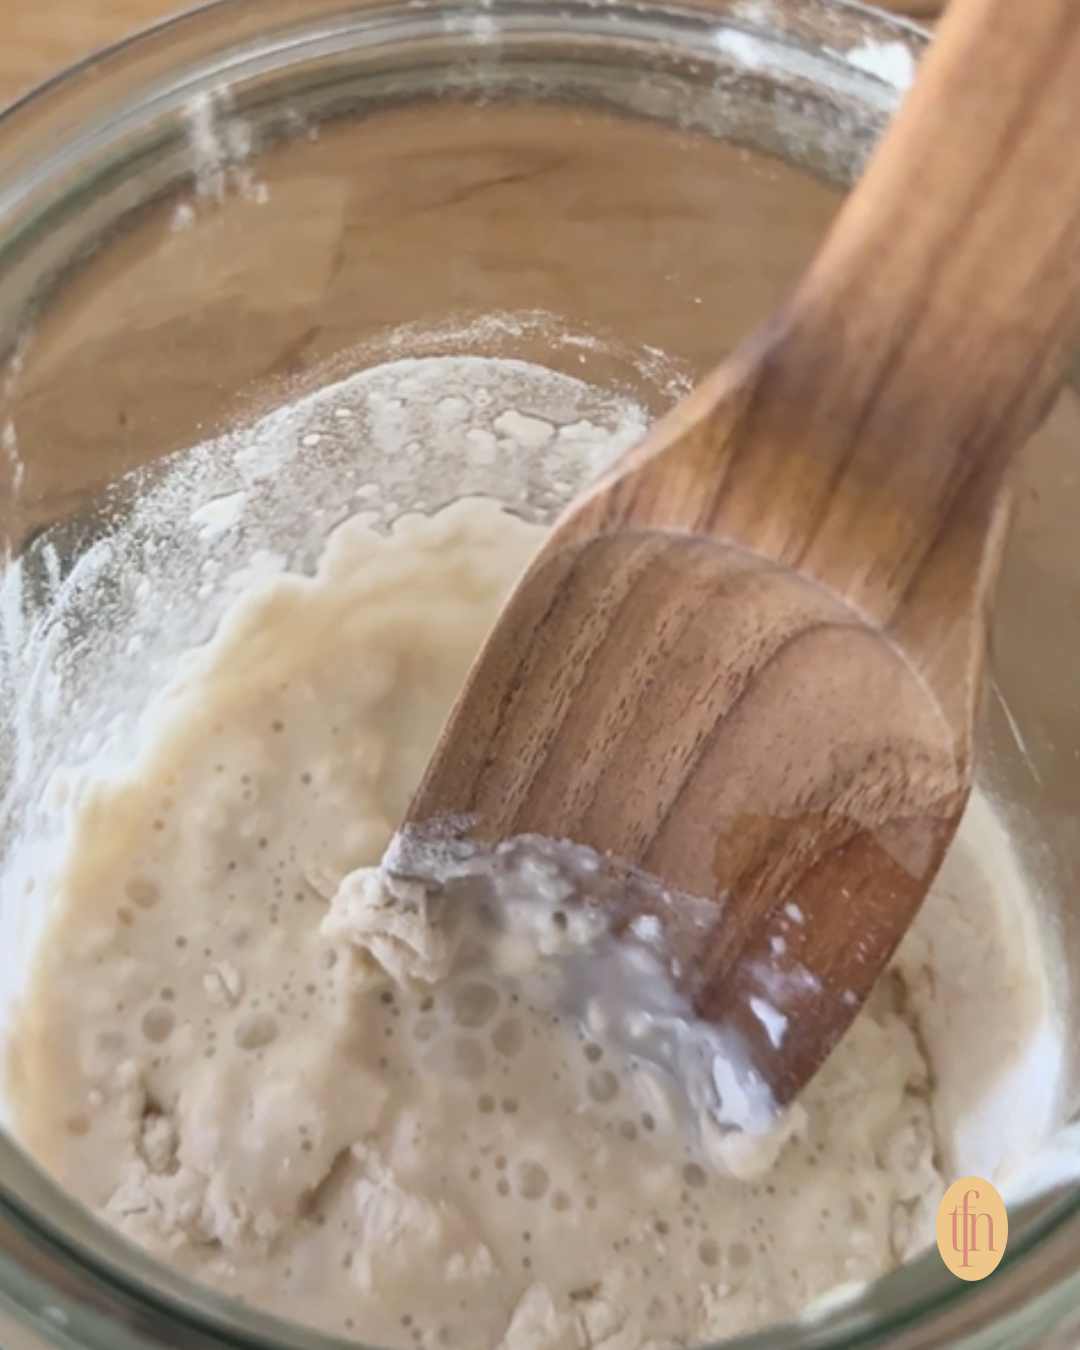
My Starter Rose and Bubbled For a Few Days But Now It Looks Inactive
It’s common for a sourdough starter to exhibit a lot of activity in the first few days and then appear dormant. This is usually not a cause for concern.
When you mix flour and water, you create a friendly environment for both wild yeast and bacteria. The first burst of activity is usually due to bacteria, which can produce gasses that cause the mixture to rise. However, these bacteria do not survive well as the environment becomes more acidic and the yeast begins to dominate.
If you follow the tips and recommendations in our sourdough starter for beginners post then you are on track.
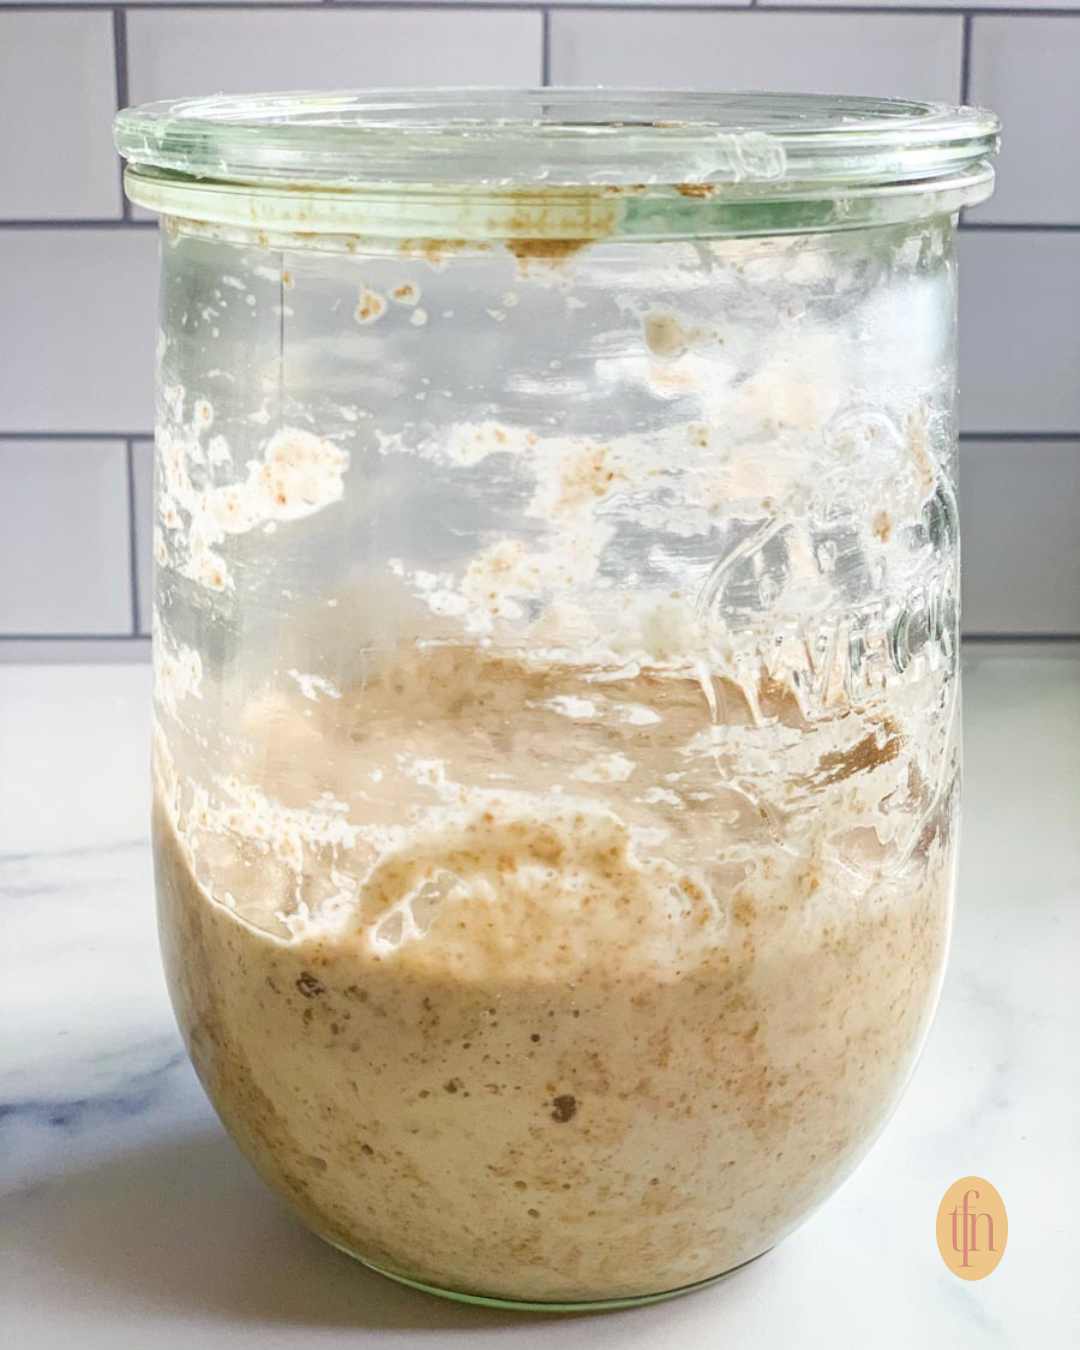
Why Does My Starter Smell Like Acetone (Nail Polish)?
If your sourdough starter has a scent reminiscent of acetone or nail polish remover this is a sign tha it’s hungry and needs feeding. This sharp smell results from excessive fermentation, producing acetic acid, which shares similar volatile compounds with acetone.
Here’s what’s happening in your starter:
- Yeast Activity: The yeasts in your sourdough starter are very active and consume the available nutrients rapidly.
- Acidic By-products: When the yeast runs low on food, it produces more acetic acid, which has a potent acetone-like smell.
- Warm Temperatures: Warmth accelerates fermentation, so a sourdough starter often develops this smell faster in a warmer environment.
To remedy this, feed your starter regularly. Feed daily If you keep it on the kitchen counter and your room is between 70º and 80ºF. If you keep it in the fridge, feed it every 1-2 weeks.
| Scent | Action Required |
| Acetone | Increase feeding frequency |
| Musty/Cheesy | Assess for mold, you may need to start over |
Should I Keep The Lid On Or Off The Jar?
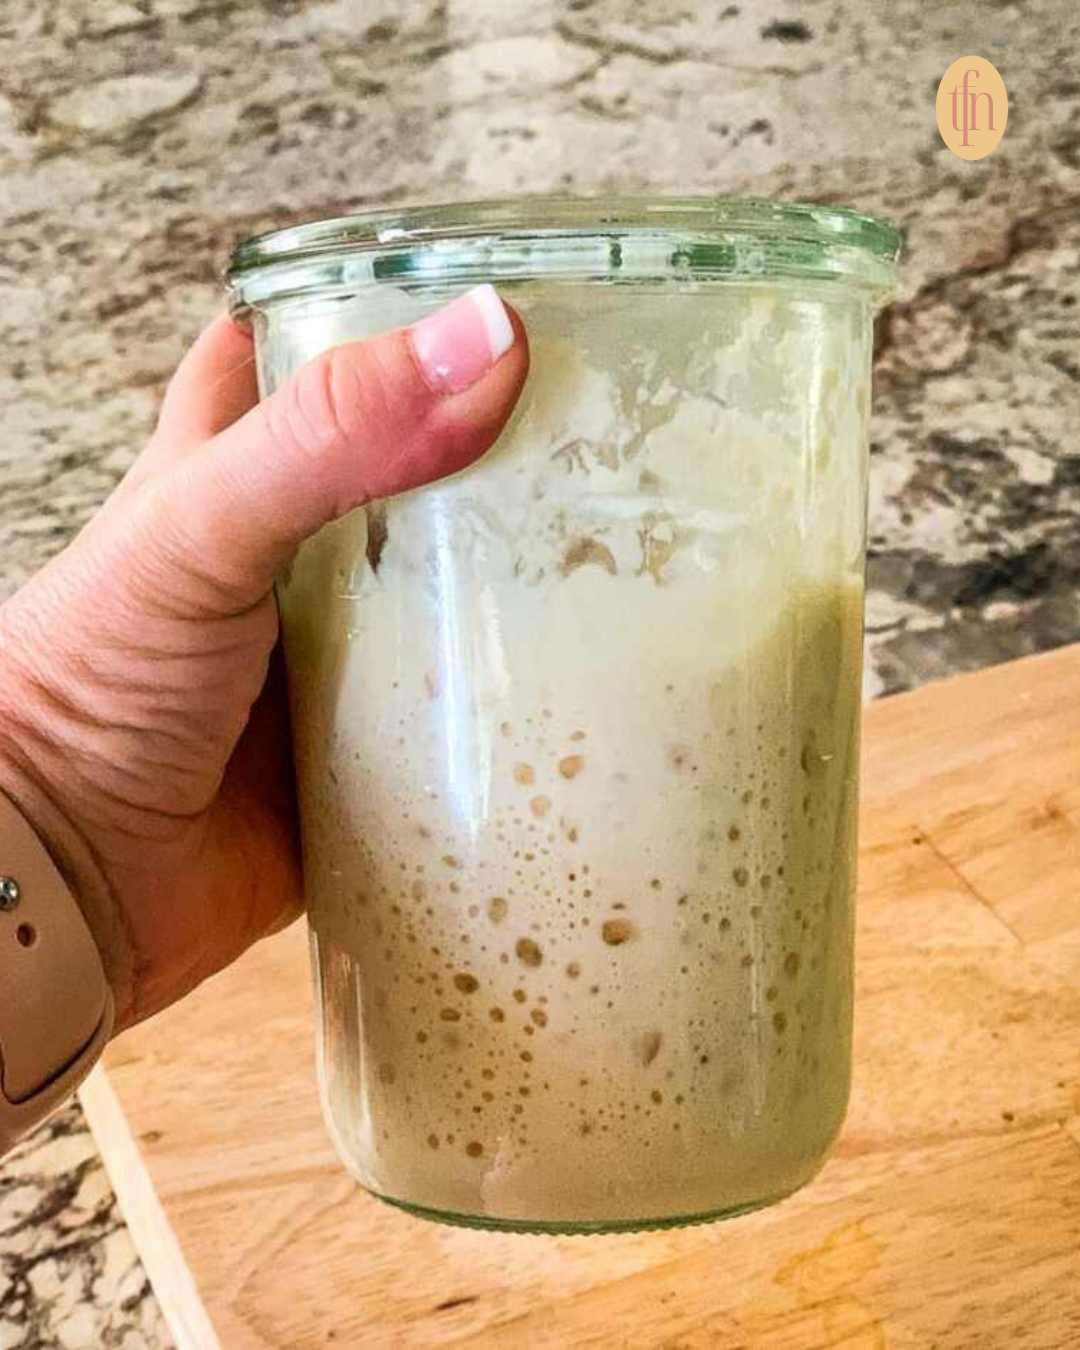
When maintaining your sourdough starter, deciding whether to keep the lid on or off the jar is important for its health. Fermentation requires some air, so I recommend using a jar with a lid that is not airtight, such as a lid without a rubber gasket or sealing ring around it.
Alternatively, you can use a rubber band over a layer of plastic wrap with a few tiny holes in the top atop your jar.
What Type Of Flour Is Best For Jump-Starting A Sluggish Starter?
When your sourdough starter is not rising, the right flour is key. You want a flour that’s high in nutrients to encourage the natural yeasts and bacteria to flourish.
Whole Grain Flours
Primarily, whole grain flours like whole wheat and rye are excellent for giving your starter a boost. They’re nutrient-dense, providing more of the vitamins, minerals, and fibers that the microbes in your starter feast on.
- Whole Wheat Flour:
- High in nutrients
- Promotes rapid fermentation
- Rye Flour:
- Often results in a noticeable difference in activity
- Can be mixed half and half with your current flour for several days to enhance growth
If you can get your hands on freshly milled flours, that’s even better, as they retain more of the natural benefits lost in the processing of store-bought flour.
Remember, using these flours is not just about getting a rise from your starter; it’s about establishing a stable and robust microbial community that will yield delicious sourdough bread. Stick with whole grains, and you’re on the right track to a healthy and bubbly sourdough starter.
Do I Really Need To Use Filtered Water?
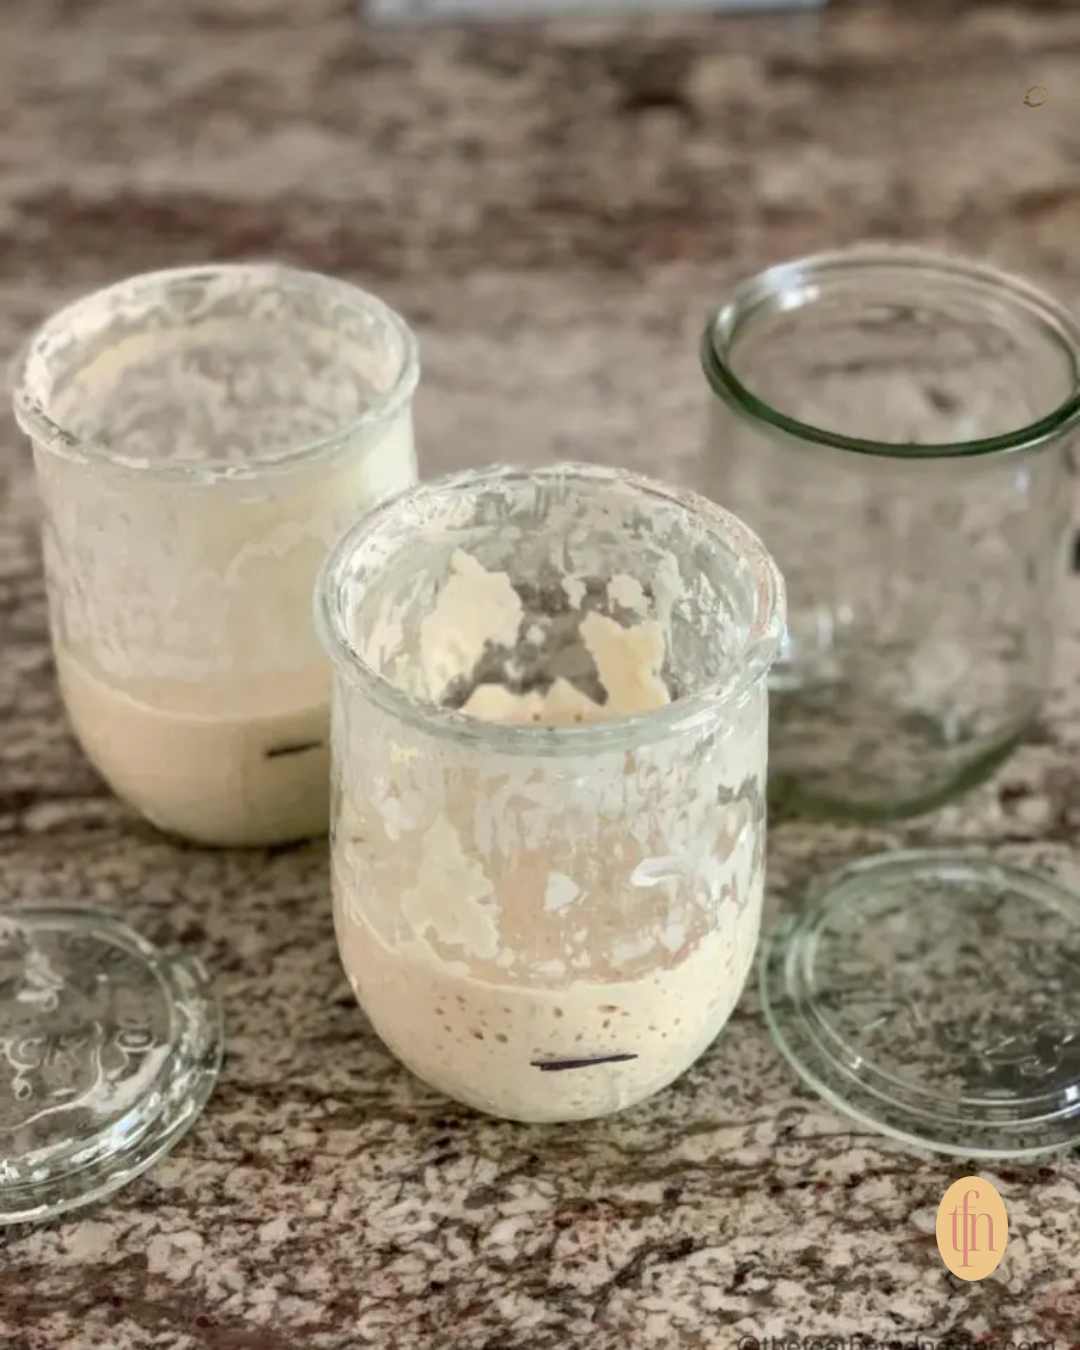
Water quality can be more significant than you might assume when tending to your sourdough starter. Your starter’s health is paramount, and unfiltered tap water — which usually contains chlorine — can inhibit the growth of the yeast and bacteria essential for your starter. Well water, on the other hand, is generally free from chlorine.
If you lack a water filter and rely on municipal (city-provided) water, you can simply leave your water uncovered overnight to allow chlorine to evaporate.

Cheri' says
I love your recipes! I was going to order the heating mat, but when I followed your link It took me to a different kind of heating mat. Is this one similar to the one pictured? Thanks for your help.
Gianne - TFN Team Member says
Hi there! You may check all our recommended tools for sourdough making here: https://www.amazon.com/shop/thefeatherednester/list/31BD6DQZGUKUM?ref_=cm_sw_r_cp_ud_aipsflist_4NTQT7RGKGGE4435JSKD
Jan Stout says
I have been following your instruction. The first two days it rose at least double the size, the third day it did not rise much, maybe only 1/2 the size and this is day 5 and the starter has about a tablespoon of hooch on it. I looked on the internet and they said to pour off the hooch and replace with the same amount of water so I did that, then I discarded the 1/4 cup starter, add 1/4 cup water and 1/2 cup unbleached all-purpose flour. I did that at about noon and marked the jar, so I could see any activity. It is now 10:30pm and nothing has happened. What is wrong?
Gianne - TFN Team Member says
Hi! I remember that Renae discussed this on one of her stories or reels on Instagram. The hooch should be discarded, and then proceed with feeding it. It’s an indicator that your starter is very hungry. Follow us on Instagram; she has highlight stories you might want to check for more tips. Or check out this other post: https://thefeatherednester.com/how-to-store-sourdough-starter/
Maylin Hilburn says
My starter is 5 days old today and has been overflowing out of my container every single day and was developing beautifully. But I came back from classes today and it has separated, there are no bubble and there is a centimeter of liquid on the top. There is no odd odor or color, I have not changed anything about it, not even the location it of the container. What do you suggest I do?
Gianne - TFN Team Member says
Hi, Maylin. I remember Renae discussing this on one of her stories or reels on Instagram. They called the thin layer of water a hooch. You should discard the water and then proceed with feeding it. It’s an indicator that your starter is very hungry. Follow us on Instagram, she has highlight stories you might want to check for more tips. Or check out this other post – https://thefeatherednester.com/how-to-store-sourdough-starter/
Kelly says
My starter is doubling after feeding it but I don’t have many bubbles. Should I be doing something different?
Gianne - TFN Team Member says
What is the current temperature of your room where your starter is?
Cathy says
These are excellent tips! I’m struggling with my starter not rising at all (I’m new to this). Is it okay to use bread flour as the white flour? I’m using 100% wheat as the other portion. Thanks!
Gianne - TFN Team Member says
We recommend unbleached, all-purpose flour to feed and maintain our starter. Rye or whole wheat flour is also recommended to start the starter but for day 1 only. Renae discussed the best flours to use for starter here – https://thefeatherednester.com/homemade-sourdough-starter/