This no-soak Instant Pot Black Beans recipe is so easy and delicious that you’ll never need to buy canned beans again!

Do you love black beans but don’t love how long they take to cook on the stovetop? If so, then you’ll love this recipe!
Pressure cooking them in the Instant Pot or Ninja Foodi makes them fast and easy. Plus, you don’t have to presoak them beforehand.
Content Covered Here
Easy No Soak Instant Pot Black Beans
Dry beans are a healthy and affordable way to get protein and fiber in your diet. Plus, they’re low in fat and calories.
They are also versatile, meaning you can add them to other meals like burritos, chili, and salads.
You can also freeze them and add them to Instant Pot meals, slow cooker meals, or serve them on their own.
But sometimes, cooking them the traditional way can be time-consuming. You have to soak beans overnight, then cook them for hours on the stovetop.
With this recipe, you can have them on the table in a fraction of the time! And, you don’t even have to presoak the beans beforehand – you’ll love this no-soak recipe.
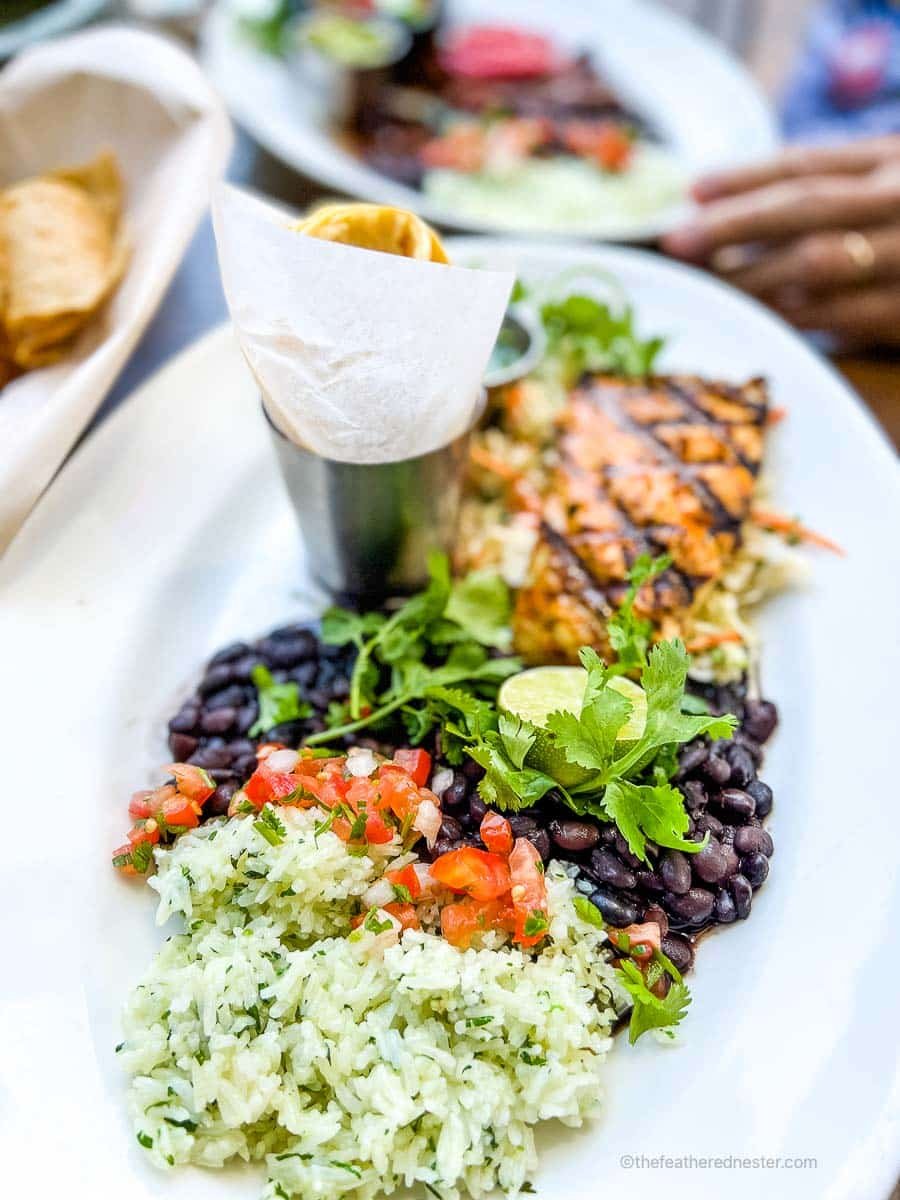
Just add them to the pot with some water or broth, and let the pressure cooker do its thing. In no time, you’ll have perfectly cooked black beans ready to be used in your favorite recipes!
Love beans? Try our Instant Pot calico beans, calico bean casserole, navy bean soup, and Instant Pot white beans.
Ingredient Notes and Substitutions
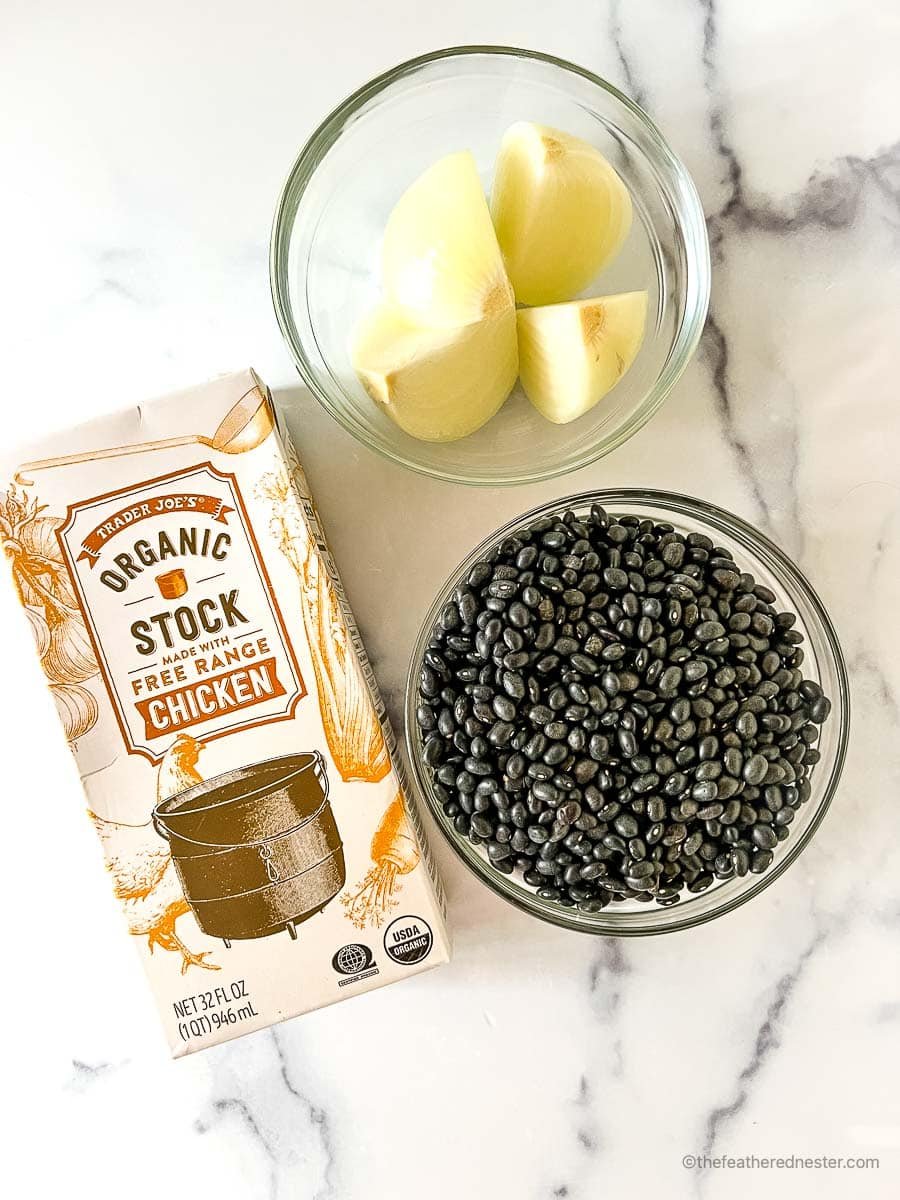
- Dry black beans – Since this is a no-soak recipe, presoaking is optional. For soaked black beans, you can reduce the natural pressure release time to 10 minutes.
- Salt – This is optional and can be omitted or reduced depending on your dietary needs.
- Hot water – preheating the liquid saves time.
- Hot broth – We used chicken broth for this recipe but you could also use vegetable broth, beef broth, or just add more water.
Optional, but highly recommended:
- Onion – for added flavor
Recipe Variations
- For a little bit of spice, add a diced jalapeño pepper to the pot with the other ingredients.
- To make them even more flavorful, sauté a diced onion and add it with the rest of the ingredients.
- Add bay leaves, cumin, or other spices for even more flavor.
- Garlic lovers can add a few cloves of minced garlic to the pot.
- For a bit of acidity, add a splash of lime juice or white vinegar before cooking.
Our Favorite Tools To Make This Recipe
 Buy Now →
  Buy Now →
 How to Cook
Rinse the beans. Rinse and pick through them, removing any shriveled ones or rocks.
Then pour them in the pot with the salt, broth, and water.
For added flavor, cut an onion into quarters and add that, too, like we have here.
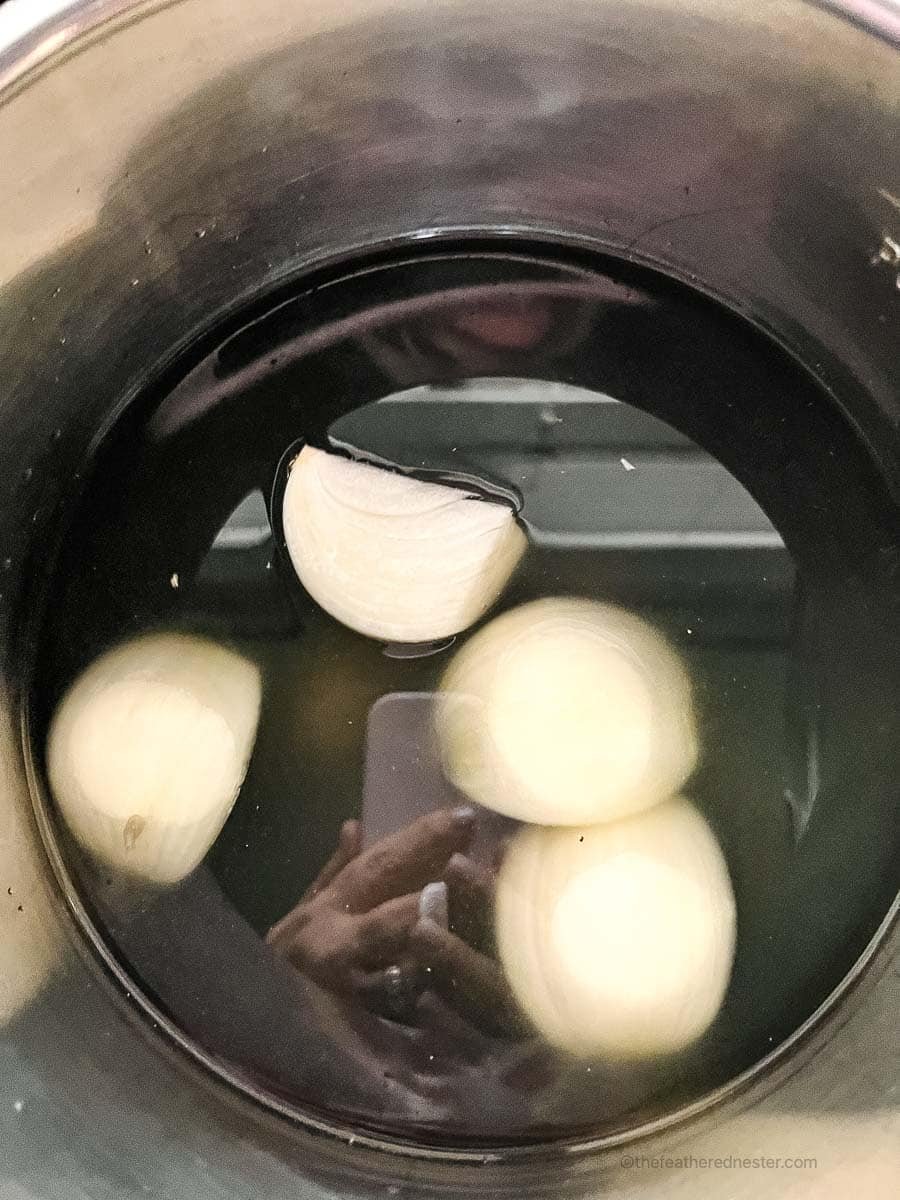
Note: Using hot water and broth helps bring the pot to pressure faster, reducing your cooking time.
Pressure cook Twist on the lid and turn or push the pressure lever (if needed). Set it to high pressure for 30 minutes.
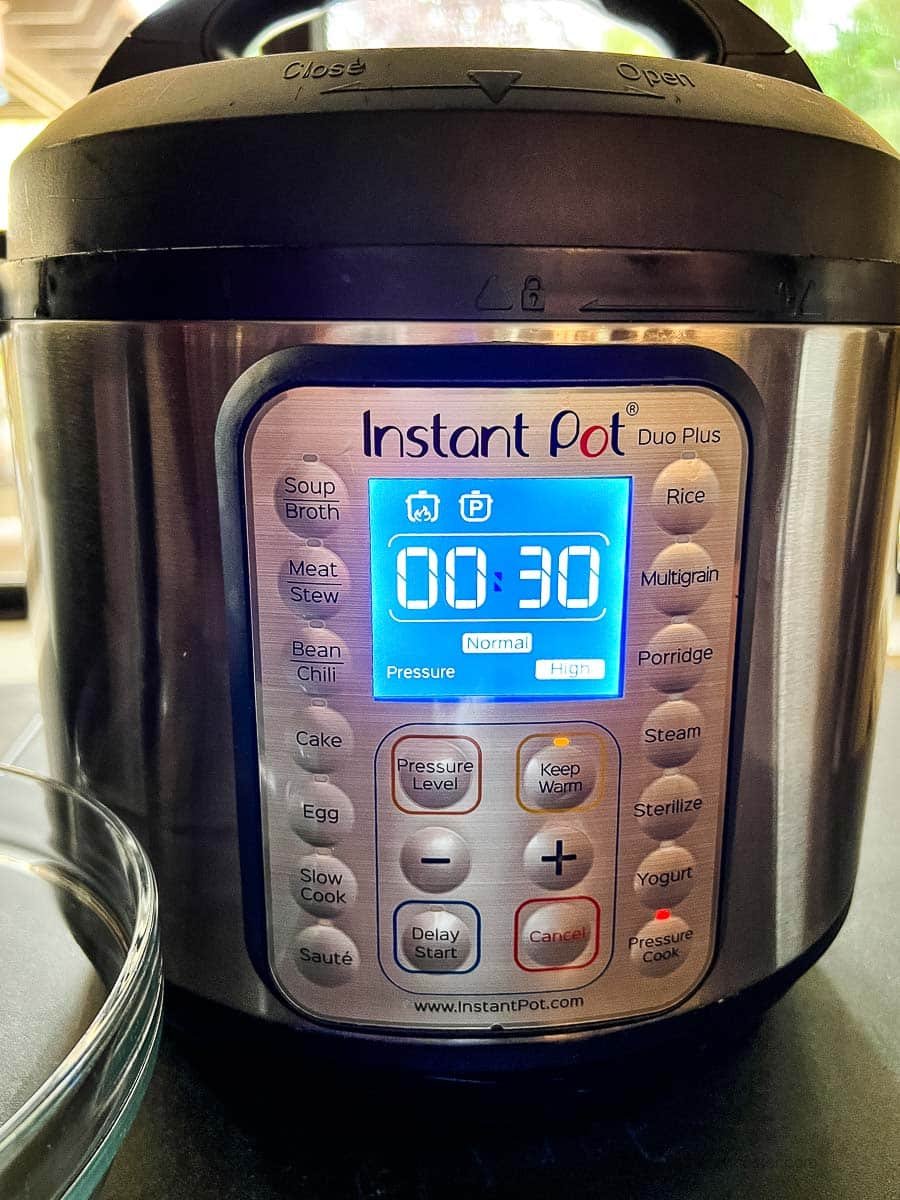
After pressure cooking is done, allow the pressure to naturally release for 20 minutes, then do a quick release by twisting or pressing the pressure lever/button.
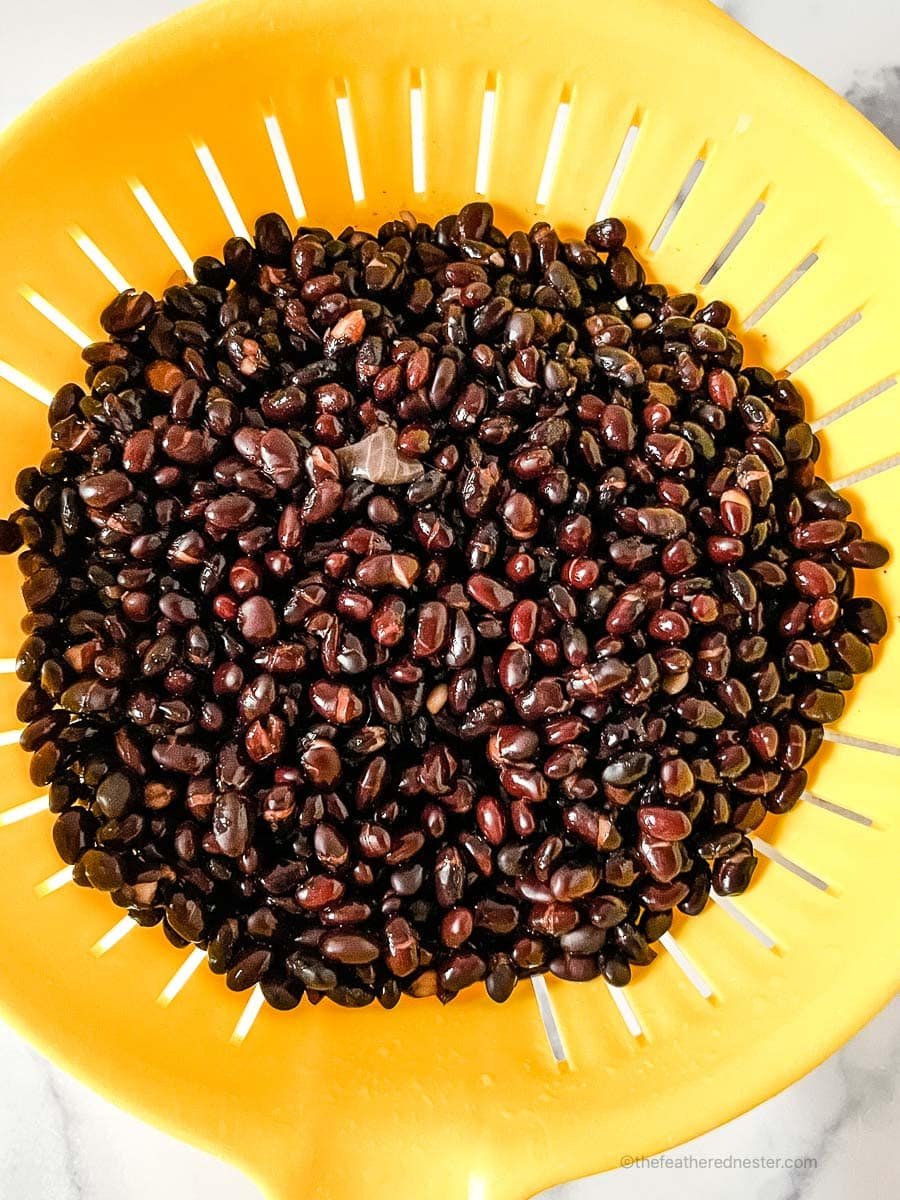
Ready to serve. Carefully remove the pot liner using a pot holder and drain them into a colander. Rinse until the water runs clear.
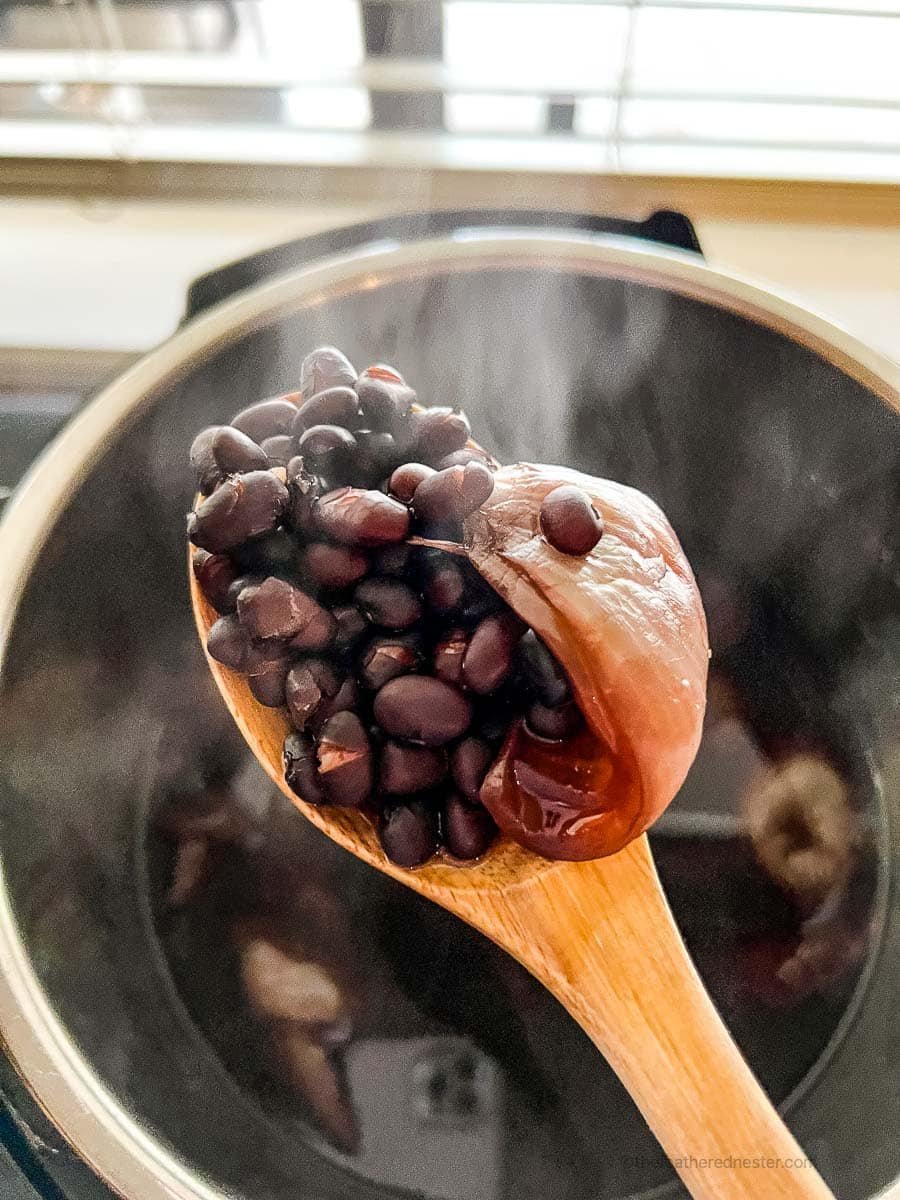
You can serve them on their own as the main dish or use them in another recipe. You can also store them in the refrigerator or freezer to use later.
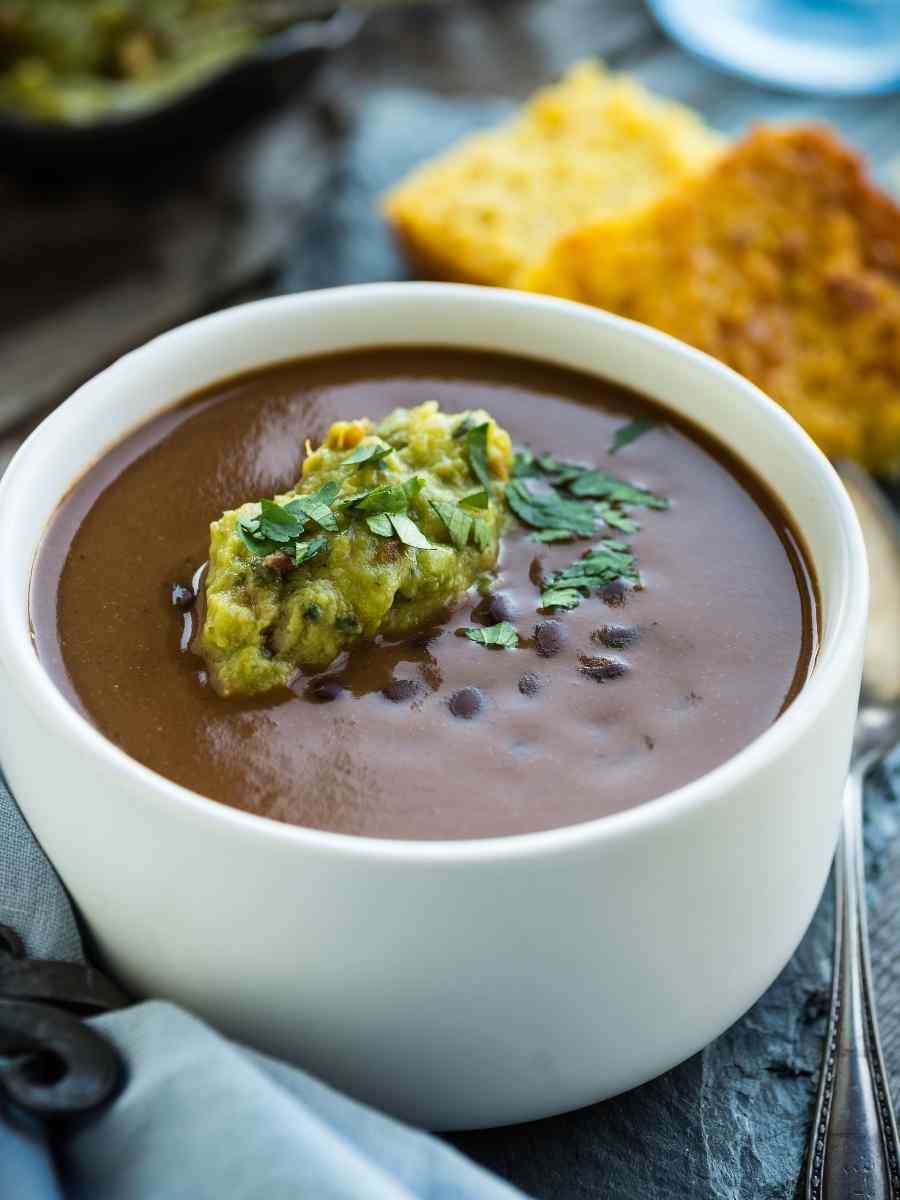
How to Serve
There are so many ways to enjoy this dish! Serve them on their own, as a side dish, or use them in another recipe. Here are some ideas:
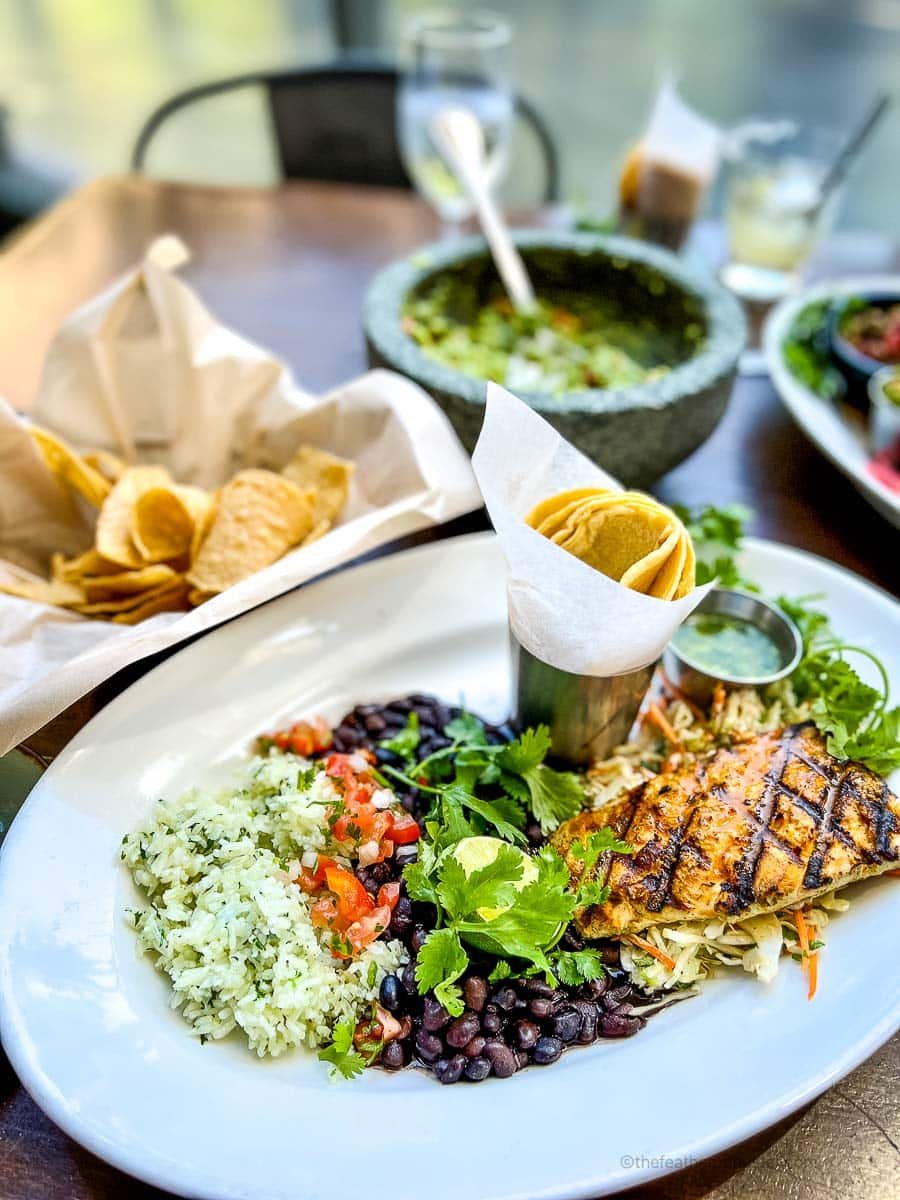
- Rice: Serve black beans over basmati or brown rice with chicken, diced avocado, shredded cheese, or sour cream for a simple and satisfying meal.
- Mix with salsa, lime juice, and chopped cilantro for a delicious bean dip. Serve with tortilla chips or fresh veggies.
- Mix with sautéed veggies and serve over pasta or rice for a quick and easy vegetarian meal.
- Use them instead of ground beef in tacos, burritos, or enchiladas.
- Stir into soups or stews for extra protein and flavor.
- Mash and use them as a spread on sandwiches or wraps.
Frequently Asked Questions
The ratio of beans to water in an instant pot is 1 pound of dried beans to 6 cups of water. This is the same ratio for both soaked and unsoaked.
Yes, they can be cooked without soaking. The cooking time is 30 minutes.
This recipe can be cooked under high pressure for 30 minutes. If you are using presoaked black beans, it will take about 15 minutes.
That is preset for 15 minutes and is the cooking time for presoaked black beans. If you don’t soak them ahead of time, you will need to cook them for 30 minutes.
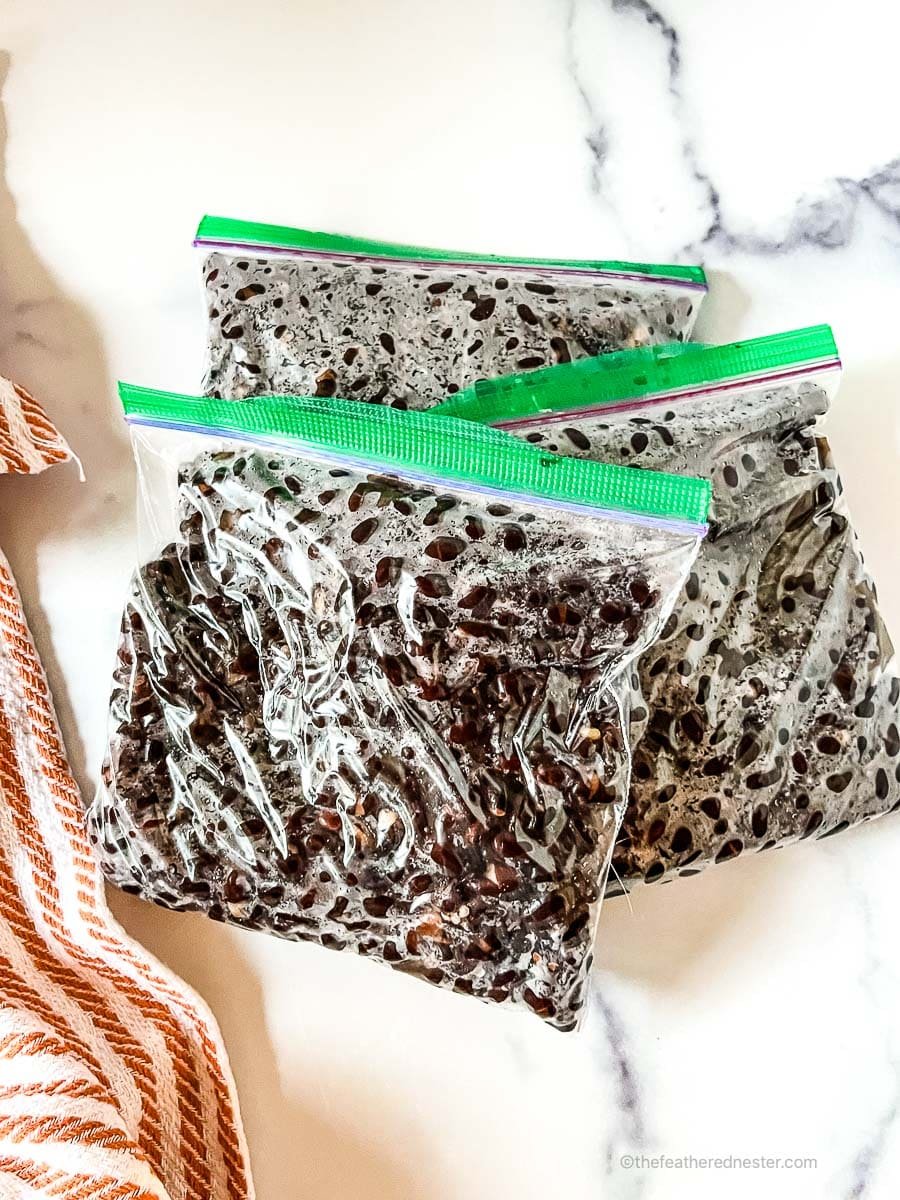
Cooked black beans can be stored in the refrigerator for up to one week. To freeze, add them to a Ziplock freezer bag or an air-tight storage container and use them within 3 months.
To reheat, simply thaw (if frozen) and heat on the stove over low heat until warmed through. You may need to add a splash of water or broth if the beans seem dry.
You can also reheat them in the microwave. Place them in a microwave-safe dish and heat them on high power for one to two minutes. Stir them once or twice during cooking. If they seem dry, add some water or broth.
If you tried this black bean recipe or any other recipe on my website, please leave a 🌟 star rating and let me know how it went in the 📝 comments below. Thanks for visiting!

Instant Pot Black Beans
Equipment
- colander
Ingredients
- 1 pound dry black beans
- 1 teaspoon salt
- 3 cups hot water (preheating your liquid saves time)
- 3 cups hot chicken broth (can substitute with more water)
optional (for added flavor)
- 1 onion quartered
Instructions
- Rinse and pick through your dried beans, removing any shriveled beans or rocks. Place the dry beans in the Instant Pot liner, then add the salt, broth, water, and onion if using. Pro Tip: Hot water and broth help bring the pot to pressure faster, reducing your cooking time.
- Twist on the pressure cooker lid, turn or press pressure lever (if needed), and set on high pressure for 30 minutes. When done, allow a 20 minute natural pressure release (leave pot undisturbed), then do a quick release my twisting or pressing the pressure lever/button.
- Using pot holders, carefully remove the pot liner and drain the black beans into a colander. Rinse the beans until the water runs clear.
- Serve the beans alone, use them in another recipe (as you could canned beans), or store them in the refrigerator or freezer to use later (see notes below).


Dina and Bruce says
What an easy way to get black beans cooked in a flash! Thank you! We used veggie broth, so good!
Brandi says
I love the convenience of this recipe with the Instant Pot. The flavor is on point here!
Holly says
These beans turned out fantastic. I love how quickly I can make them from scratch. We used them as a side to taco night and in burritos. Everyone loved them. Thanks for the great recipe.
veenaazmanov says
Thank you for all the tips to perfect no soak beans. This is so healthy and nutritious. A very informative post.
TAYLER ROSS says
This is the absolute easiest way to make black beans. I’ll never use another recipe again!