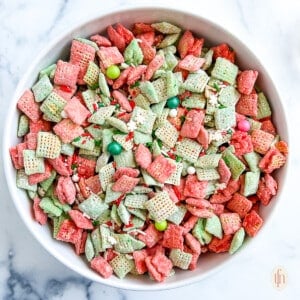
Christmas puppy chow is the perfect easy and festive snack to make your holiday season even sweeter! With just a handful of ingredients, this quick and fun treat is great for kids to make and share with family and friends. It’s crunchy, chocolatey, and irresistibly sweet—everything you want in a holiday snack! This Chex mix muddy buddies is sure to spread cheer.
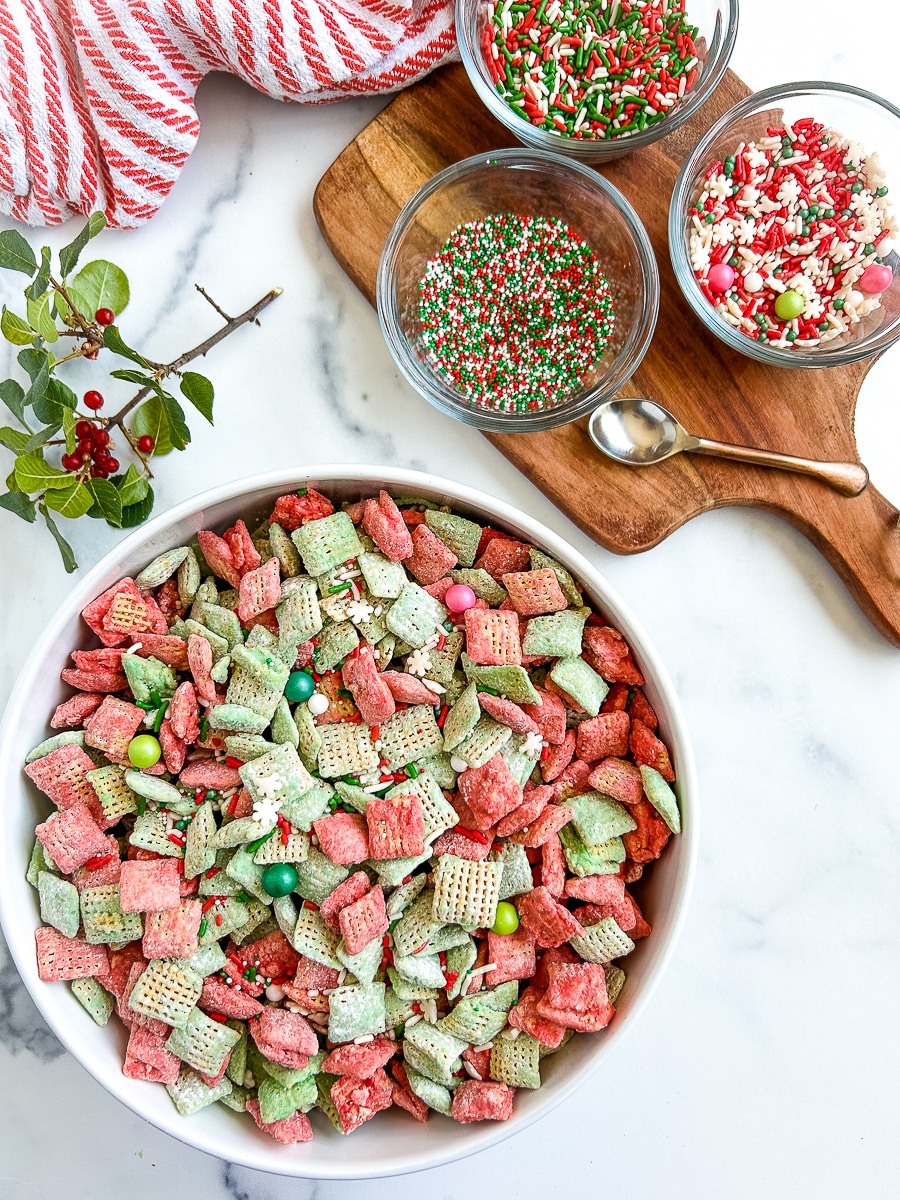
This Chex mix muddy buddies recipe is not only delicious but also incredibly simple to make. In just 15 minutes, you’ll have a big batch of sweet, crunchy, and chocolate-coated cereal that’s perfect for holiday snacking.
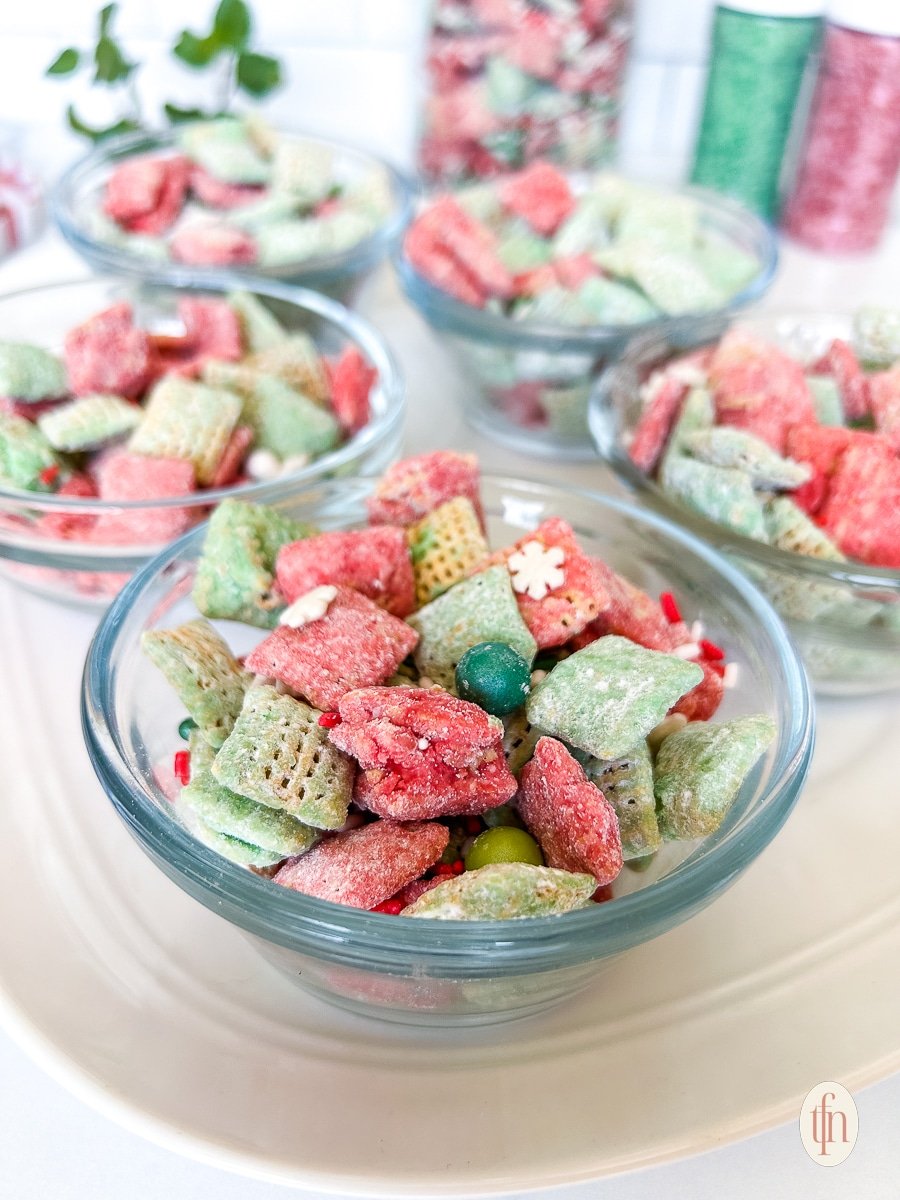
One of the best things about this Christmas puppy chow recipe is how easy it is to customize! Whether you prefer classic flavors or want to add a twist with dark chocolate chips or green candy melts, this snack is endlessly versatile. Plus, since it’s peanut-free, it’s a wonderful option for those with allergies. Store it in an airtight container, and it stays fresh for up to a week—if it lasts that long!
Content Covered Here
Why We Love This Christmas Puppy Chow Recipe
- Quick and easy
Make twelve ½-cup servings in just 15 minutes—perfect for last-minute holiday gatherings! - Festive and fun
The bright holiday colors make this snack perfect for Christmas, just like these strawberry cheesecake cookies. - Peanut-free
Unlike traditional recipes, this one is nut-free, making it safe for those with peanut allergies.

Ingredient Notes and Substitutions
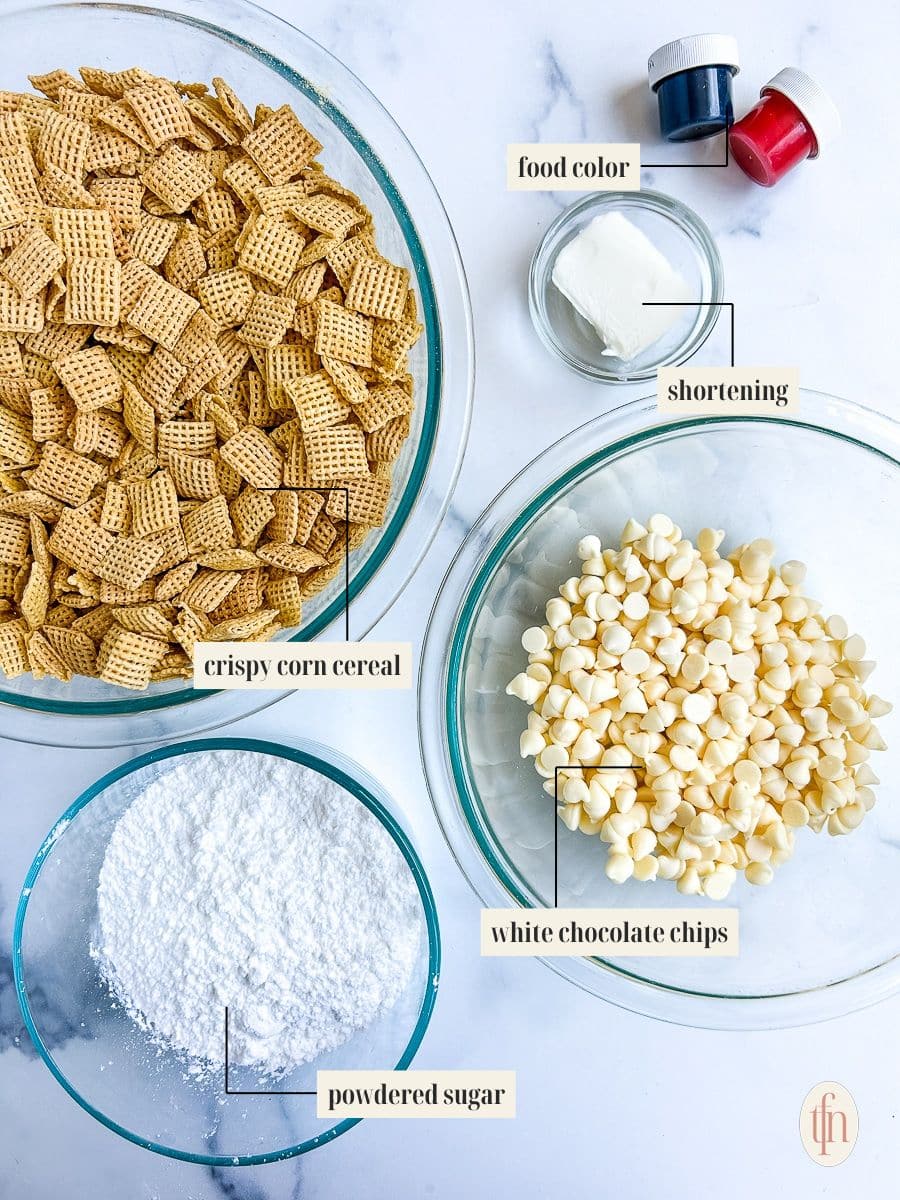
- Corn or rice chex cereal: You can make some of the best sweets with cereal like these Corn Pops Treats! You are welcome to choose the brand and variety you like best, like corn Chex or rice Chex, as long as it’s crunchy and bite-sized. You can also make it gluten-free by choosing a gluten-free Chex cereal.
- White chocolate chip: We like to use white chocolate for its light vanilla flavor and because it easily takes on the color of the dye. You can use other types of chocolate, but be aware that the vivid red and green colors won’t show up as vividly. You may use semisweet chocolate chips.
- Shortening: Vegetable oil is also acceptable, as its main purpose is to keep the chocolate silky smooth as it melts.
- Powdered sugar: This ingredient gives the Christmas muddy buddy a fresh snowfall look! Unfortunately, granulated sugar cannot achieve this, so powdered sugar is required for this recipe.
- Food dye: Those with food dye sensitivities can simply omit the food coloring — the colors won’t be as bright, but the flavor will be just as delicious!
Recipe Variations
- Chocolate lovers’ version: Use a mix of milk chocolate, semisweet chocolate chips, and dark chocolate chips for extra richness.
- Holiday cheer: Stir in green M&M and green candy melts for a fun, festive touch.
- Crunchy twist: Add pretzels to turn this into a reindeer chow for even more holiday fun.
- Extra sweet: Toss in sprinkles or chopped peanut butter cups for added texture and flavor.
- Flavor boost: A dash of vanilla extract enhances the chocolate flavor beautifully.
- Easy and inexpensive ingredients: The ingredients for this sweet snack mix recipe are simple to find at your local grocery store. They’re also economical, which is great during a time of year when there are so many other costs.
Equipment Used in this Recipe
- Large mixing bowl
- Microwave safe bowl
- Silicone spatula
- Gallon-sized Ziploc bags

How to Make Chex Mix Muddy Buddies
- Avoid burning the chocolate.
Melting chocolate in the microwave is a delicate process. If it heats too much, the chocolate will burn on the bottom or become crumbly. Be sure to use a microwave-safe bowl.
Adding shortening (as we do in this recipe) keeps the chocolate smooth, and microwaving in brief, 30-second bursts is the best way to guarantee the mixture doesn’t get too hot. Be sure to use a microwavable bowl.
Take short breaks and stir the chocolate between microwaving to allow the bowl and contents to cool down slightly as you continue to melt it.

- Add food coloring until you get the desired color.
In this recipe, we recommend using 5-6 drops of food coloring, but you can use as much or as little as you like.
A good practice is to add just two extra drops at a time, shake in a large bowl, and then decide if you want to add more since it goes a long way.
You can make them a light pink color or a vivid red color, it’s up to you!

- Remember to tightly seal the bags before shaking them!
After adding the mixture to the large zip-lock bags with the powdered sugar, be sure to seal them tightly before shaking them.
This will ensure that the powdered sugar and chocolate-covered cereal don’t fly all over your kitchen!
🎯 TFN Pro Tip
For the best Christmas puppy chow, use a microwave-safe bowl to melt the chocolate in 15-second intervals, stirring between each to prevent scorching. To keep it from getting soggy, let it cool completely on a cookie sheet before storing. Want extra crunch? Toss in pretzels or nut butters for a fun twist on this reindeer food recipe!

Serving Suggestions
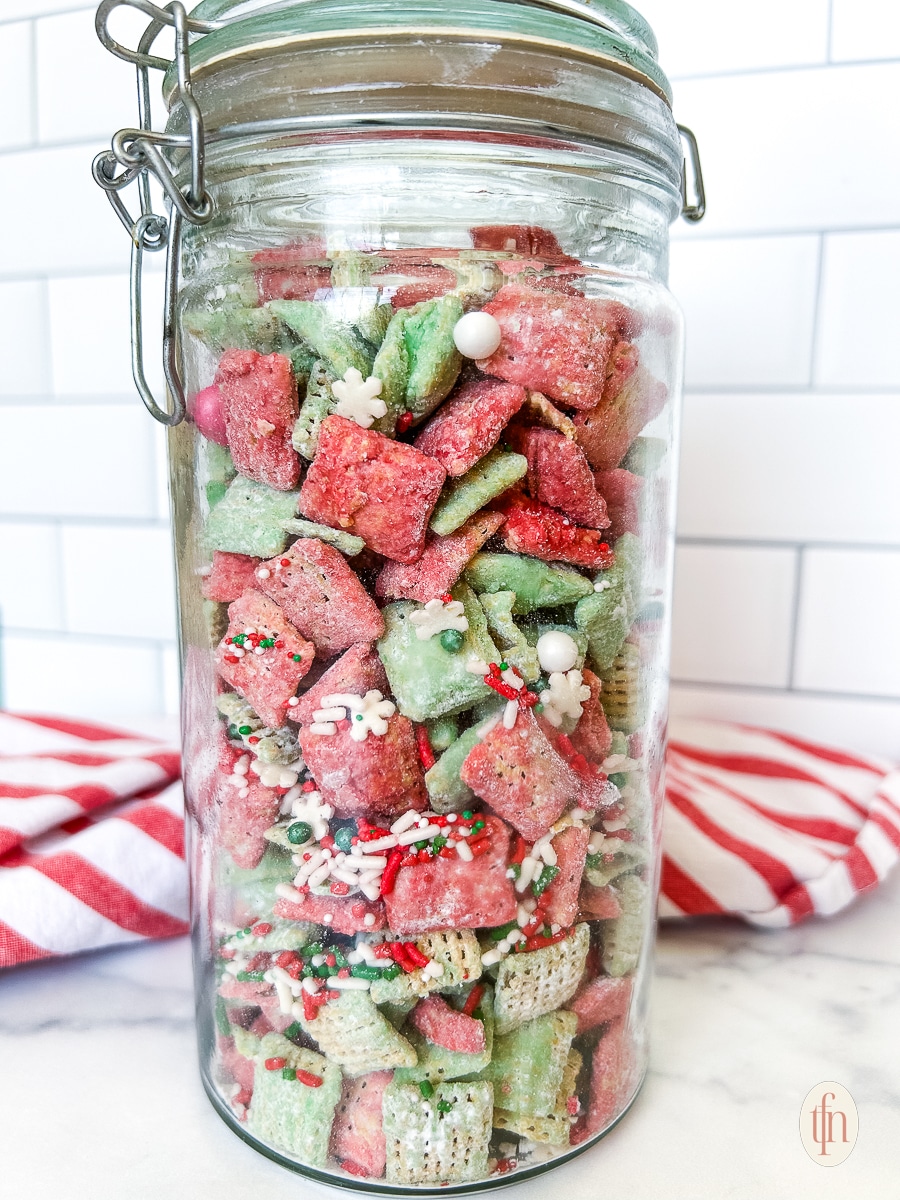
This Christmas puppy chow recipe is perfect for gifting! Package it in holiday-themed bags or jars lined with wax paper or parchment paper, then add festive stickers for a cute finishing touch. Pair it with Christmas M&M trail mix, holiday M&M cookies, creamy peanut butter hand pies, or gingerbread bundt cake for an irresistible holiday treat platter.
For a more indulgent presentation, drizzle it with caramel or chocolate sauce and sprinkle with crushed nuts. Want to elevate your holiday snacking? Serve it alongside a glass of chilled dessert wine, a hot cup of espresso, or a refreshing iced coffee. This Christmas puppy chow is sure to delight your guests, whether it’s for brunches, dinner parties, or just because!
Recipe FAQs
It was affectionately named as such because it seems to resemble kibble.
It’s a fun and silly name that always makes the kids giggle when we make cheerful Christmas puppy chow at home!
The most common muddy buddy recipe came out in the early 2000s, but it’s difficult to truly track down the origin. The candy we know today, and that most recipes are trying to mimic, hit the shelves in 2010 under the Chex Mix brand.
One common homemade muddy buddy mistake is not letting the chocolate cool after coating the cereal. Let it rest for a bit after coating, but before tossing in the powdered sugar to prevent soggy results.
No need to refrigerate Christmas muddy buddies—just store in an airtight container at room temp for up to a week. Let cool in a single layer before sealing. For longer storage, refrigerate for up to 2 weeks or freeze in small portions to prevent clumping.
They’re all variations of the same delicious snack! Monkey munch, muddy munch, and reindeer food recipe are different names for puppy chow, but the ingredients and process are nearly identical. This Christmas version adds a festive twist with holiday-colored candies and mix-ins!

More Christmas Recipes To Try…
If you tried this Christmas Muddy Buddy recipe or any other recipe on my website, please leave a 🌟 star rating and let me know how it went in the 📝 comments below. Don’t forget to share it on Pinterest, Instagram, or Facebook.
Christmas Puppy Chow
Equipment
- large mixing bowl
- microwave safe bowl
- silicone spatula
- gallon-sized Ziploc bags
Ingredients
- 6 cups crispy corn cereal and/or rice cereal, like Chex, Crispix, or other brand.
- 1 ½ cups white chocolate chips or other types of chocolates
- 1 tablespoon shortening or vegetable oil
- 1 ½ cups powdered sugar divided
- red and green food color drops or gel
Instructions
- Pour the cereal into a large mixing bowl.
- Add the chocolate chips and shortening (or oil) to a medium-sized microwave safe bowl (we use a 2-cup glass measuring cup). Microwave on high for one minute, then use a spoon or whisk to combine. Continue microwaving in 30 second bursts until mixture is completely melted and smooth.
- Pour the melted chocolate over the cereal and stir quickly with a large silicone or wooden spoon to combine. Divide coated cereal evenly into two, 1 gallon-sized zip top bags.
- Add 3/4 cup powdered sugar to each bag. Close and seal the bags; shake both bags to coat the cereal.
- Add 5-6 drops of green food coloring to one bag and 5-6 drops red to the other bag). Seal the bags and shake again to coat with color. Add more coloring as needed to reach desired colors.
- Combine the colored cereals into one bag or airtight container. Store at room temperature for up to one week, or in the fridge for 2 weeks.
Notes
- Chocolate lovers’ version: Use a mix of milk chocolate, semisweet chocolate chips, and dark chocolate chips for extra richness.
- Holiday cheer: Stir in green M&M and green candy melts for a fun, festive touch.
- Crunchy twist: Add pretzels to turn this into a reindeer chow for even more holiday fun.
- Extra sweet: Toss in sprinkles or chopped peanut butter cups for added texture and flavor.
- Flavor boost: A dash of vanilla extract enhances the chocolate flavor beautifully.
- Easy and inexpensive ingredients: The ingredients for this sweet snack mix recipe are easy to find at your local grocery store. They’re also economical which is great during a time of year when there are so many other costs.
- For the best Christmas puppy chow, use a microwave-safe bowl to melt the chocolate in 15-second intervals, stirring between each to prevent scorching. To keep it from getting soggy, let it cool completely on a cookie sheet before storing. Want extra crunch? Toss in pretzels or nut butters for a fun twist on this reindeer food recipe!
- There’s no need to refrigerate Christmas muddy buddies. Keep them in a Ziploc bag or other airtight container at room temperature for up to a week!
- If you do wish to refrigerate them, they’ll last for even longer — up to 2 weeks.
- And this is one recipe that freezes incredibly well! We would recommend freezing in smaller portions rather than in one single freezer bag (unless you plan on serving it all at once), as it can clump together.


Ann says
These are so addictive and festive on the table for guest to Just snack on. Thanks!
Dina and Bruce says
This is GENIOUS! Gonna make for our neighborhood party with the kiddos!
Kechi says
I made this but without the food dye and it was still delicious and fun! The kids loved this!
Ieva says
Oh my, love the look of this! Will be perfect for the holiday season for everyone to snack on! Seems like an easy way to make plenty of it too!
Jill says
Delicious and so festive! Love the addition of the Christmas sprinkles too! Thanks for the recipe.