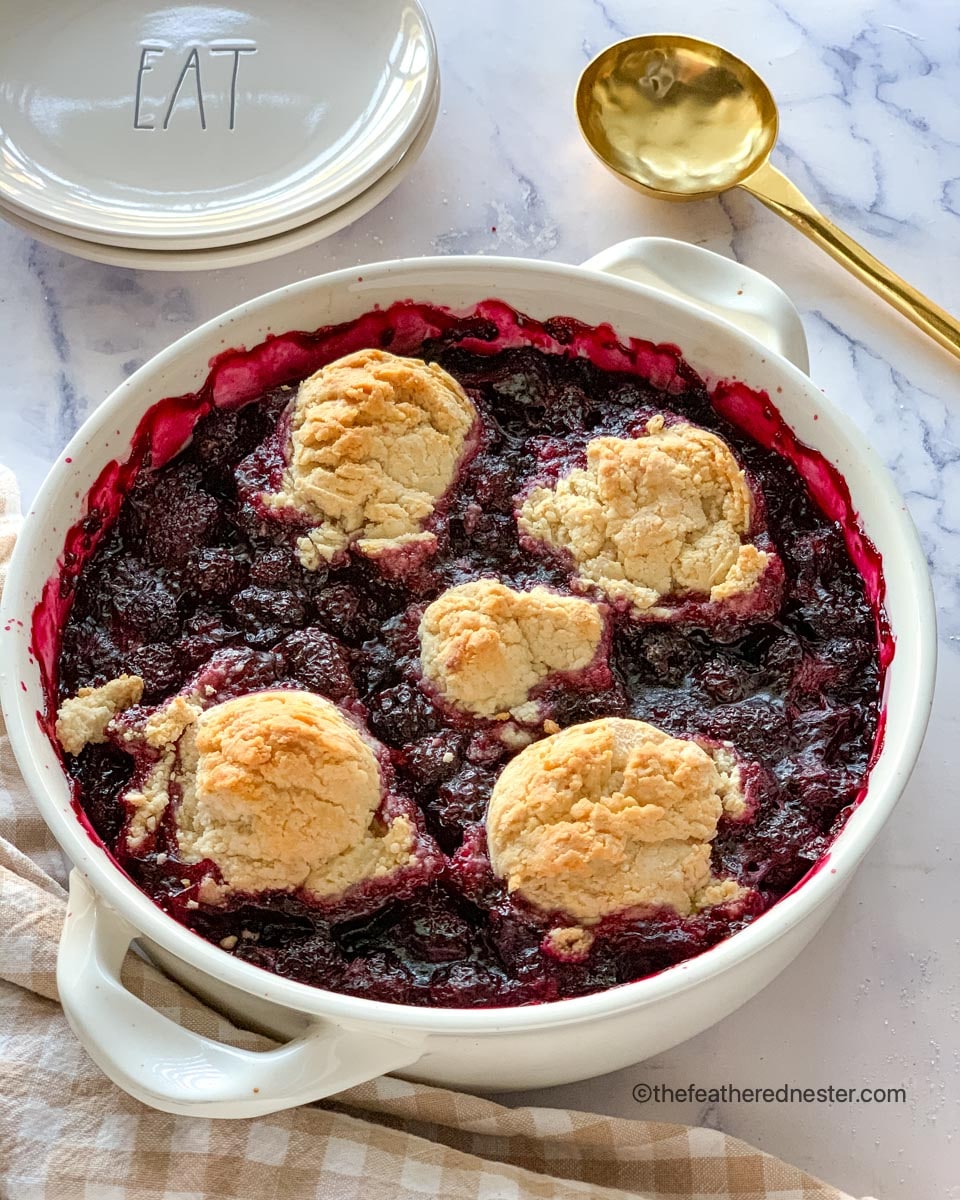
Wondering what to do with those fresh blackberries you picked this season? You can make a tangy, quick and easy blackberry cobbler using Bisquick baking mix! As a bonus, our old-fashioned Bisquick Blackberry Cobbler recipe can be made with frozen berries to enjoy juicy berry cobblers any time of the year.
Content Covered Here
Why We Love This Recipe
- You may use fresh or frozen blackberries.
When I visit the Pacific Northwest in the summer, going blackberry picking is always a favorite activity. If you’re lucky enough to have blackberries in your area, then you know nothing beats freshly picked berries.
Blackberries provide a sweet and tart flavor in all kinds of yummy baked goods.
This fruity blackberry cobbler using Bisquick is perfect to make in late summer, when fresh blackberries are at their peak of ripeness.
But no worries if you don’t have fresh blackberries locally. Or if they’re not in season! You can just as easily prepare this Bisquick cobbler with frozen blackberries for a delicious treat.
When baked into a sweet and crumbly cobbler, the juicy berries burst with a delightful tanginess. The bright taste of summer is in every bite! - Ease and Convenience
One of the primary reasons we love Bisquick blackberry cobbler is its sheer convenience. Bisquick mix simplifies the baking process, allowing you to whip up this delicious recipe with minimal effort and ingredients.
This is perfect for those spontaneous dessert cravings or when you need a quick yet impressive dish for guests. The pre-mixed ingredients in Bisquick ensure consistency and save you time in the kitchen. - Flavorful and Comforting
Blackberry cobbler using Bisquick is a delightful blend of tart blackberries and a sweet, buttery crust. The combination of the juicy, slightly tangy berries with the warm, tender Bisquick topping creates a comforting dessert that is both satisfying and nostalgic.
Ingredient Notes and Substitutions
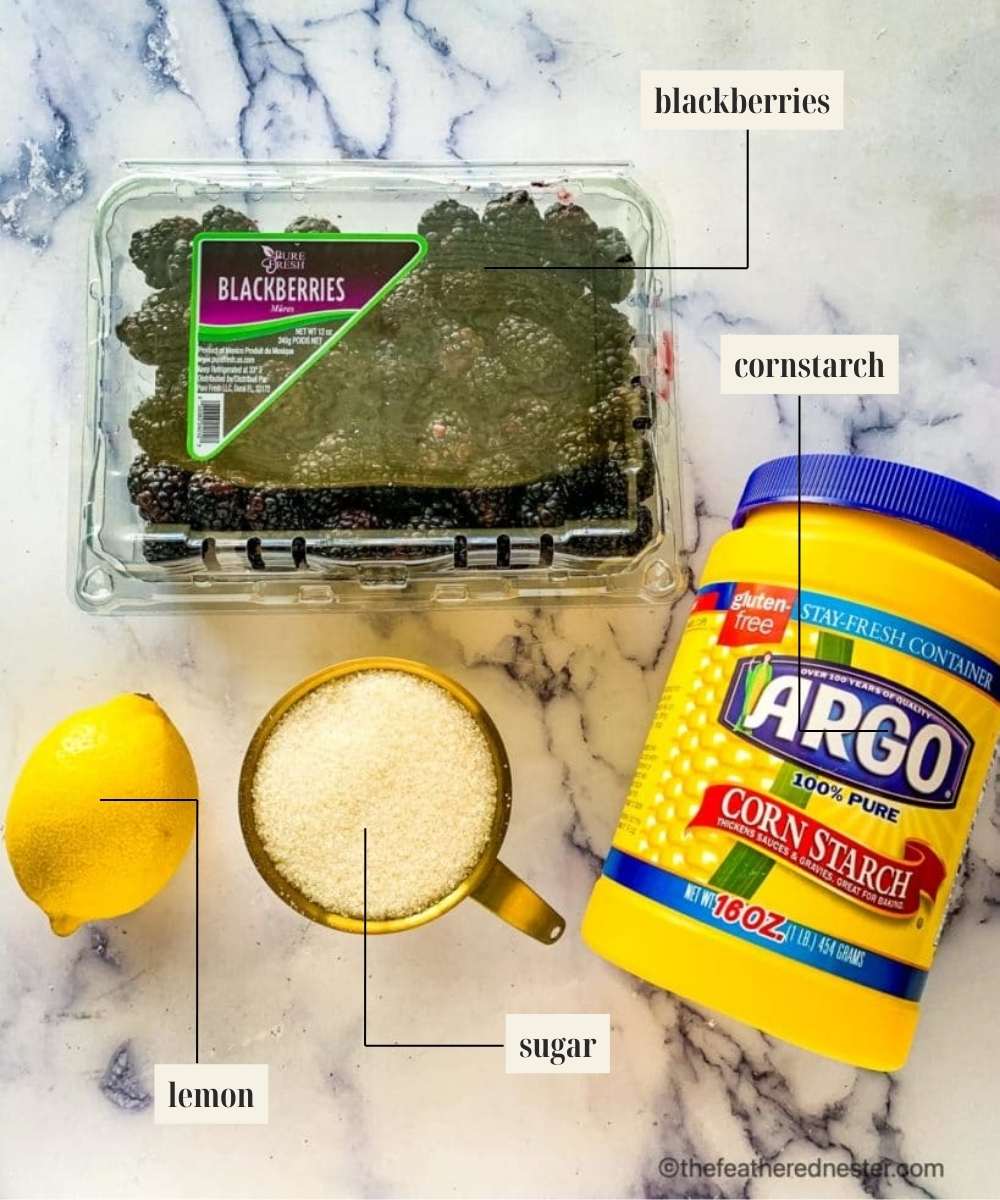
- Blackberries – we used fresh blackberries for this recipe but you can also use frozen blackberries. Add a bit of water if you’re baking with fresh blackberries. And, there’s no need to add water if making Bisquick cobbler with frozen berries.
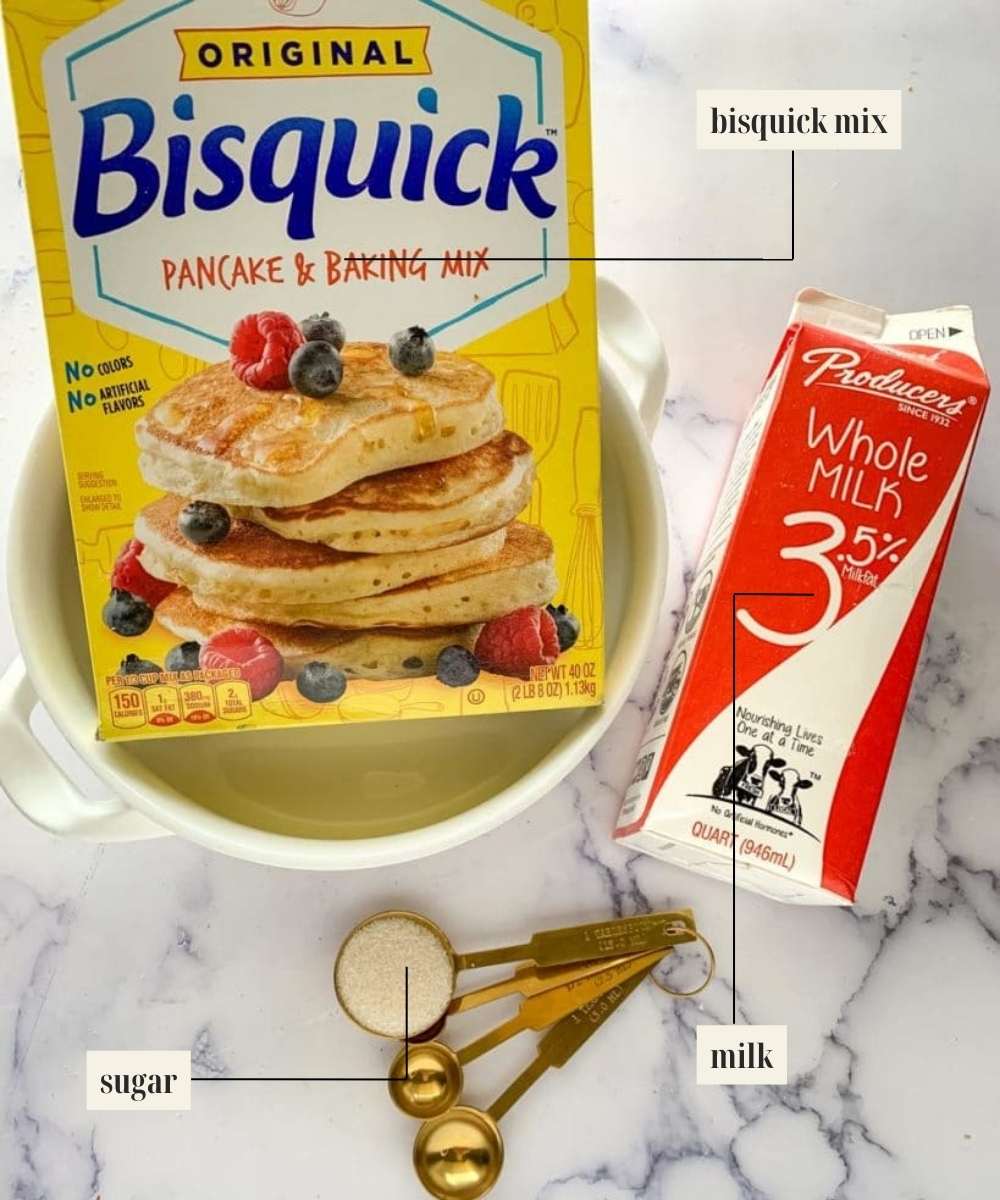
- Original Bisquick mix – this is the secret ingredient that makes our cobbler so easy to prepare and delicious! If you don’t have one, make your own diy bisquick to substitute for this boxed baking mix.
- Sugar – white sugar is used to sweeten the filling. You can also use brown sugar for a richer flavor.
- Lemon juice – this adds a bright and zesty touch of acidity to the filling. You can also use lime juice for a slightly different flavor.
- Milk – we used whole milk for the topping. You can also use 2% milk or plant-based alternative milks like almond, oat, and coconut milk.
- Butter – for a light and flaky topping that melts in your mouth. We used salted butter in this recipe but you can also use unsalted butter.
Kitchen Tools Needed
- Cast iron skillet or casserole dish
- Saucepan
- Round tablespoon or cookie scoop
How To Make Blackberry Cobbler With Bisquick
There are only 4 super easy steps to making this scrumptious recipe. And, it’s ready in about 30 minutes.
This recipe is perfect as a last-minute dessert any night of the week. So, let’s start making the easiest blackberry cobbler with Bisquick!
First, preheat the oven to 350ºF.
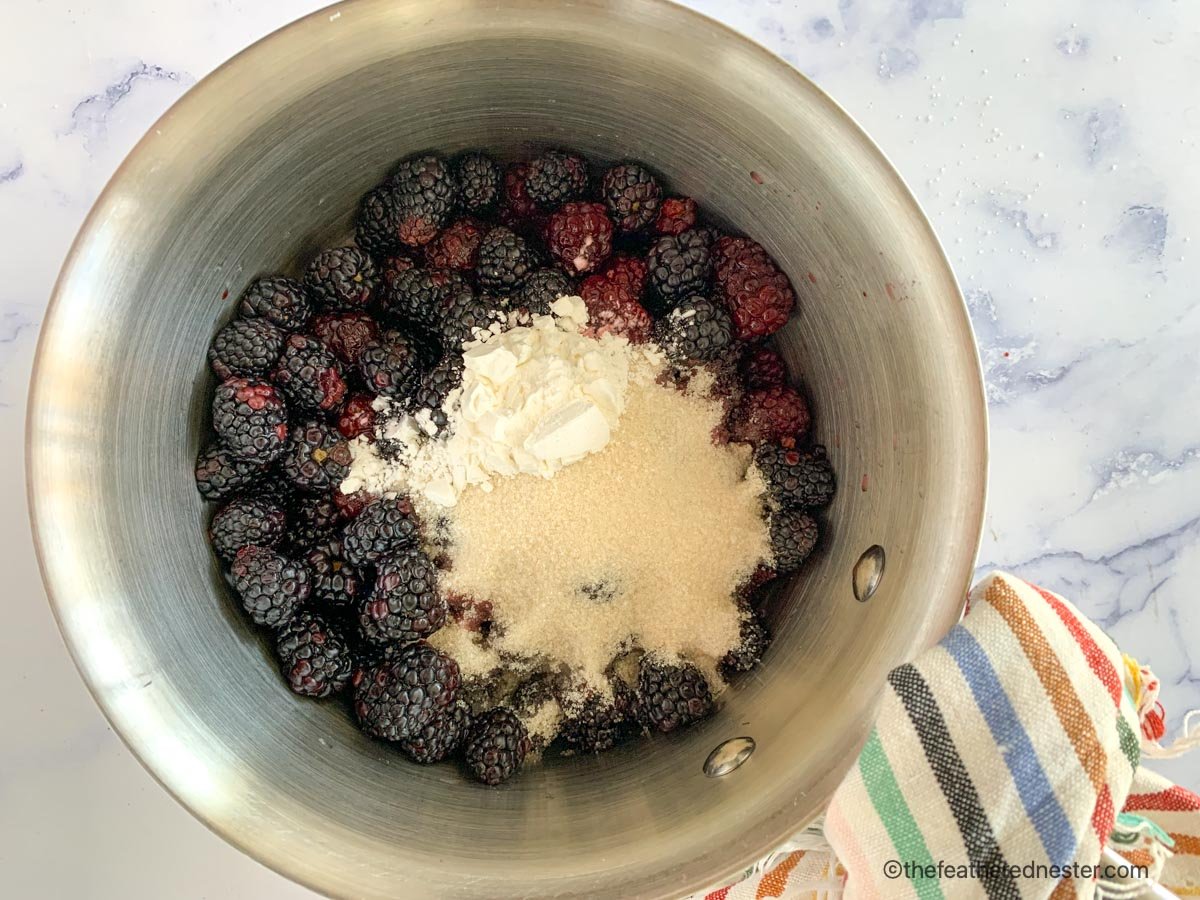
Then stir together berries with the cornstarch, 1/2 cup sugar, and lemon juice in a medium saucepan. Heat them over medium heat.
If you’re using fresh blackberries, you’ll also need to add water. Stir frequently as you bring the mixture to a boil.
Meanwhile, stir together the Bisquick mix, butter, rest of the sugar, and milk in a medium bowl. The batter will be thick, with a dough-like consistency.
🎯 TFN Pro Tip
Place your butter in the freezer while you prepare the filling. It will be much easier to grate!
Save This Recipe!
Next, spoon the blackberry mixture into a baking dish and spread it out evenly. Use a cookie scoop or two tablespoons to drop spoonfuls of the Bisquick dough on top of the blackberry mixture.
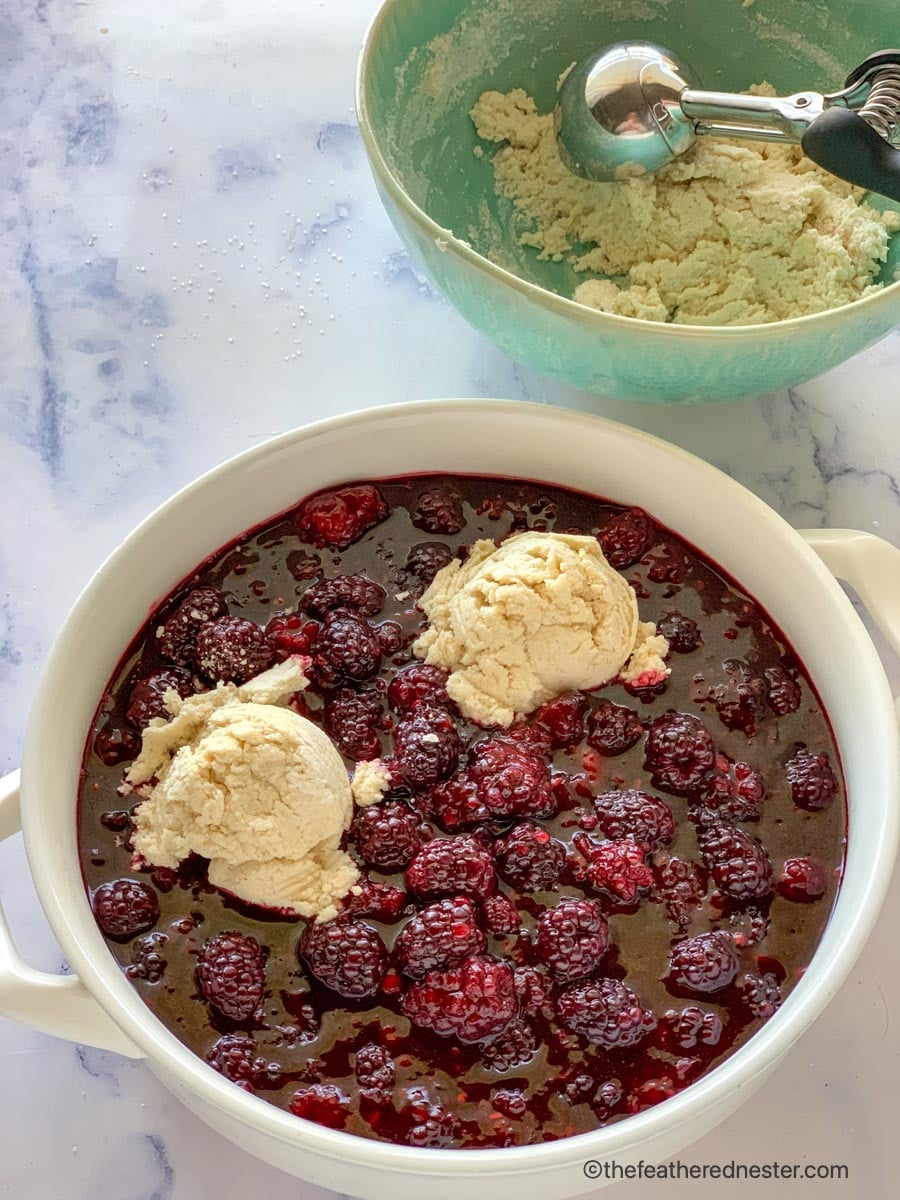
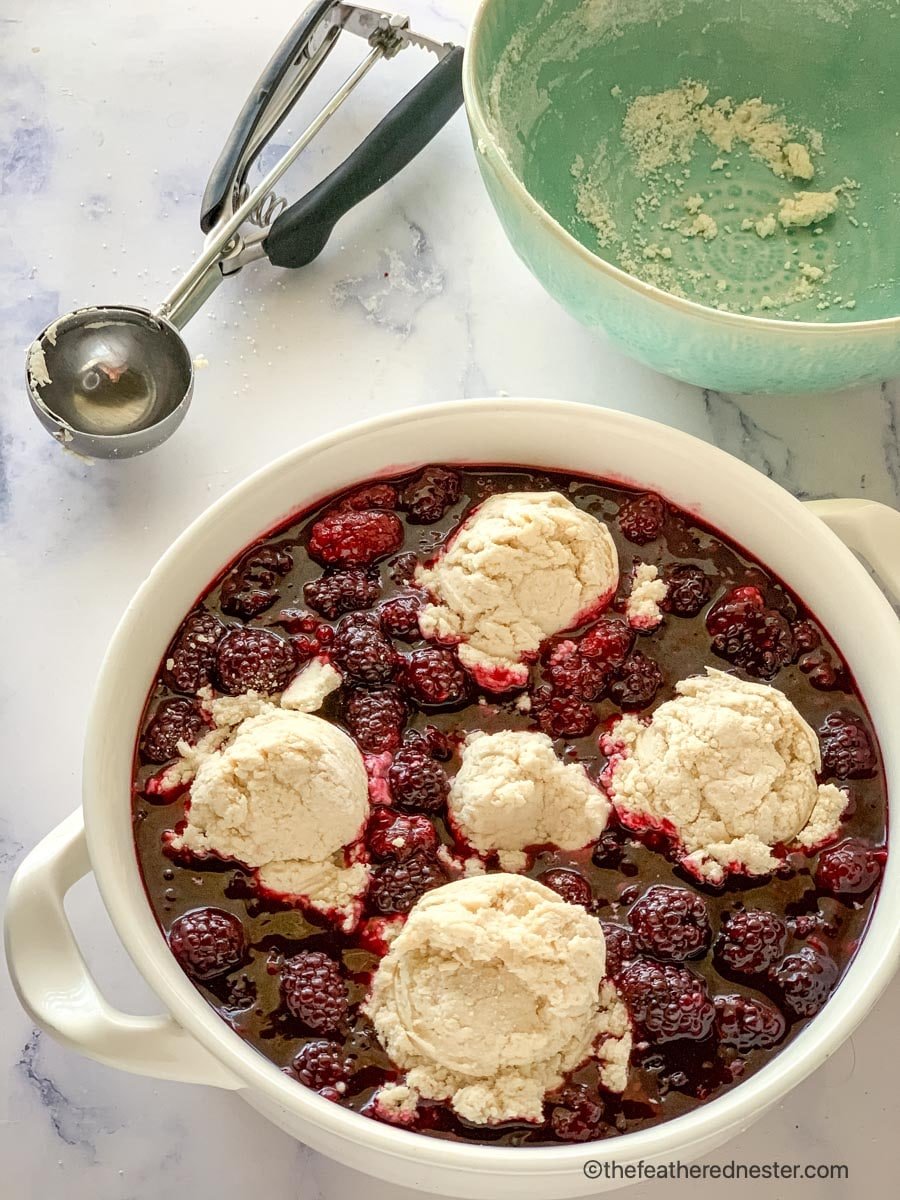
Gently press the dough into the blackberries so that it’s slightly submerged.
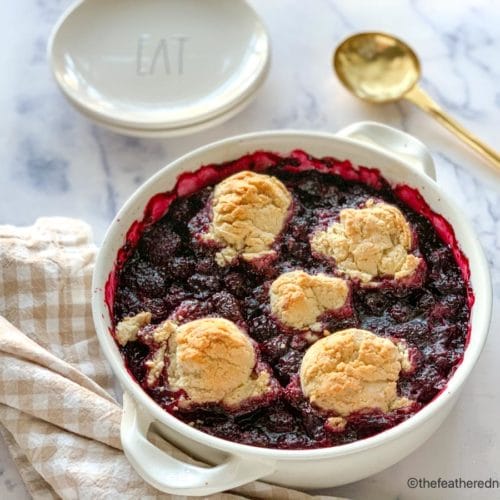
Bake the old fashioned blackberry cobbler for about 25 minutes. The filling should be bubbling and the top golden brown.
Optional: melt butter to brush the tops of the cobbler biscuit dough after baking.
Let cool 10 minutes before serving.
Serving Suggestions
Enjoy this warm with a scoop of vanilla ice cream or topped with whipping cream. It’s also delicious with a dollop of tangy cream cheese on top.
Other Cobbler Recipes
For a patriotic, red white and blue theme, our strawberry and blueberry cobbler is ideal! And, there’s nothing better than making a Bisquick peach cobbler with those juicy, ripe peaches in the summer. In the fall, we love making apple cobbler made with Bisquick.
As soon as I see fresh strawberries in the store, I make strawberry cobbler with Bisquick. Any time of year is cherry season because our cherry cobbler with Bisquick uses cherry pie filling!

Recipe FAQs
Use Bisquick’s gluten-free baking mix for a GF-friendly blackberry cobbler!
Feel free to substitute Splenda sugar baking mix for the sugar in the recipe. This specific type of Splenda contains 50% sugar. Regular Splenda won’t work. If you don’t have the baking mix, you can mix it 50/50 with sugar.
If you don’t have a box of Bisquick on hand, you can easily make your own self-rising biscuit mix with basic pantry staples. Prepare the dough for these 3 Ingredient biscuits or easy drop biscuits to make this from-scratch.
After the cobbler has cooled completely, transfer to an airtight container or cover with plastic cling wrap and keep in the fridge for up to 4 days.
Freeze it for up to 3 months after putting it in a tightly sealed container. Bake in a 350º F preheated oven for 30 minutes to reheat.
Do You Always Have Bisquick On Hand? Here’s More Easy Recipes To Love…
- Bisquick Pizza Crust
- Tex Mex Bisquick Breakfast Casserole
- Bisquick Banana Bread
- Bisquick Cornbread without Cornmeal
If you tried this Bisquick blackberry cobbler recipe or any other recipe on my website, please leave a 🌟 star rating and let me know how it went in the 📝 comments below. Thanks for visiting!
Bisquick Blackberry Cobbler
Equipment
- 8 to 9-inch cast iron skillet - or 2 quart casserole dish
- medium saucepan
- large spoon - or cookie scoop
Ingredients
- 4 cups blackberries, fresh or frozen (2-16 oz containers)
- 1 tablespoon cornstarch
- ⅔ cup sugar, divided (can substitute with Splenda baking mix – see notes)
- 1 teaspoon lemon juice
- 2 tablespoon water (if using fresh berries, omit for frozen)
- 1½ cups Bisquick mix (see notes for DIY baking mix recipe)
- ½ cup milk (whole milk or 2%)
- 3 tablespoons butter, grated (semi-frozen butter is easier to grate)
Instructions
- Preheat the oven to 350ºF. In a medium saucepan, stir together blackberries, cornstarch, 1/2 cup of sugar, lemon juice, and water (if using fresh blackberries). Over medium heat, bring mixture to a boil, stirring frequently.
- In a bowl, stir together Bisquick mix, milk, and butter. The batter will be thick, with a dough-like consistency.
- Pour the blackberry mixture into the cast iron skillet or casserole dish. Drop biscuit dough by large, rounded tablespoons (I use a cookie scoop) on top of the blackberry mixture. Gently press down a little to submerge the cobbler topping slightly.
- Bake at 350º for 25 minutes until the blackberry filling is bubbly and the biscuits on top are golden. Optional: melt butter to brush the tops of the cobbler biscuit dough after baking.
- Let cool for 10 minutes before serving. Serve warm with vanilla ice cream, whipped cream, or cream cheese.




Heather says
I love your use of Bisquick here, it makes for a quick and beautiful summer cobbler! So pretty and easy to make!
kushi says
Drooling over this blackberry cobbler. Thanks for sharing.
Harriet Young says
This cobbler is so delicious! It makes the perfect dessert and my whole family loved it.
Sue says
I love the convenience of Bisquick, it makes fresh fruit cobblers like this one so much more do-able!
Sharon Honaker says
This is how the original Bisquick Peach Cobbler was made! The peaches were drained, and liquid was heated on the stove like these ingredients. Bisquick batter was dropped on top of peaches, then baked. I LOVE BISQUICK PEACH COBBLER. GLAD THEY PUT THIS RECIPE ON PINTEREST, BECAUSE BISQUICK TELLS ME THEIR PEACHES ALWYs on the bottom! I wish I still had the back of the Bisquick box from 50 years ago to show them! Unfortunately, it burned up in my daughters house fire about 15 years ago. What I needed to know was, the ingrdients to make the sauce you mixed with the peaches before you put in the bottom of the dish. Made this by heart, but since I’m old, couldn’t remember anymore.. Don’t have ink for my printer or I would print this recipe off. So, I putit on my saved recipe’s. I will remember to use peaches! LOL