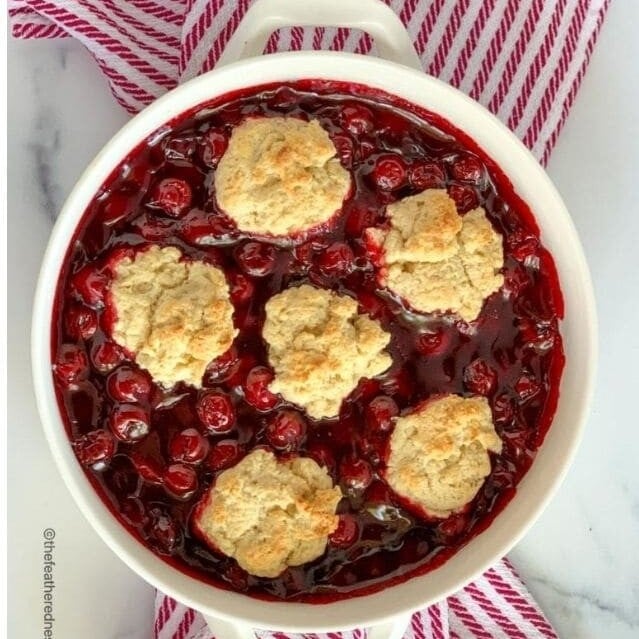

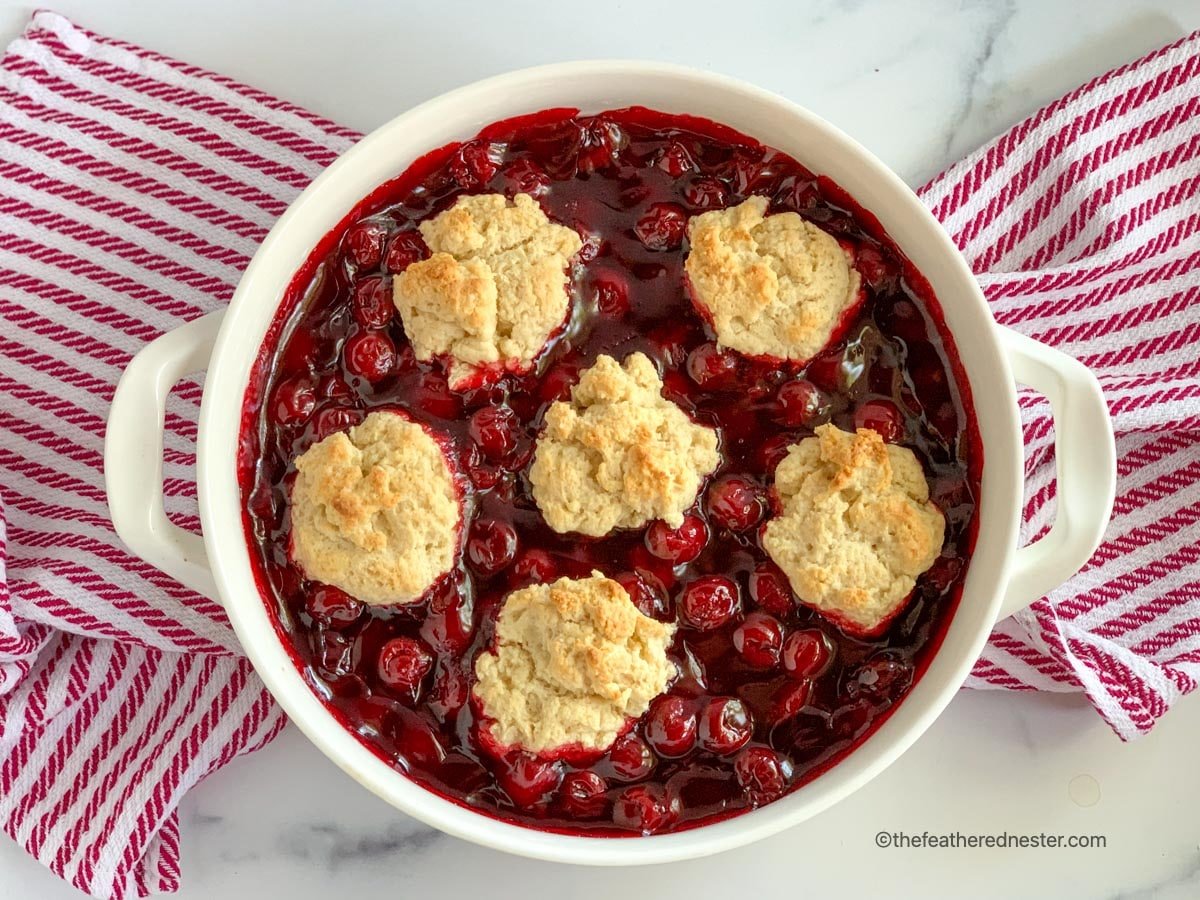
With a bit of whipped cream or a scoop of ice cream, our Bisquick cherry cobbler makes every day feel like summertime! A good Bisquick dessert is a major time saver but you can also make your own-we can show you how! You won’t believe how sweet and juicy this homemade fruit cobbler turns out. Bring this to your next backyard BBQ and watch it disappear.
What is a cobbler?
A cobbler is a little bit like an upside-down pie, but with a lot more fruit filling. The ingredients for cobbler and pie fillings are pretty much the same.
However, pie crust and cobbler topping are not the same at all! Pie crust is buttery and flaky, whereas cobbler topping has more of a sweet biscuit-like texture.
If fruit cobbler is your favorite, then you should absolutely add our peach cobbler recipe with Bisquick and blueberry cobbler Bisquick recipe to your collection. (The blueberry version is a Bisquick dessert, too!)
This recipe is perfect for date nights, dinner parties, or when you want to make an everyday meal feel special. With rich flavors and a simple yet elegant presentation, it’s sure to impress. For more delicious inspiration, explore our February recipes– packed with seasonal ingredients and cozy flavors!
Why We Love This Recipe
- This little Bisquick dessert has a lot of flavor!
We really go crazy with the filling, two cans in one dessert! And with the right toppings, it tastes decadent and indulgent without much effort at all.
- You can make it in a skillet or casserole dish.
Multiple options mean no last-minute scrambling to find the right dish!
- It’s fantastic, warm, at room temperature, or cold.
Perfect for leftovers, freezing for the future, or late-night sweet cravings.
Cherry desserts are the perfect combination of tart and sweet! Those seeking a slightly less sweet summer dessert might want to check out our apple sourdough coffee cake and eggless chocolate chip cookies recipes.
Ingredient Notes and Substitutions
- Canned Cherry Pie Filling – Canned filling is the best shortcut to any easy cobbler recipe! You can also use canned cherries- grab two 20-ounce cans and add 2 tablespoons of cornstarch to get the right consistency.
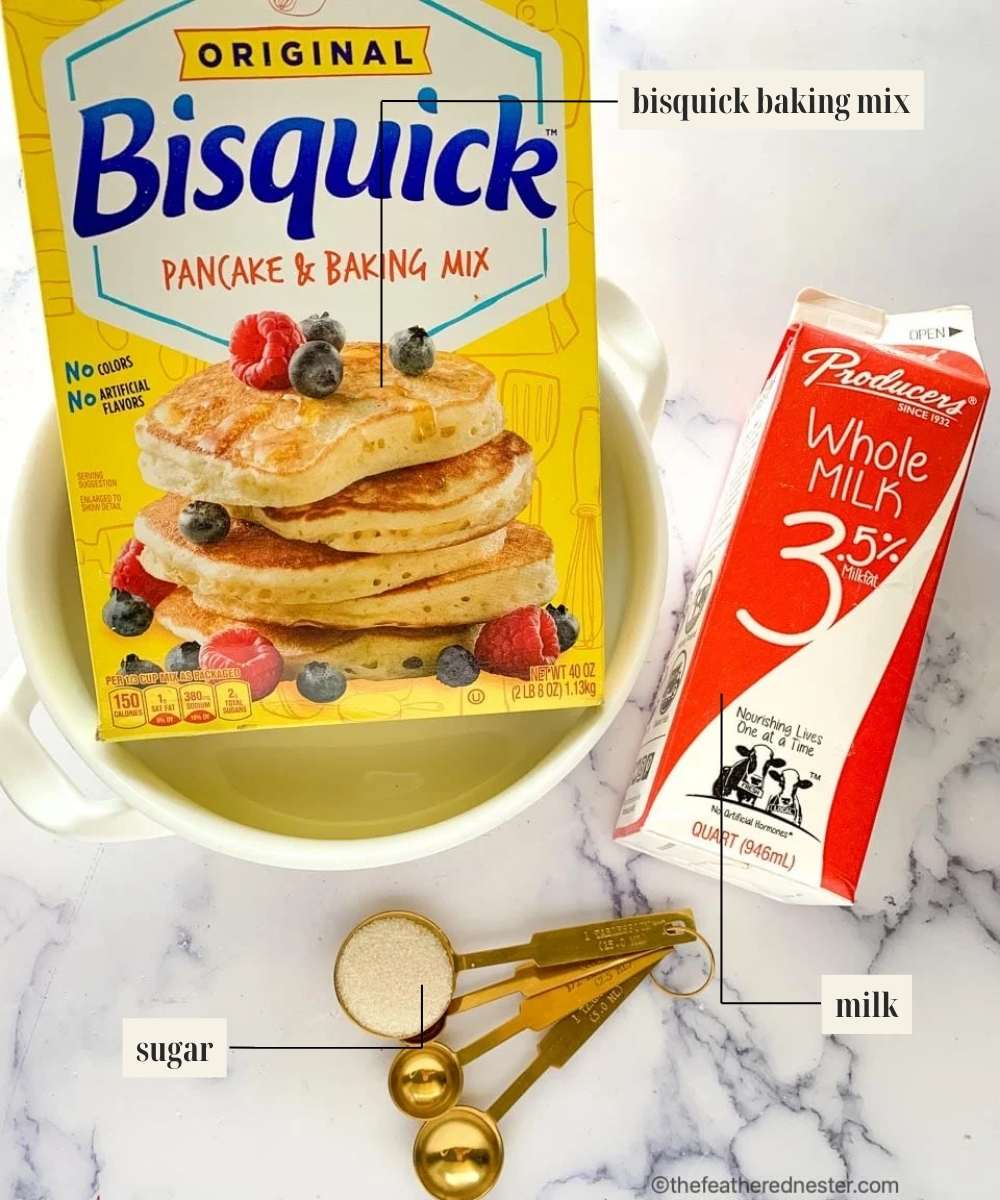
You can even use frozen cherries! In fact, you can even leave them frozen to keep things easy. - Milk – Whole and 2% both work, but avoid using skim or nonfat milk. The fat is really necessary to create a good rise in the dough.
Non-dairy milk alternatives, like almond milk, probably won’t work. However, coconut milk, which has a high fat content, should work well. Keep in mind though… We haven’t tested this recipe using coconut milk. - Bisquick Mix – Regular, Heart-Healthy, and Gluten-Free versions all work well. If you don’t have any on hand or want to avoid buying it, it is super simple to make at home. You’ll find the complete instructions in our what to make with Bisquick.
- Sugar – Sweetener substitutes are an option, but don’t use regular Splenda as a sweetener substitute in this recipe! Instead, use Splenda specifically made for baking.
Fruit Cobbler Recipe Tips
- Evenly space the biscuit topping.
Keep in mind, both the pie filling and the Bisquick need to cook. If you totally cover the surface of the fruit with batter, then neither will cook, leaving you with a goopy soup instead of a cobbler!
Leave at least a couple of inches of space between each drop of dough to let the filling breathe and the topping brown. - Don’t under bake your dessert.
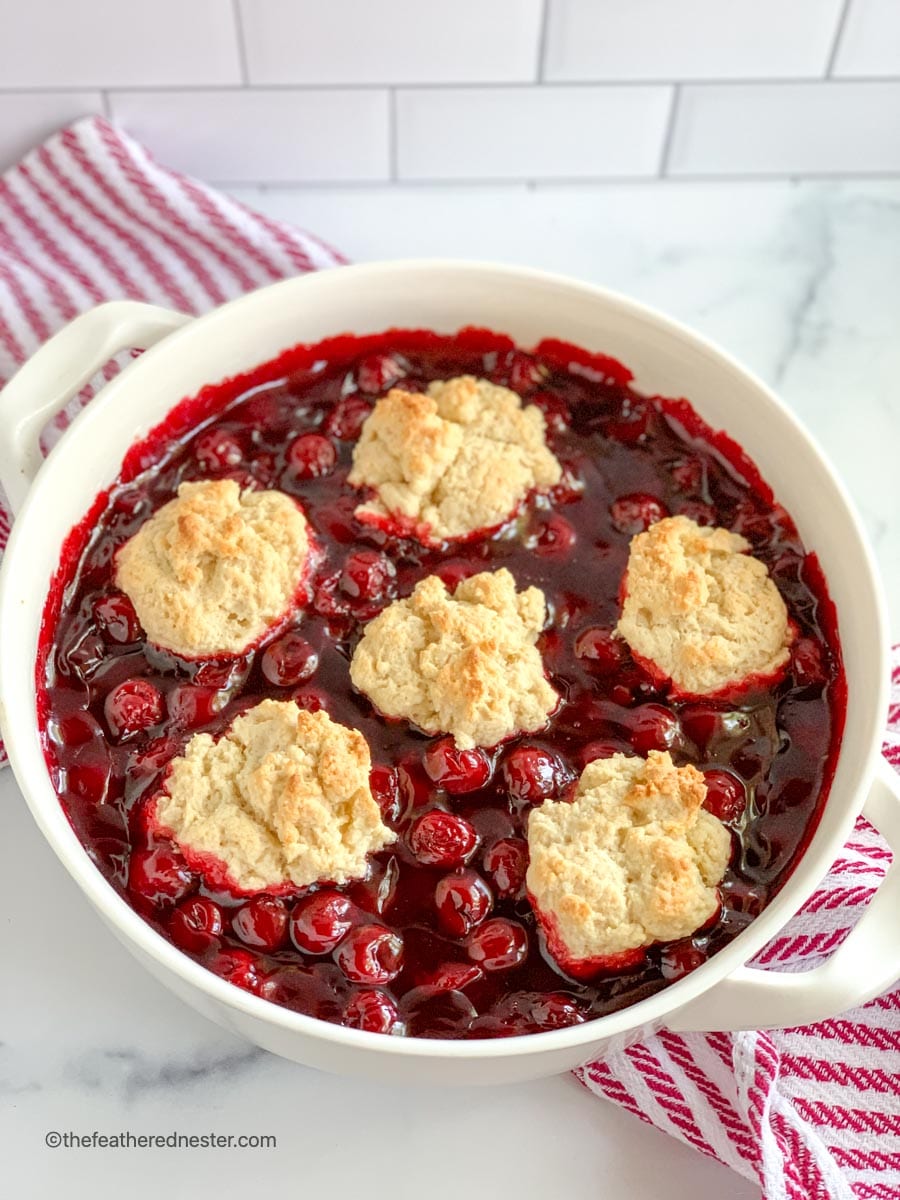
When it’s ready to remove from the oven, the topping of your cherry cobbler should be golden brown. The filling will bubble, especially around the edges of the dish.

- Use a cooking thermometer for the best results.
If the visual cues aren’t giving you enough confidence, use an instant-read thermometer to check the temperature of the filling. When it reaches 200ºF., the cherry dessert is ready to come out of the oven.
Looking for some more easy summer dessert ideas?
Click over and get our recipe for peach cobbler pound cake and red white and blue cheesecake salad recipe!
🎯 TFN Pro Tip
If you will be serving someone who isn’t a fan of sweet desserts, add a heaping spoonful of cream cheese or sour cream to their portion. The tanginess in either of those ingredients will tone down and balance out the sweetness of the pie filling.
Recipe FAQs
All you need to do is add some cornstarch to your filling of choice.
If you’re starting with just the fruit, you’ll need to cook it with some sugar and lemon juice first to break it down to a filling-like consistency. Additionally, a warmer filling will thicken with cornstarch better than a cool or room-temperature filling.
Wait until the Bisquick cherry cobbler cools completely to room temperature before storing it to avoid condensation in the container. Transfer it to the refrigerator, where it can be kept for up to 4 days and reheated in the microwave for just 20 to 30 seconds.
This easy Bisquick dessert also freezes very well for up to 3 months! Reheat in the oven at 350ºF for 30 minutes.
Serving Suggestions
We can’t imagine serving a warm Bisquick cherry cobbler without homemade whipped cream or a scoop of ice cream! Serve this after a tasty main course dinner like Cheddar Bay Biscuit Chicken Pot Pie.
Do you have a favorite summer dessert using cherries or cherry pie filling? Please let us know about it in the comments below this post!
More Bisquick Recipes To Love…
If you tried this Bisquick cherry cobbler recipe or any other recipe on my website, please leave a 🌟 star rating and let me know how it went in the 📝 comments below. Thanks for visiting!
Bisquick Cherry Cobbler
Equipment
- skillet - or 2-quart casserole dish
- medium cookie scoop - disher, or spoon
Ingredients
- 42 ounces cherry pie filling 2 (21-ounce) cans – see notes for substitutions
- 1 ½ cups Bisquick baking mix homemade or store bought
- ⅓ cup milk whole or 2%
- 1 ½ tablespoons sugar or granulated sweetener substitute
- 2 tablespoons unsalted butter melted
Instructions
- Heat the oven to 400º F. and grease a large cast-iron skillet or casserole dish. (Preheating the oven is not necessary for this recipe).
- Add the cherry pie filling to the skillet or casserole dish and bake for 10 minutes.
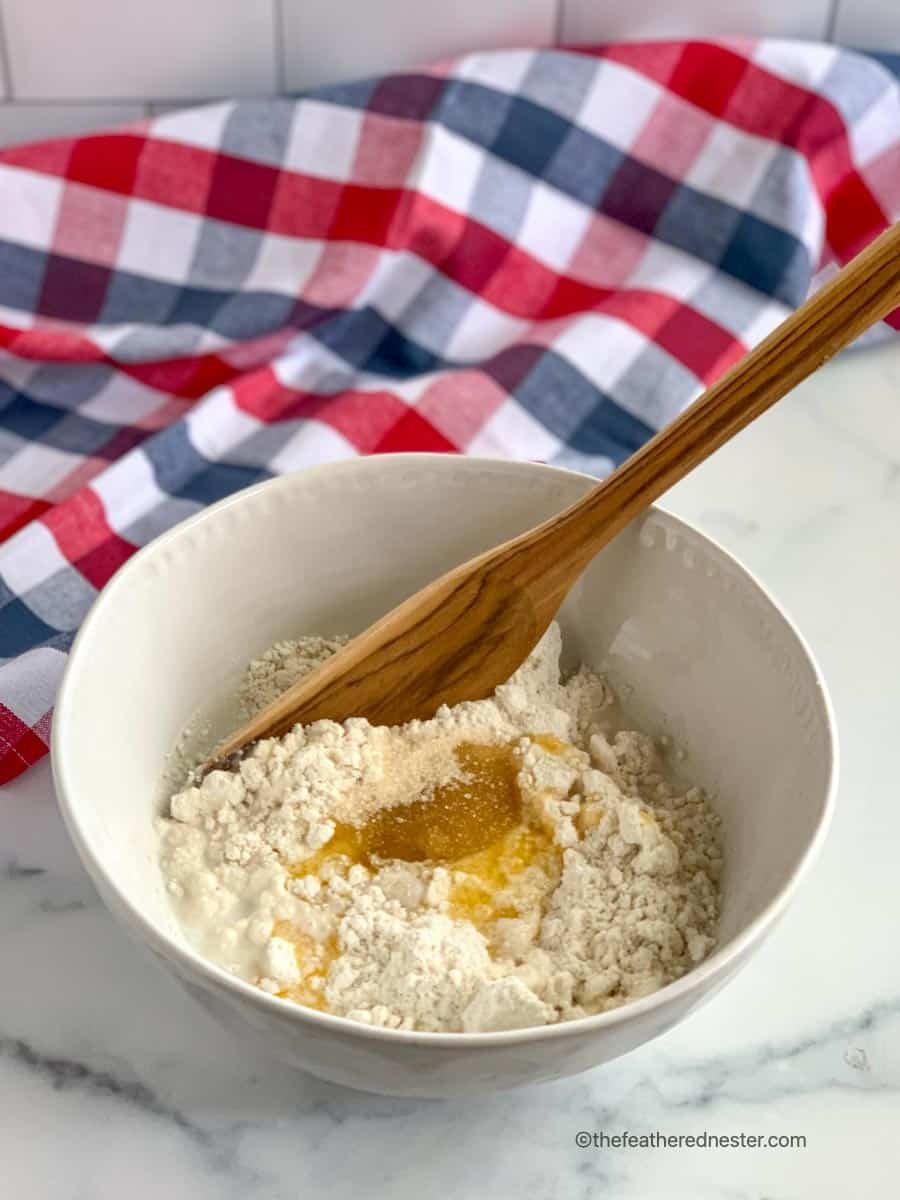
- While the cherry pie filling is baking, stir the last 4 ingredients together in a small bowl to make the Bisquick biscuit topping.
- Remove the cherry cobbler from the oven. Using two spoons or a scoop, drop the biscuit dough on top of the cherry filling, evenly spacing them on top of the casserole.
- Return Bisquick cobbler to the oven and bake for 15 minutes. The cobbler is done when the biscuits are golden and the cherries are bubbling. Let cool slightly before serving.
- Serve with a dollop of homemade whipped cream, cool whip, or a scoop of vanilla ice cream. For an extra tangy treat, enjoy a bowl of cobbler with a cool spoonful of cream cheese on the side.
Video

Notes
- If you will be serving someone who isn’t a fan of sweet desserts, add a heaping spoonful of cream cheese or sour cream to their portion. The tanginess in either of those ingredients will tone down and balance out the sweetness of the pie filling.
- Canned cherries: Two 20 ounce cans, plus add 2 tablespoons cornstarch
- Splenda sugar (baking) mix can be substituted 1:1 for sugar. Do not use regular Splenda, as the fruit cobbler will not thicken properly. Instead, use 1/2 regular Splenda and 1/2 sugar.
- Wait until the Bisquick cherry cobbler cools completely to room temperature before storing it to avoid condensation in the container. Transfer it to the refrigerator, where it can be kept for up to 4 days and reheated in the microwave for just 20 to 30 seconds.
- This easy Bisquick dessert also freezes very well for up to 3 months! Reheat in the oven at 350ºF for 30 minutes.

Susan Rose says
I’ve made several Cherry Cobblers and this is by far the best and the easiest Cherry Cobbler I’ve ever made. And like I mentioned it’s extremely easy to make. 😋
Marsha says
Quick and easy recipe. It was soooo good. My whole family loved it. I will be making this very often. Like I said it was quick and easy to make.
Danielle - TFN Team Member says
Thank you!