


Our Old Fashioned Potato Rolls are buttery and tender yeast rolls made with real mashed potato and a slow rise. The recipe comes from Grandma Susie’s handwritten collection, tucked inside our family Bible, and it has a place on our table at Easter, Thanksgiving and Christmas. In fact, it’s the most requested family recipe from kids and adults alike. Check out our helpful sections on rising times and shaping to ensure you get the perfect roll.
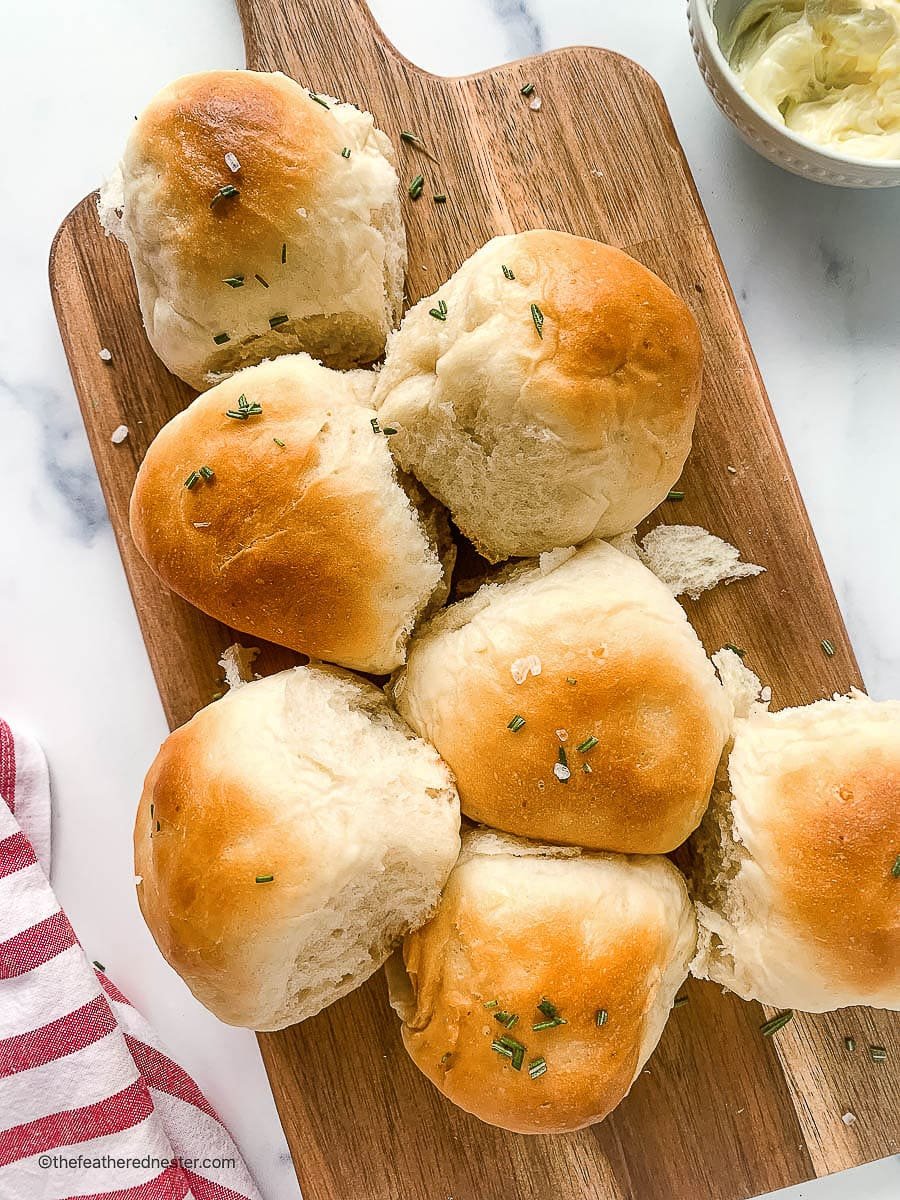
This old fashioned yeast rolls recipe stands out for its use of mashed potatoes and reserved potato water, which help create an incredibly soft crumb and tender texture. It’s a great choice when you want to bake something that feels special without relying on shortcuts. The dough is easy to make ahead, making it perfect for busy holiday prep or weekend meals. These rolls rise beautifully and bake up golden, making them a reliable favorite for gatherings or everyday dinners alike.
Content Covered Here
Why We Love Old Fashioned Yeast Rolls
- It’s a treasured family favorite.
This old fashioned yeast rolls recipe comes straight from Grandma Susie’s handwritten collection, found in our family Bible passed down through generations. She was known for her baking, and these rolls are one of the many reasons why. - The texture is unmatched.
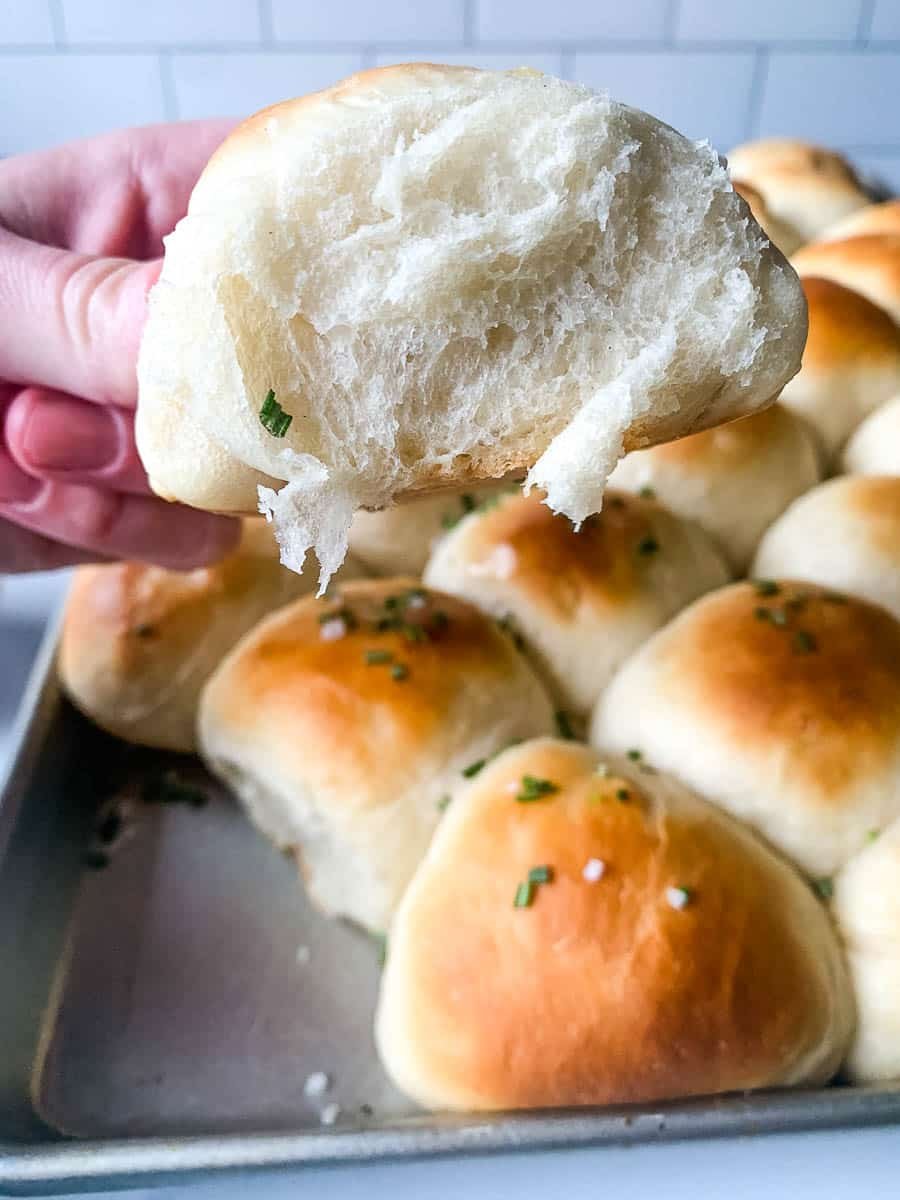
Thanks to real mashed potatoes and a slow rise, each roll is soft, tender, and golden on top. It’s the kind of bread that tastes just as good with butter as it does mopping up gravy. - It feeds a lot of people.
This recipe makes up to 36 rolls, so there’s plenty to go around. And since it’s simple and reliable, you won’t stress over the details- just enjoy the compliments.
We also love adding this to our dinner plan recipes for March.
Ingredient Notes and Substitutions
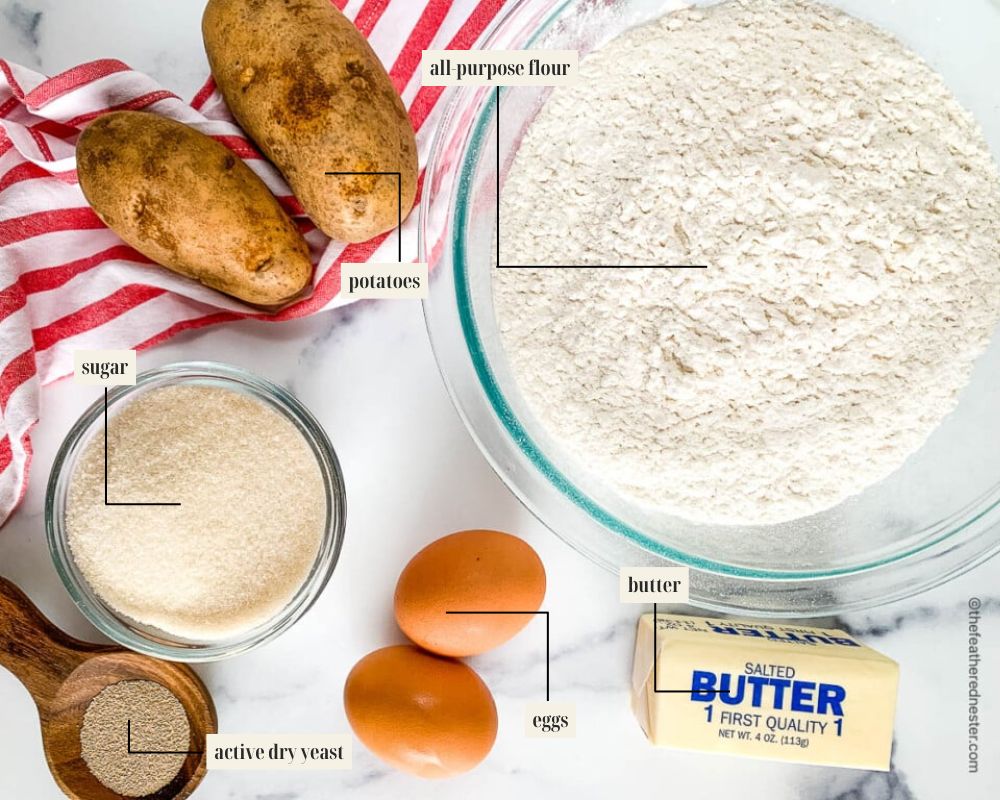
Here is what you need to make this easy dinner roll recipe:
- Yeast: This is what makes the rolls rise, giving them their fluffy, tender texture. For this recipe, you will need active dry yeast, not instant yeast or rapid-rise yeast.
- Potato: Adding a boiled and mashed potato results in a fluffier, more tender yeast roll. The starch from the potato binds with the yeast for a smooth, moist dough that rises evenly. Peeled or unpeeled according to your preference.
Out of potatoes? Substitute with 3/4 cup of instant potato flakes combined with 1 1/2 cups of water. You can also use one cup of leftover mashed potatoes. - Sugar: is an essential ingredient in baked goods like bread. It feeds the yeast, adds flavor and tenderness, and helps with even browning.
- Eggs: they act as a leavening agent and give the dough structure.
Egg yolks give a yellow color to the pull-apart bread. The more eggs the recipe calls for, the deeper the color will be. (Think of a bright yellow loaf of egg bread).
Finally, the fat in egg yolks shortens and weakens the gluten strands. This is needed for fluffy, soft yeast rolls. - Salt: is more than a flavor enhancer in bread. It helps strengthen the strands of gluten in the flour, helping the dough to rise.
- Butter: gives a creamy flavor to old-fashioned yeast rolls. The moisture and fat in butter expand during baking, creating a crumb that’s light and airy.
For dairy-free yeast rolls, substitute extra virgin olive oil for the butter in this recipe. - All-purpose flour: We prefer using all-purpose for this recipe, as it contains a slightly lower protein content than bread flour. Although, bread flour does work, if that’s what you are used to using.
Recipe Variations
- Make them garlic butter rolls: Brush the tops of the warm rolls with melted butter mixed with minced garlic and a pinch of salt. It adds a savory touch that pairs beautifully with soups, pastas, or roast dinners.
- Shape into cloverleaf or pull-apart rolls: Instead of round balls, divide the dough into smaller pieces and tuck three into each muffin tin well. This simple shape makes them look extra special while keeping that same best yeast rolls flavor.
- Add herbs or cheese: Mix dried herbs like rosemary or thyme into the dough, or fold in a handful of shredded cheddar or parmesan for an herby-cheesy spin on the classic old fashioned yeast rolls recipe.
Looking for a sweeter version? Try our Texas Roadhouse rolls (copycat) recipe.
Equipment Used in this Recipe
- Saucepan
- Large bowl
- Rimmed baking sheet
How to Make The Best Yeast Rolls
- Don’t skip the potatoes!
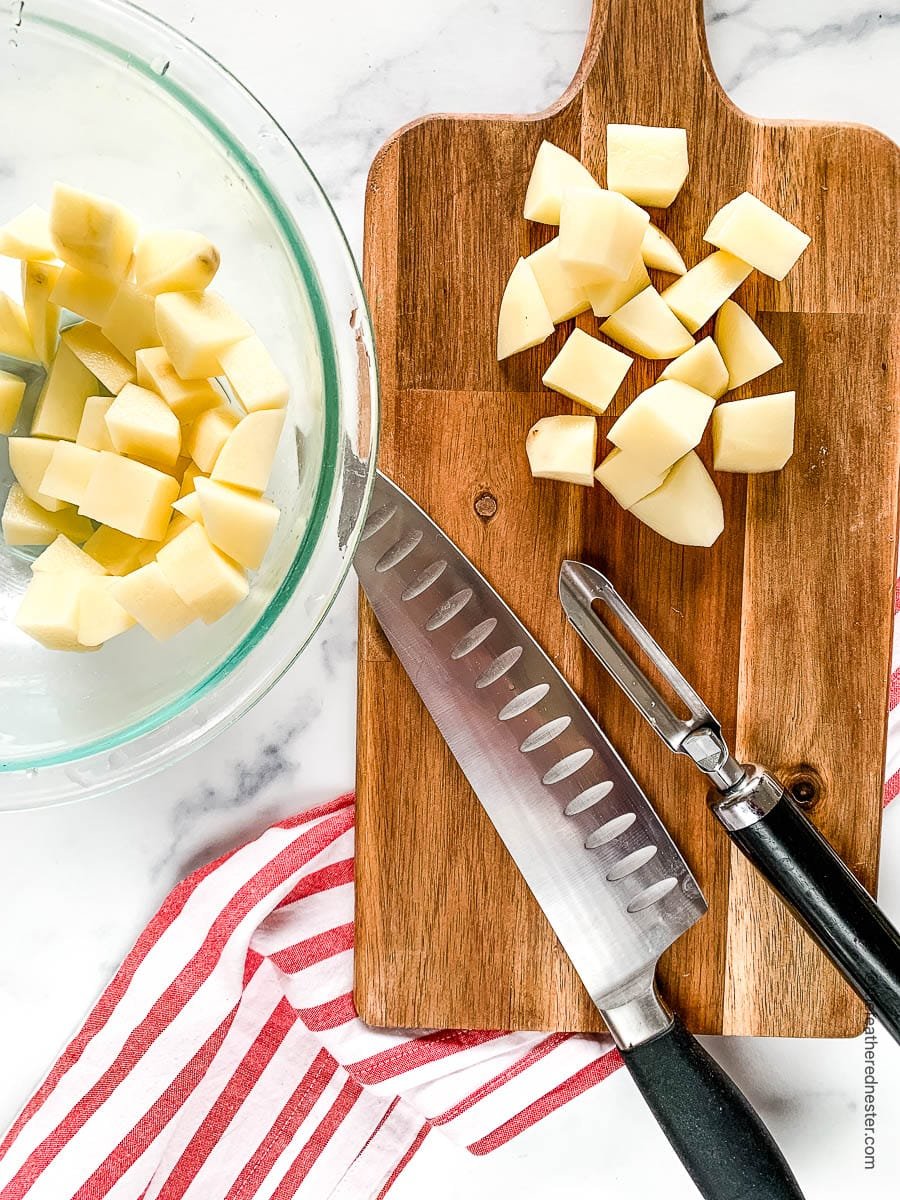
Scrub (you can also peel at this point, if you prefer) and cube 1 large potato and boil it in unsalted water until it is tender. Mash the potato until smooth and measure out 1 cup. Set aside 1 1/2 cups of the cooked potato water and let it cool until just warm. Remember- hot water can kill your yeast so let it cook until it is just warm water before adding to your yeast.
- Stir 2 1/4 teaspoons yeast into 1/4 cup warm water (95 to 110°F) with a pinch of the sugar. Let it sit (about 5-10 minutes) until it looks foamy.
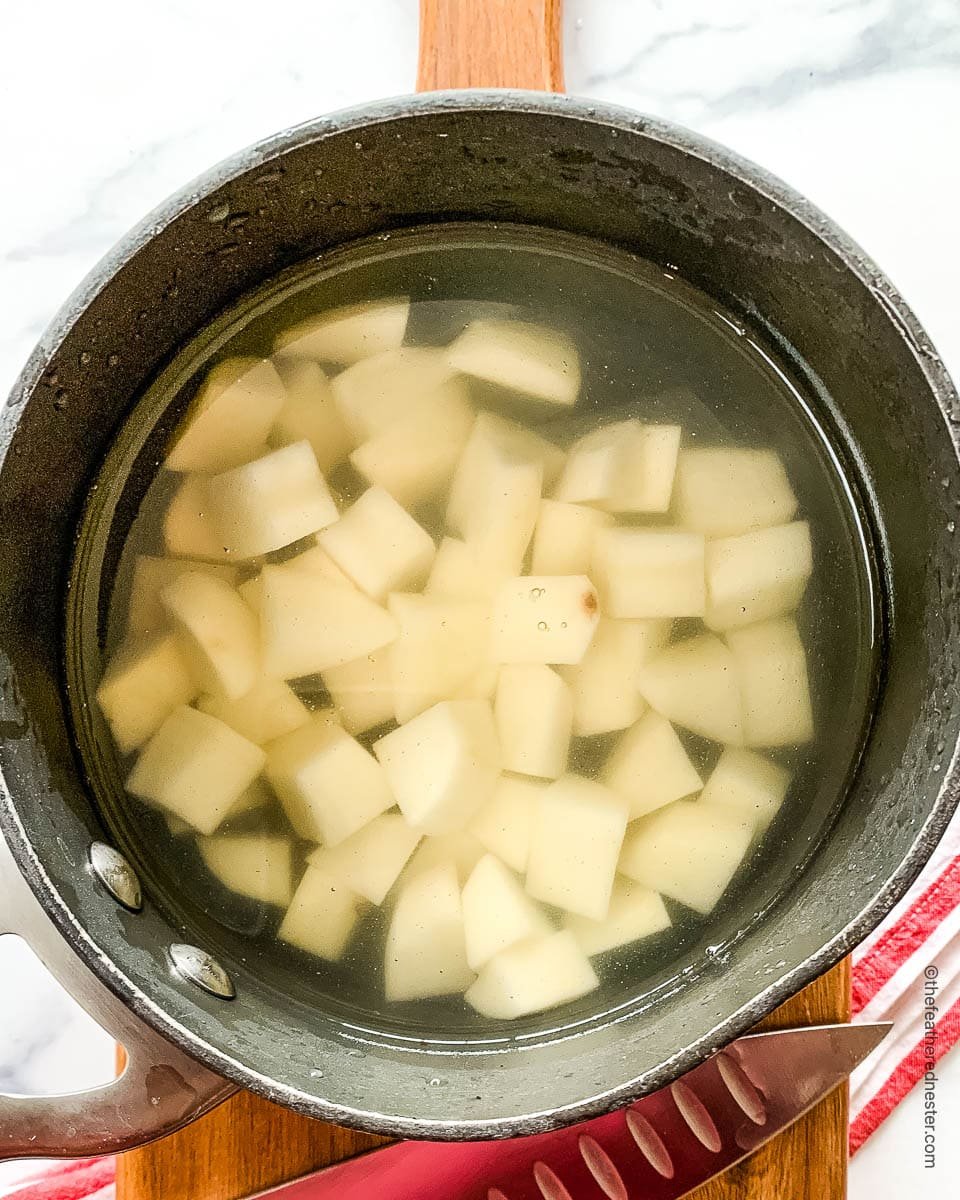
- In a large bowl, stir together the cooled potato water, the rest of the 2/3 cup sugar, 1 1/2 teaspoons salt, the yeast mixture, 2/3 cup melted and cooled butter, 2 eggs and the mashed potato.
- Stir in 6 to 7 cups all-purpose flour a little at a time. Use one cup at a time and stir. Evaluate at 6 cups whether you need to continue adding flour. Knead until the dough is smooth (about 8 to 10 minutes by hand or 5 minutes with a mixer).
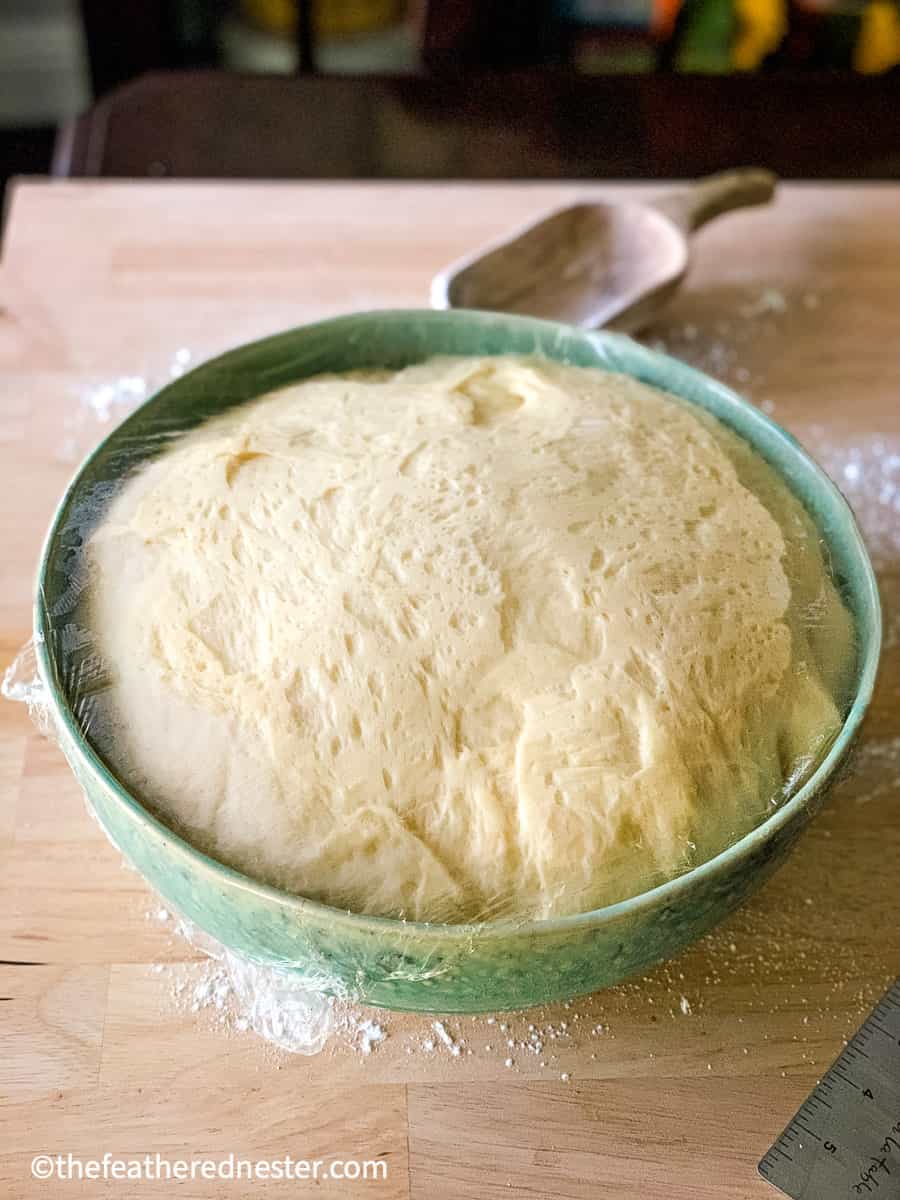
- Place the dough in a lightly greased bowl and grease the top. Cover with plastic wrap or a towel and let it rise in a warm place for 2 hours, or until doubled.
- Punch the dough down. Let it rise again for 2 hours, or until doubled. For make-ahead, refrigerate the dough overnight instead, then let it rise in a warm spot for 2 hours the next morning.
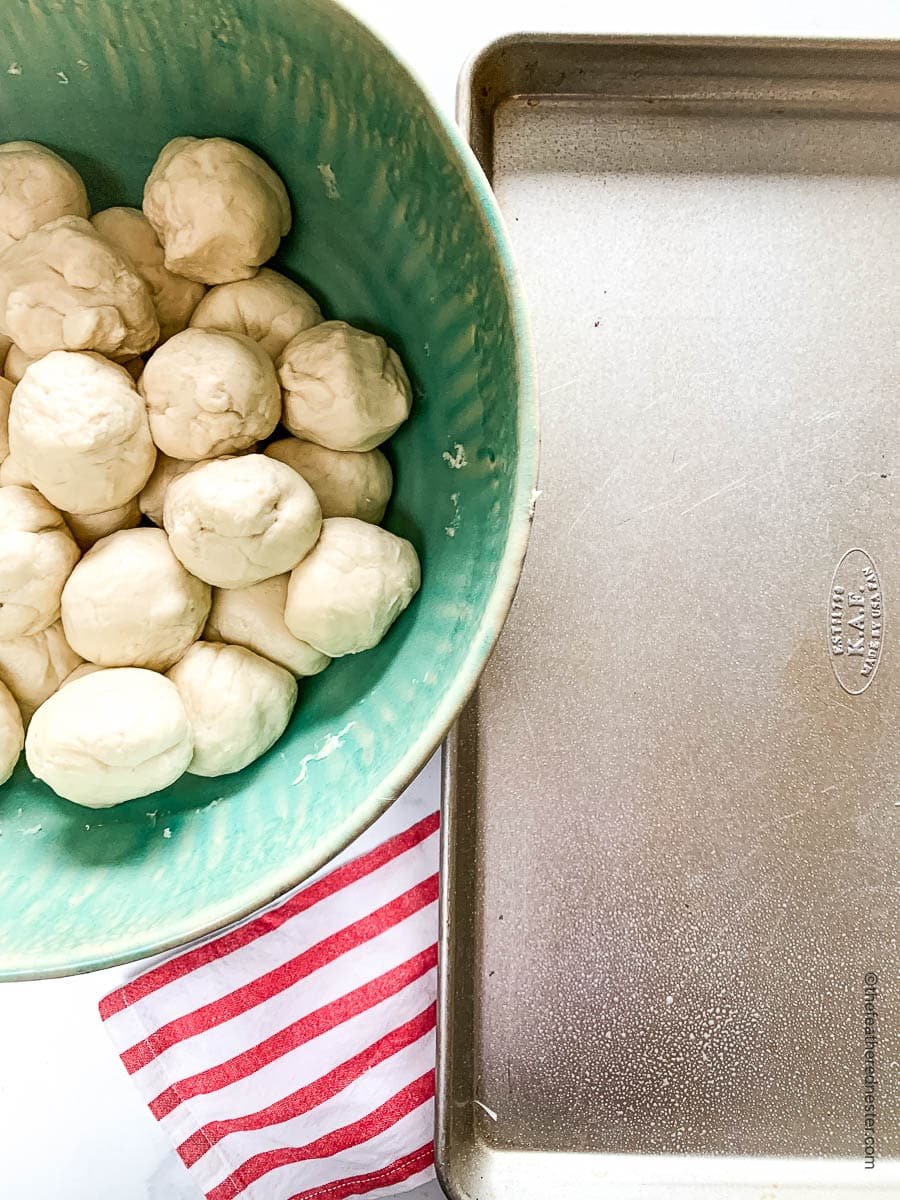
- Divide the dough into 36 balls and place them on a greased baking pan. Let the rolls rise until puffy and doubled.
- Bake at 400°F for 12 to 15 minutes until golden. Carefully remove from oven and brush with butter while they are warm.
For a super-fast bread option, you can have the best fluffy, flakey biscuits in only 20 minutes with my how to make biscuits with self rising flour.
How To Know When Dough Is Risen Enough?
- Look for the dough to double in size – that’s your cue that it’s time to cut and shape it.
- If you poke the side of the dough in about 1/2″ and the indentation stays (or springs back very slowly) then it’s risen enough. If it springs right back, then let it rise longer.
How To Shape Dinner Rolls
Shaping the dough is the fun part, and the kids love to help!
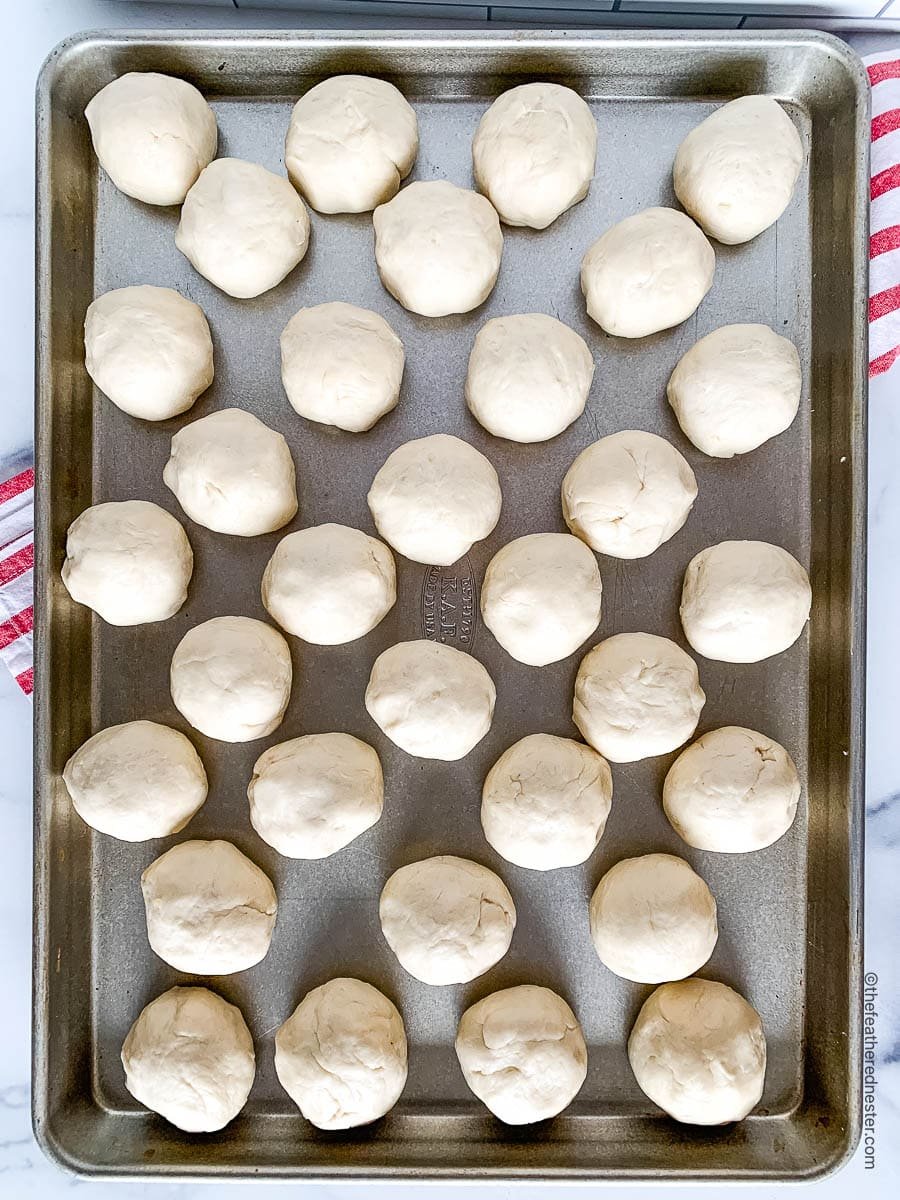
- Cut the dough into 36 even pieces.
- Roll each piece into the shape of a ball.
- Then, pinch the bottom of the dough balls until the top is smooth.
- If you want a pull-apart bread, place the balls of dough a little closer together on the sheet pan or baking dish. This way, the sides of the bread will bake together.
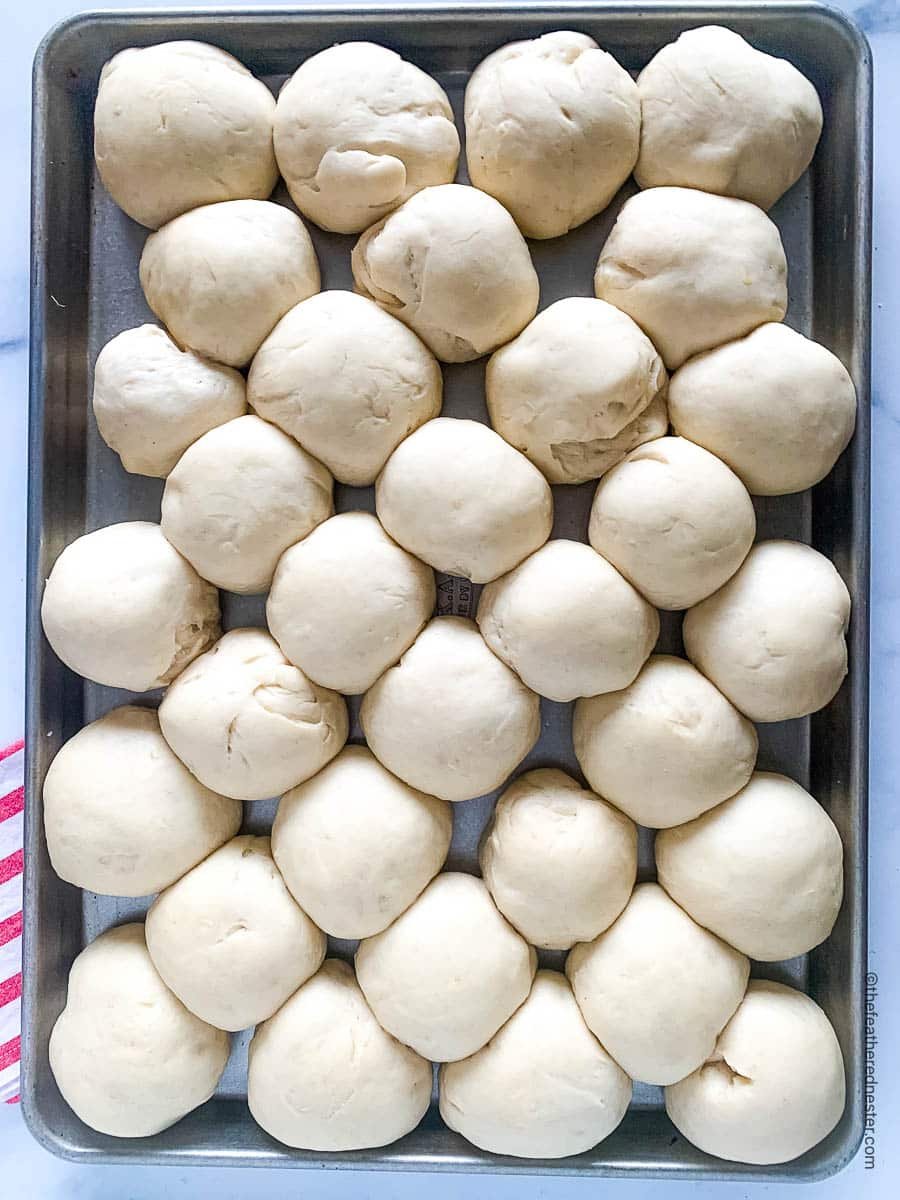
🎯 TFN Pro Tip
A great place to let the dough rise is in an oven that has a “proof” setting. Set it to 85ºF. Or, in an oven with the oven light turned on.
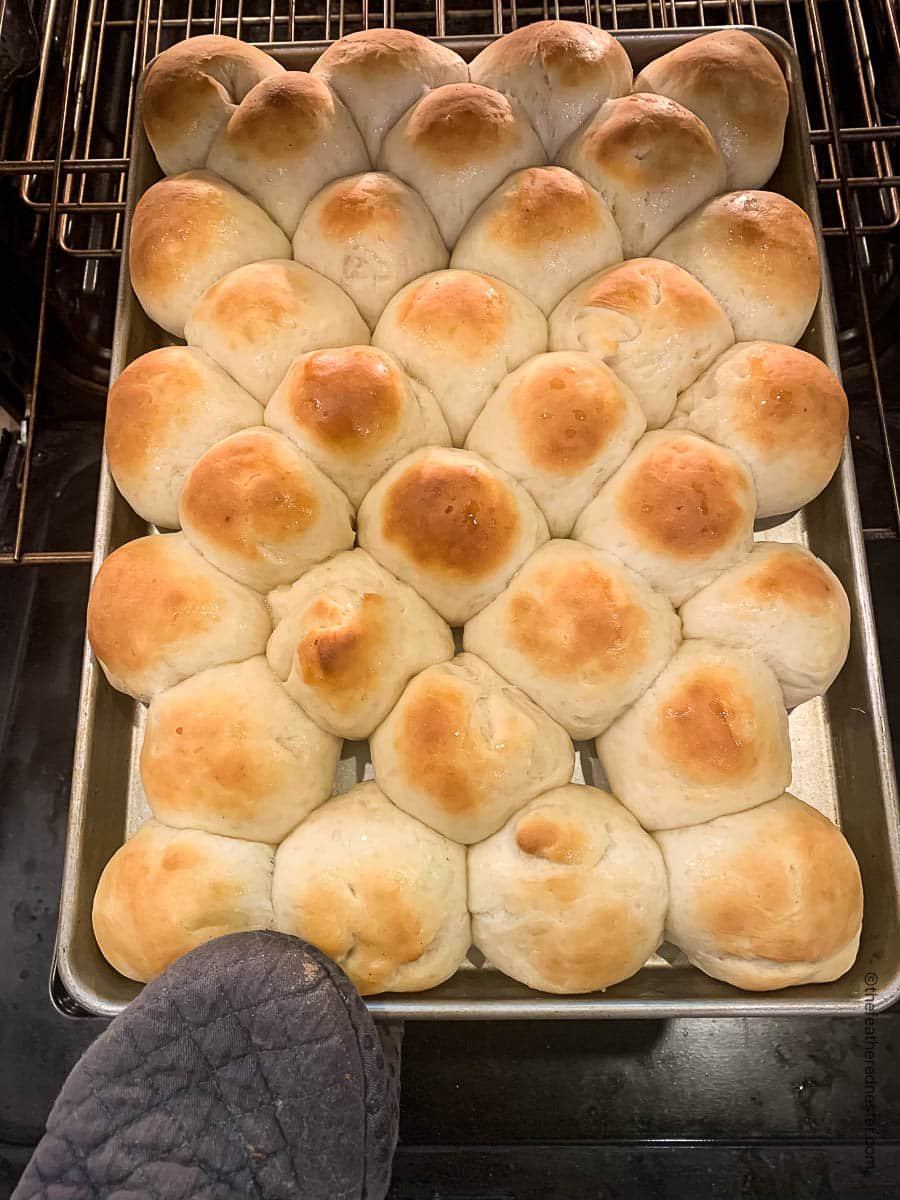
Serving Suggestions
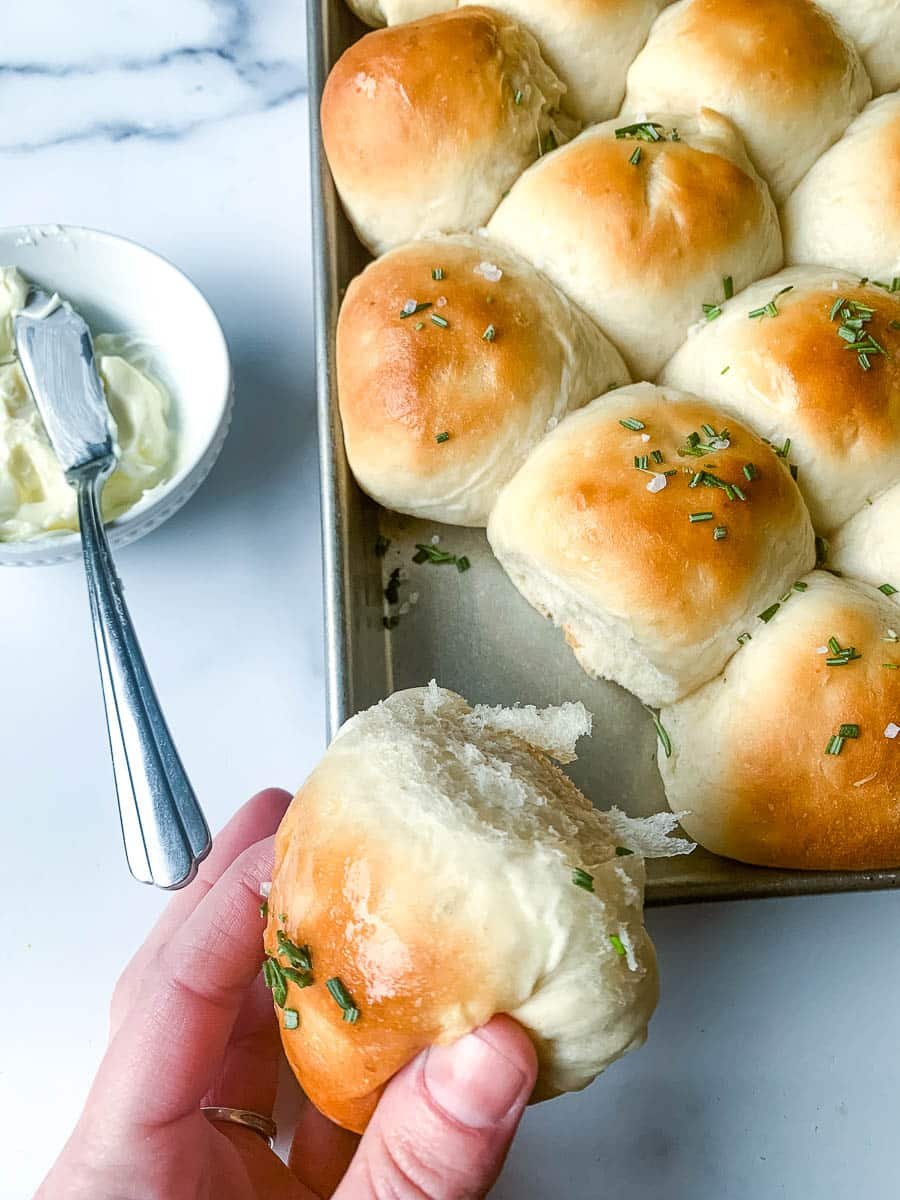
These rolls are perfect fresh out of the oven, brushed with butter and served warm alongside a hearty meal. They pair beautifully with roasts, soups, and holiday classics like turkey or ham.
You can also split them in half and tuck in a slice of ham or leftover roast for next-day sliders. For something more casual, enjoy them with a bowl of chili or a simple salad. However you serve them, this yeast rolls recipe brings that comforting, homemade feel to the table every time.
Recipes FAQs
Keep any leftovers in an airtight container at room temperature for 2-3 days. To store them longer, put them in the refrigerator for 5-7 days.
To reheat, wrap them in a damp paper towel and microwave for 15 seconds at a time until warm.
Although this recipe calls for all-purpose flour, I have used both Kamut flour and bread flour with great results.
I recommend starting these homemade dinner rolls a day ahead. This way, most of the work is done ahead, leaving you more time to focus on preparing the main dish and other sides. This is helpful for busy holiday meals and family gatherings.
Honestly, this old-fashioned yeast roll recipe is so worth the time to make. The soft, fluffy goodness will become your family’s favorite bread to serve with any meal. Or pair it with some honey butter and eat it any time of the day. So give it a go and let us know how much you love it!
More Holiday Recipes To Love…
If you tried this old fashioned yeast roll recipe or any other recipe on my website, please leave a 🌟 star rating and let me know how it went in the 📝 comments below. Thanks for visiting!

Old Fashioned Potato Rolls
Equipment
- plastic cling wrap
Ingredients
- ¼ cup warm water (about 95º to 110ºF)
- 2 ¼ teaspoons active dry yeast (1 package)
- 1 large potato (see notes below for substitutions)
- ⅔ cup sugar divided
- 2 large eggs
- 1 ½ teaspoons salt
- ⅔ cup butter melted and cooled
- 6-7 cups all-purpose flour
- cooking spray
Instructions
- Scrub your potato (if you are going to peel, do so at this time) then cube it. Place the cubes in a medium sized sauce pan with enough water to cover potatoes by 2". Do not add salt. Bring to a boil and cook until softened, about 10 minutes. Remove the potato and mash. Set aside 1 cup of mashed potatoes. Pour potato water into a measuring cup, and set aside 1 ½ cups of potato water to cool.
- In a small bowl or measuring cup, sprinkle yeast over 1/4 cup warm water. Add a pinch of sugar to test the active yeast.
- In a large mixing bowl, stir potato water, sugar, salt, and yeast mixture. If using a stand mixer, add to the mixing bowl and use the dough hook attachment on low speed. Continue mixing while adding the ingredients: butter, eggs and mashed potato.
- Add flour 1 cup at a time, mixing thoroughly between cups. Stop adding flour after the 6th cup and see if the dough cleans the sides of the bowl. If not, add 1/2 cup of flour at a time until the dough forms a ball. Do not add more than 7 cups of flour. Knead dough in a stand mixer for at least 5 minutes or by hand for 10 minutes.
First Rise
- Place dough in a lightly greased bowl to rise. Lightly grease the top of the dough and cover it with plastic wrap or a towel. Place dough in a warm place and let rise for 2 hours (or until doubled in size).
Second Rise
- After first rising, punch the dough down. Begin the second rise for two hours or until double in size, or refrigerate the dough overnight. If refrigerated overnight, place dough in a warm spot the next morning and let rise for 2 hours.
- Then, 2 hours before baking, divide the dough into two pieces and continue dividing the dough into 36 similar-sized balls. Shape balls by rolling them by hand.
Last Rise
- Place rolls on greased cookie sheet. Cover and let rise in a warm place until double in size.
- Preheat oven to 400ºF.
- Bake in preheated oven for 12-15 minutes. Butter tops of each roll after baking to preserve soft crust. Serve warm.
Notes
- A great place to let the dough rise is in an oven with a “proof” setting. Set it to 85ºF. Or, in an oven with the oven light turned on.
- Although this recipe calls for all-purpose flour, I have used both Kamut flour and bread flour with great results.
- Out of potatoes? Substitute with 3/4 cup of instant potato flakes combined with 1 1/2 cups of water.
-
- Make them garlic butter rolls: Brush the tops of the warm rolls with melted butter mixed with minced garlic and a pinch of salt. It adds a savory touch that pairs beautifully with soups, pastas, or roast dinners.
-
- Shape into cloverleaf or pull-apart rolls: Instead of round balls, divide the dough into smaller pieces and tuck three into each muffin tin well. This simple shape makes them look extra special while keeping that same best yeast rolls flavor.
- Add herbs or cheese: Mix dried herbs like rosemary or thyme into the dough, or fold in a handful of shredded cheddar or parmesan for an herby-cheesy spin on the classic old fashioned yeast rolls recipe.
- Any leftovers should be kept in an airtight container at room temperature for 2-3 days. To store them longer, put them in the refrigerator for 5-7 days.
- To reheat, wrap them in a damp paper towel and microwave for 15 seconds at a time until warm.
- I recommend starting these homemade dinner rolls a day ahead. This way, most of the work is done ahead, leaving you more time to focus on preparing the main dish and other sides. This is helpful for busy holiday meals and family gatherings.

 Previous
dana says
These turned out so well! I was thrilled! (And so was everyone who ate them.) This was my first time making buns and it was really easy with your instructions, so thank you!
Katherine says
Loved these classic fluffy rolls!
Kathleen says
What beautifully fluffy and light yeast rolls. They are a perfect accompaniment for any meal.
Lauren says
I made these rolls for Sunday dinner with the family. They turned out great – everyone loved them!
Ned says
Rolls are the quickest way to my heart and these were delicious! Thank you for this amazing recipe. Can’t wait to make them again for my family.