

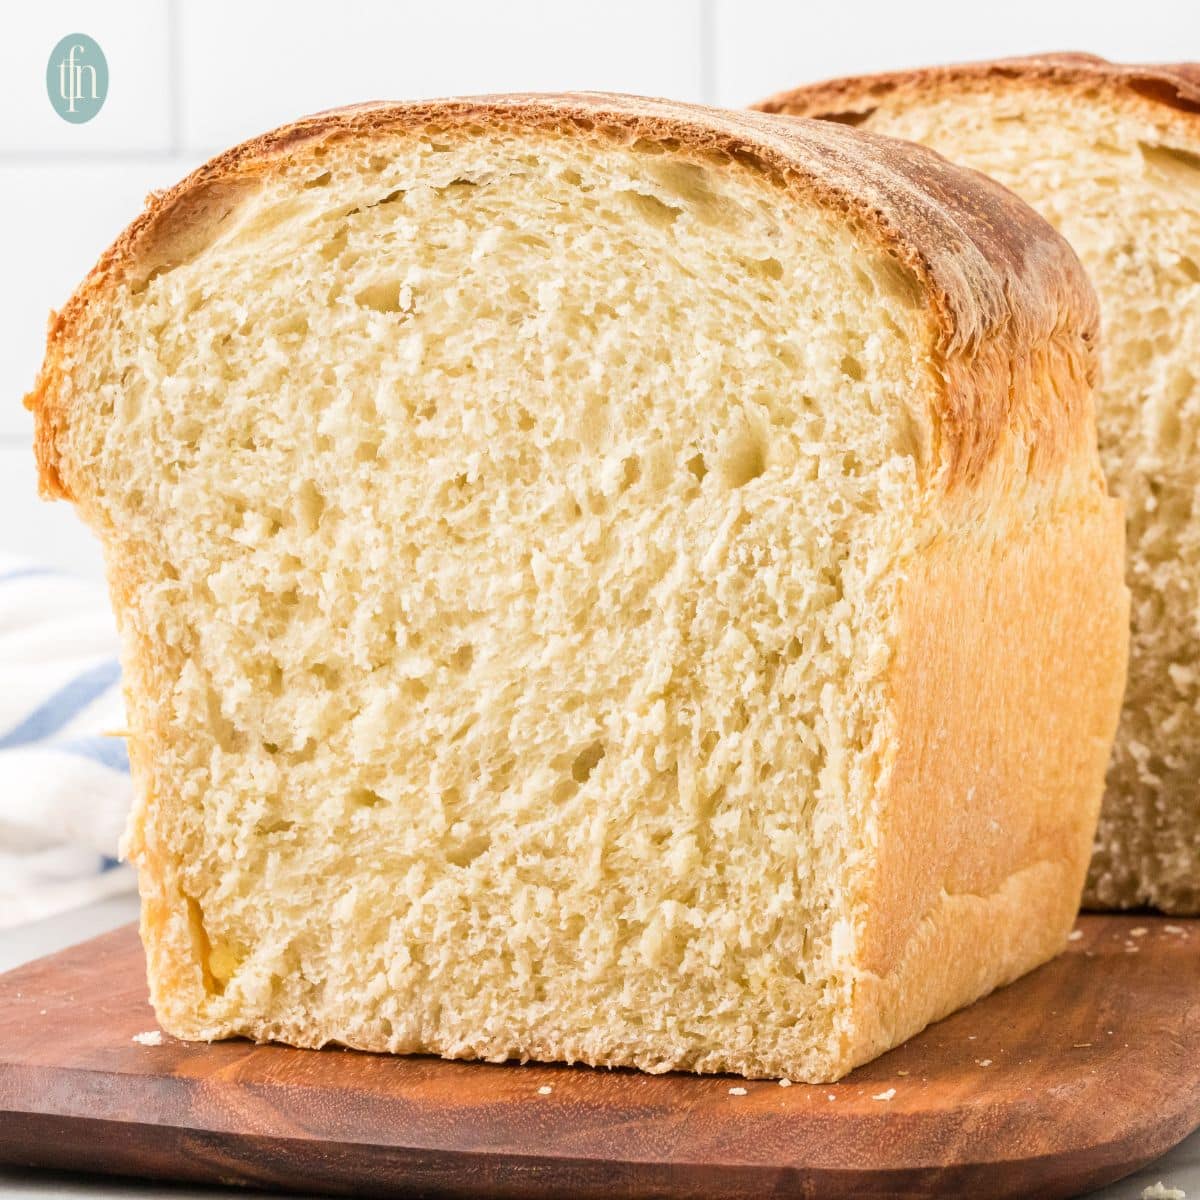
I still remember the first loaf of soft sourdough sandwich bread I pulled from the oven. My grandkids were visiting and I wasn’t sure they’d even try it. But one bite in, they were asking for more. I turned my back for a minute and there were literal chunks missing from the loaf!
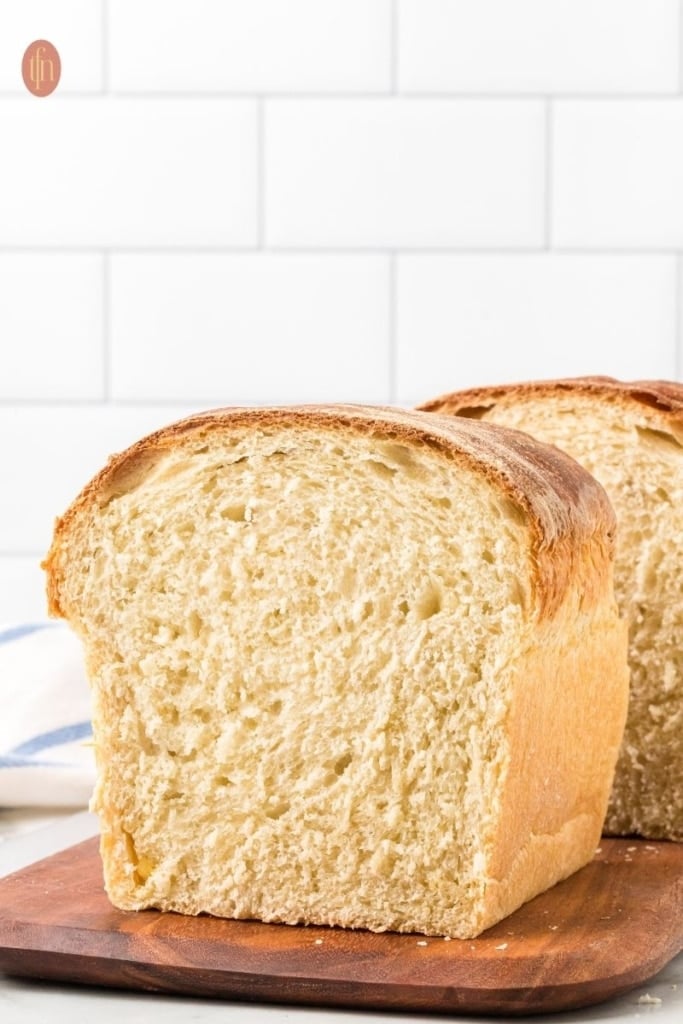
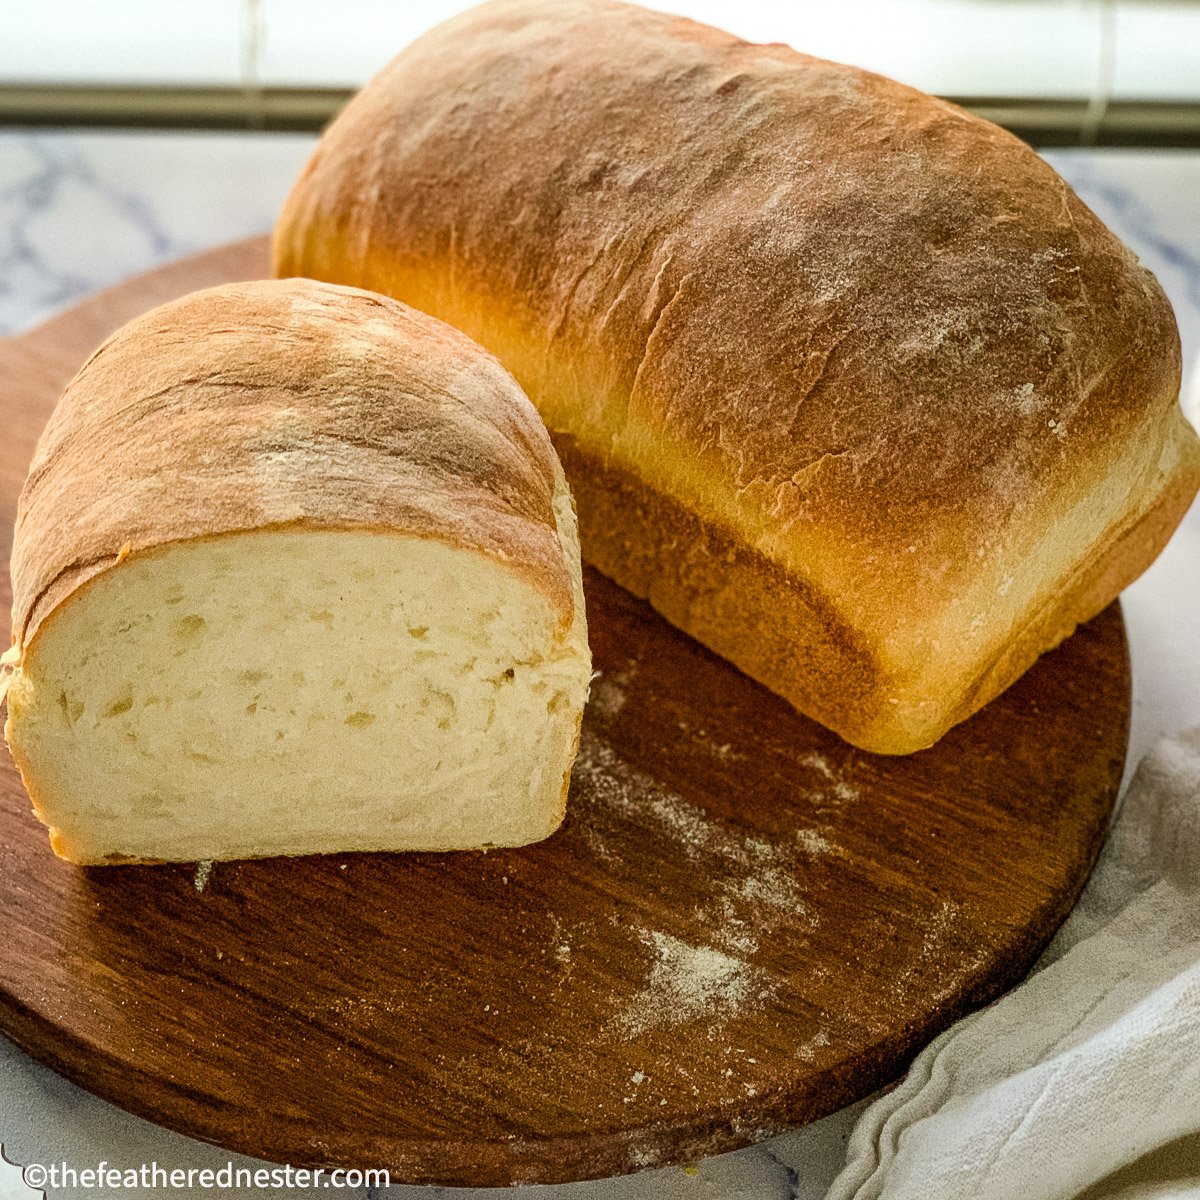
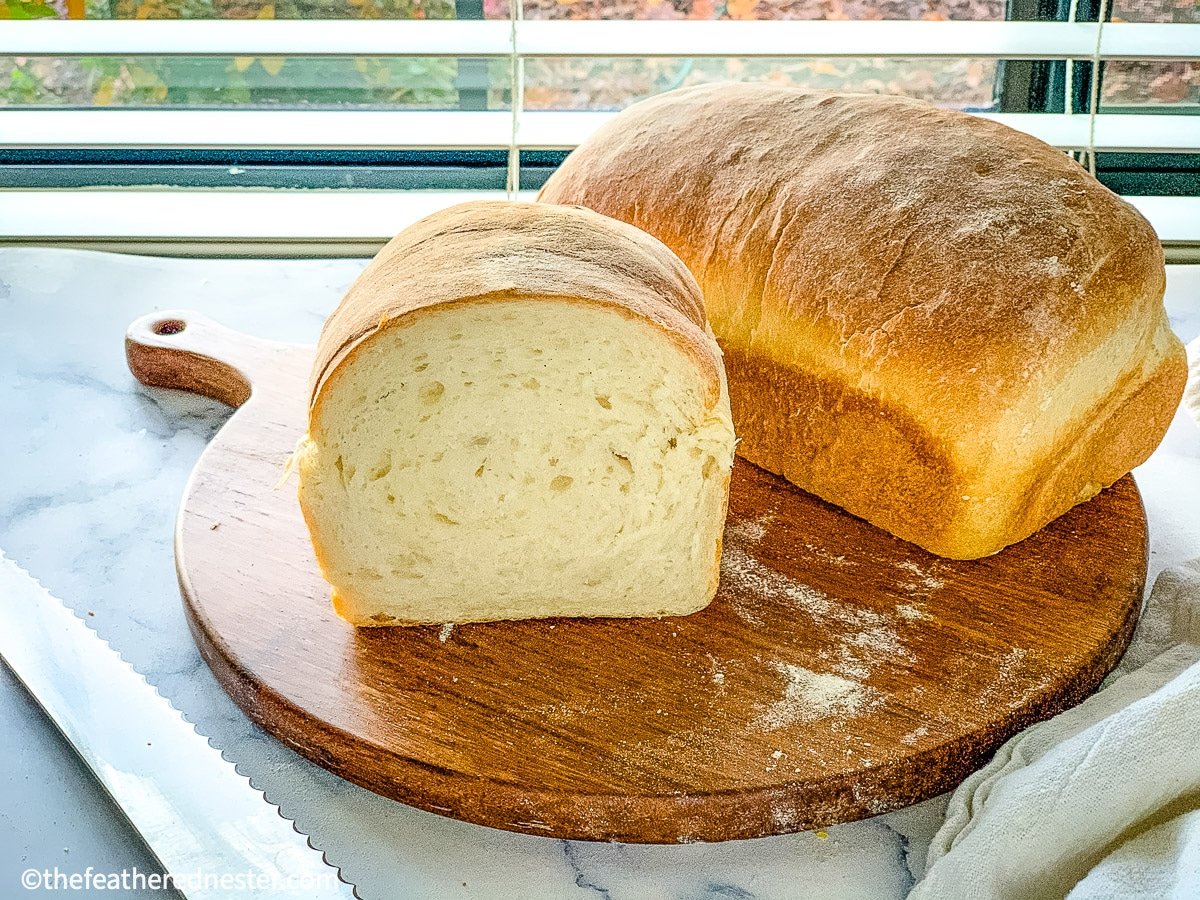
If you’ve been nervous about making sourdough bread at home, our sourdough sandwich bread recipe is the one to start with. It’s easy, no-knead, and forgiving. The loaf is soft and fluffy and even the pickiest kids at home will love it. No hard crust, no sour taste, no preservatives, just a beautiful sandwich bread you’ll be proud to slice.
Content Covered Here
Sourdough Bread Video Tutorial
Watch the video to see the whole process from start to finish, including how to stretch and fold the dough and shape the loaf.
Why We Love This Soft Sourdough Sandwich Bread
- It’s super soft inside and out – so everyone loves it!
Sourdough loaves typically have a sour taste and crunchy, chewy exterior that some people (and kids) dislike. However, this recipe is baked in a loaf pan for a wonderfully light crust and soft interior. - This is a no knead sourdough sandwich bread recipe
Since this is a no-knead bread recipe, there’s no worry about “Have I kneaded the dough enough?” The recipe is literally fail-proof. - It tastes like “regular” sandwich bread – without the “sour” taste.
Even if your kids aren’t sourdough fans, they’ll love it! They probably won’t even notice the difference between it and store-bought. The kids might also like our grilled cheese on sourdough bread recipe or our sourdough breakfast sandwich.
Why This Easy Recipe Works for Beginners and Experienced Bakers
This easy sourdough sandwich bread recipe is simple enough for beginners and flexible enough for experienced sourdough bakers.
- No kneading. Stir the dough together, then stretch and fold.
- No scale needed. Use cups, or click the Metric tab in the recipe card if you like to weigh your ingredients.
- No refrigeration. The dough rises on your counter.
- No peak starter. Mix your dough 8 to 24 hours after feeding (8 to 12 hours works best). You don’t need to watch the clock and catch your starter at its peak.
New to sourdough? Watch the video and follow the steps and check out our list of best sourdough recipes for beginners.
Already a pro? Check the rising time chart in the recipe notes to fit the bake to your kitchen.
Benefits of Baking Your Own Sandwich Bread at Home
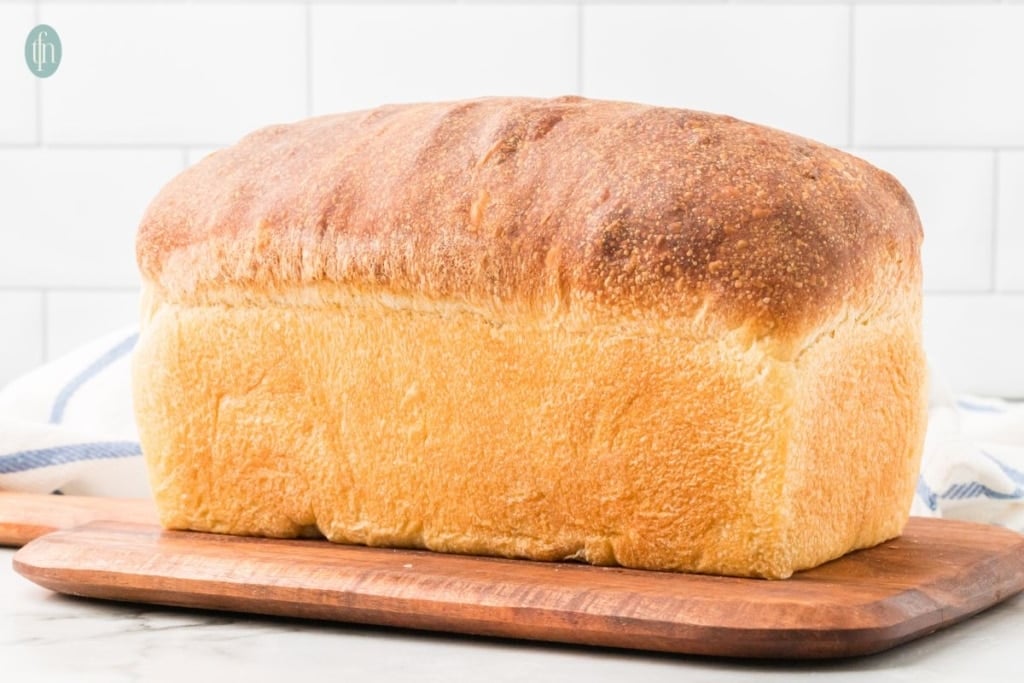
Homemade sourdough sandwich bread has a short ingredient list with no additives or preservatives. It’s easy to double the batch and freeze a loaf. Loaves defrost well, so you can stock your freezer with homemade bread.
See our article on how to store your sourdough bread to keep it fresher longer.
Learn more about how sourdough is fermented in my overnight sourdough bread post.
Ingredient Notes & Substitutions
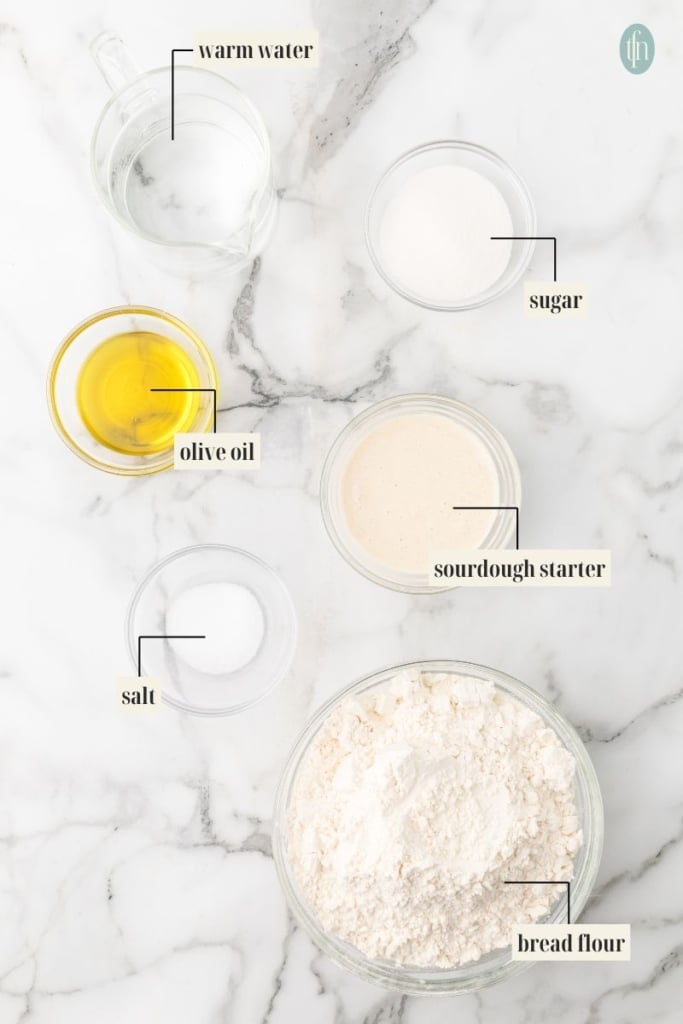
Make this yummy soft loaf with just a handful of simple ingredients. There’s no yeast, eggs, or milk required!
- Sourdough starter – fed 8 to 12 hours before starting the recipe (up to 24 hours works, too). You’ll need a mature starter that’s at least 10 days old and doubles in size within 4 to 6 hours of feeding. You don’t have to catch it at its peak, so there’s no need to time your feeding to the minute.
- Bread flour – I prefer using unbleached King Arthur bread flour. Although you can use all-purpose flour, the higher protein content in bread flour creates a higher more airy loaf that’s perfect for sandwiches.
- Sugar – Granulated sugar or you can substitute the sugar with 2 rounded tablespoons of honey.
Equipment and Tools
As an Amazon Associate I earn from qualifying purchases. These are the tools I use to make this bread:
- 9×5 inch loaf pan (or 1 pound loaf pan)
- large bowl, I recommend using a clear bowl so you can see the level of activity after the overnight fermentation (or long rise).
- dough whisk is ideal for mixing dough and easier to clean than a wooden spoon.
- warming mat (optional but helpful during the winter!).
Recipe Variations
- Sourdough Cinnamon Bread
- Chocolate Sourdough Bread
- Easy Sourdough Rye Bread
- Sourdough Focaccia Recipe
- Sourdough Hamburger Buns
No starter? With my quick and easy sourdough starter recipe, you can have a starter that’s ready to use in low-rise recipes (like pancakes) in just 7 days and ready to bake bread in as little as 10 days. Or, use yeast to make a loaf of sandwich bread with our classic sandwich bread or whole wheat sandwich bread.
Sample Baking Schedule
Helpful hint: If your kitchen is warmer than 72° overnight you might consider pushing back the assembly time to closer to 9PM if your dough tends to rise quicker in a warmer kitchen.
- 7AM: feed your starter so it’s ready to go the next day
- 7PM (evening before): Combine starter, warm water, sugar, then add flour, oil, and salt. Mix until shaggy.
- 7:15 PM: Wet or flour your hands and finish bringing the dough together. Cover with a damp towel and rest.
- 7:45-8PM: Stretch and fold the dough, rotating around the bowl. Return to bowl and cover. Bulk rise now begins, leave covered in a warm spot overnight (8 to 12 hours).
- 7:00AM (next morning): Dough should be about doubled in size and be puffy on top with bubbles underneath. Turn dough out, stretch into a rectangle, dimple, roll into a log, and tighten by pulling it toward you along the counter. Cover and rest 10 minutes.
- 7:10AM: Spray the pan and place the log seam side down. Cover and let rise 1 to 2 hours until doubled.
- 9:10 AM: Preheat oven to 375°F. Brush with egg wash if desired. Bake 40 minutes until golden brown.
- 9:50 AM: Remove from oven, rest in pan 10 minutes, then transfer to a wire rack.
- 10:50 AM: Cool at least 1 hour before slicing.
Baking Sourdough in a Loaf Pan
This recipe is made for a standard 9×5 inch loaf pan, which gives you a tall, soft sandwich loaf with a light crust. Spray the pan with cooking spray, then place the dough in seam side down.
A 12 x 4.5 inch pan works too (bake 30 to 35 minutes). You can also divide the dough between two 4×8 inch or 4 x 9 inch pans (bake 25 to 30 minutes). See the Recipe Notes in the recipe card for details.
How to Make No Knead Sourdough Sandwich Bread
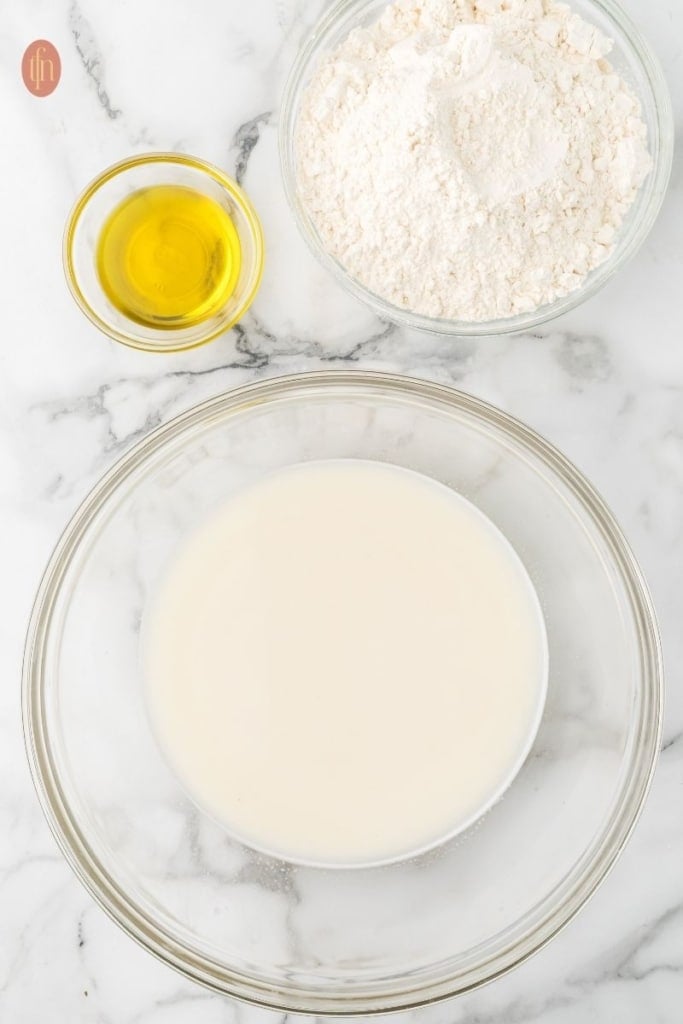
- Feed your sourdough starter 8 to 12 hours before you plan to start the recipe. That timing works best for me, but I’ve also used a starter up to 24 hours after its last feeding with good results. The best part is that you don’t have to catch your starter at its peak.
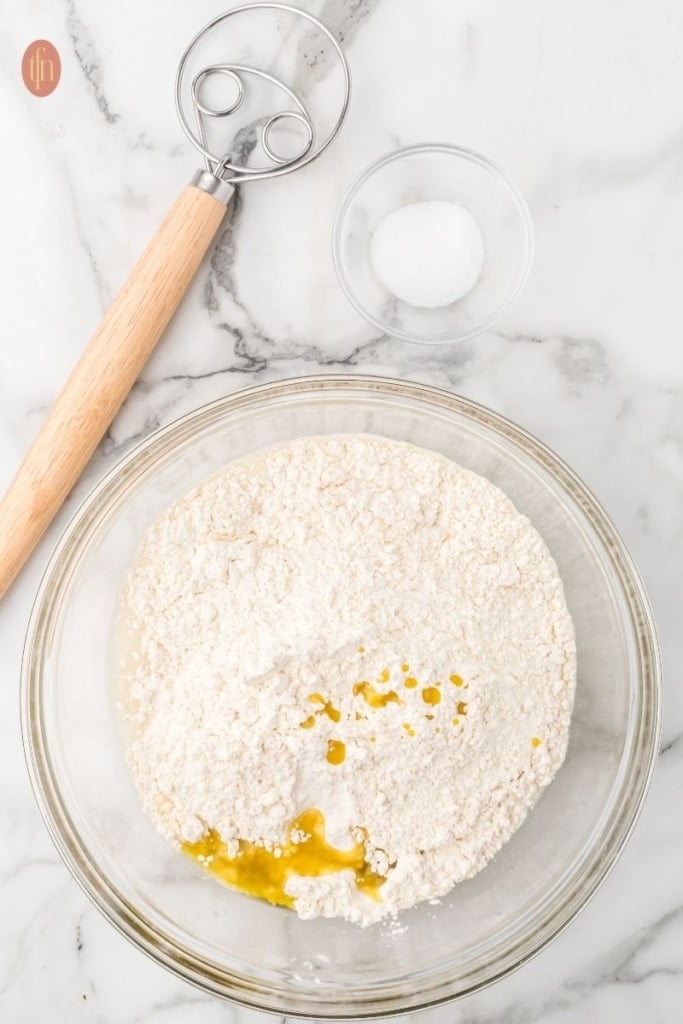
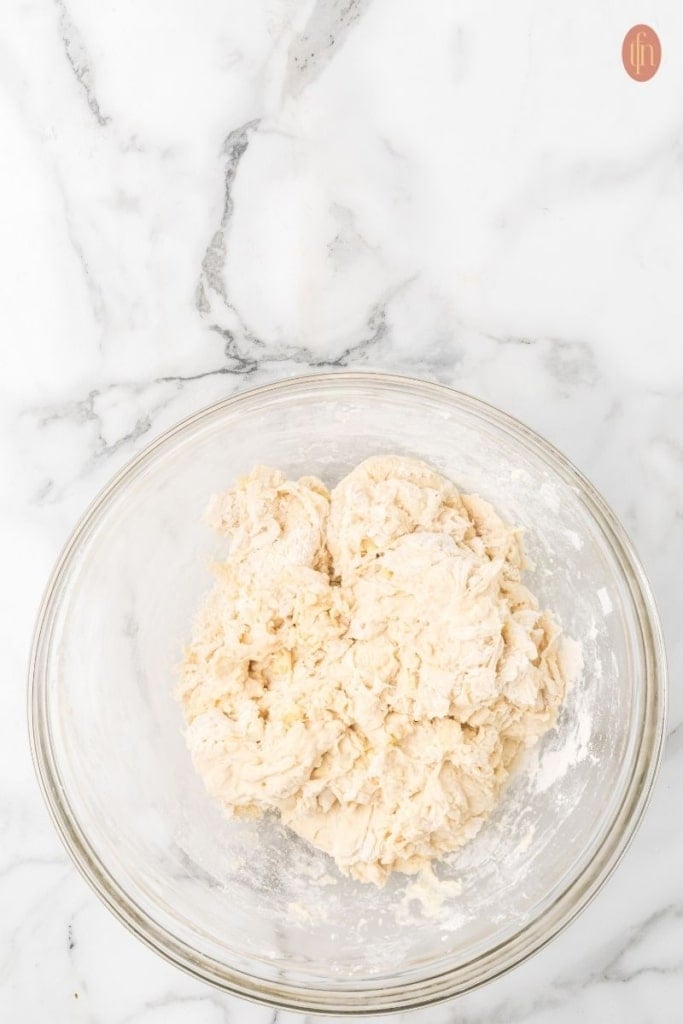
- Add your starter to a large bowl, then mix in warm water and sugar until dissolved. Add the flour, oil, and salt, and stir with a dough whisk or wooden spoon until a thick, shaggy dough forms.
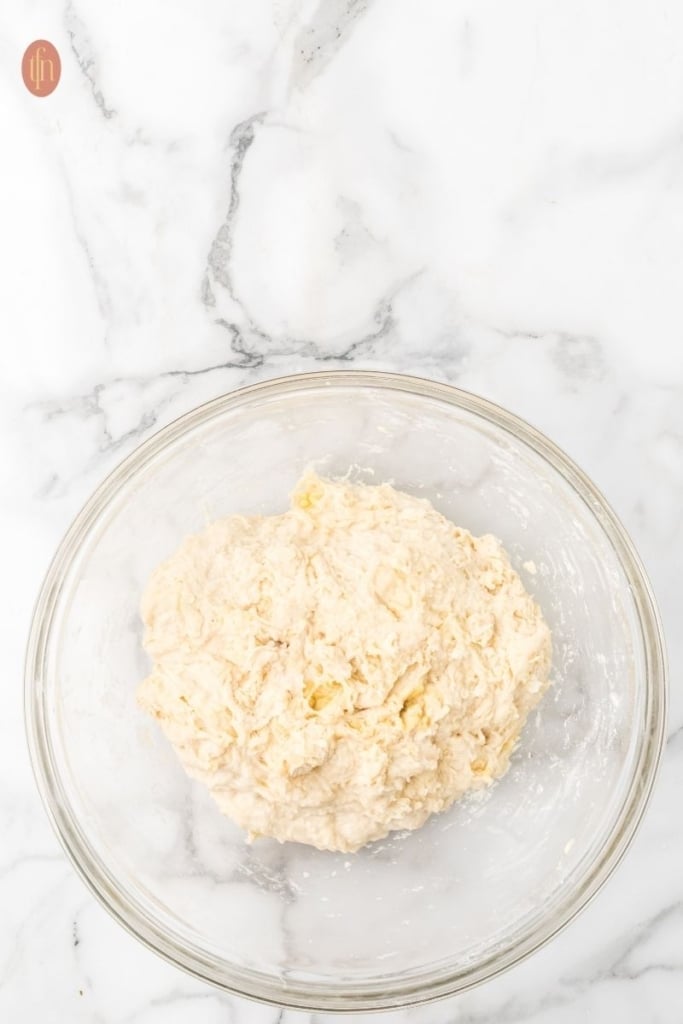
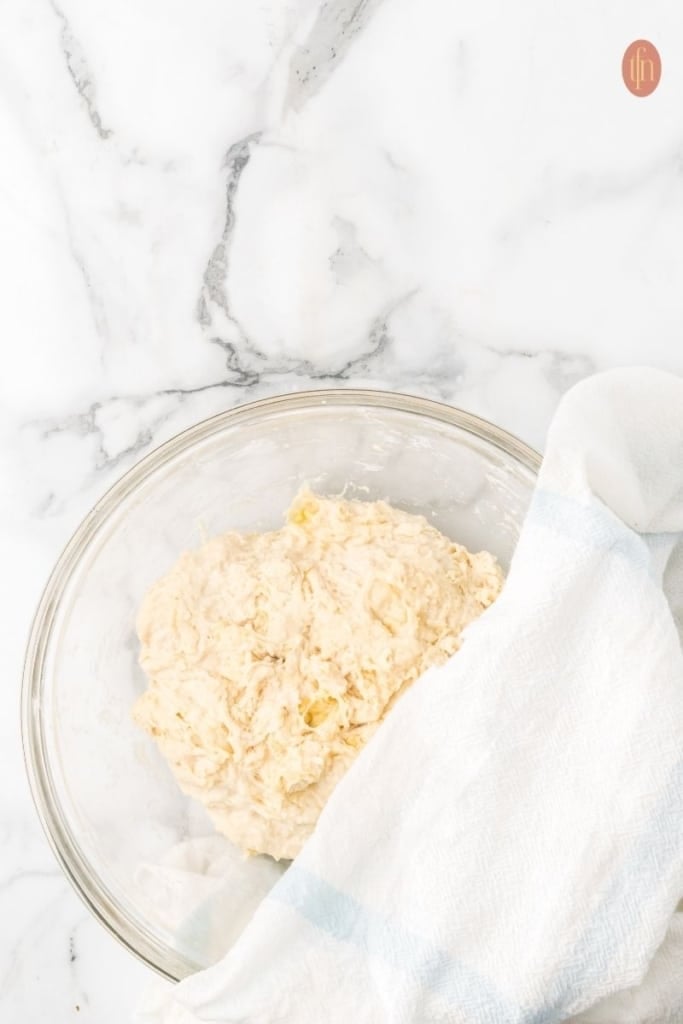
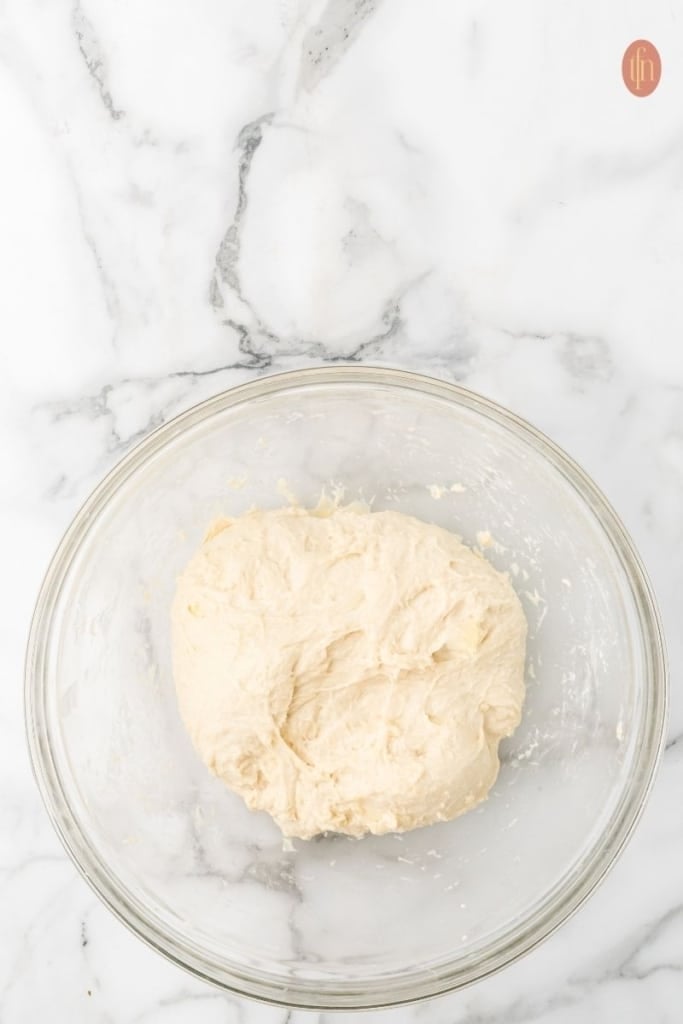
- Flour or wet your hands and finish mixing the dough until most of the flour is absorbed. Don’t worry if a little flour remains on the sides or bottom of the bowl. Cover with a clean, damp kitchen towel and let the dough rest for 30 to 45 minutes.
- Turn the dough out onto a clean surface and stretch and fold it several times, pulling it about 4 inches and folding it back to the center, rotating a quarter turn each time until you’ve gone all the way around. Return it to the bowl.
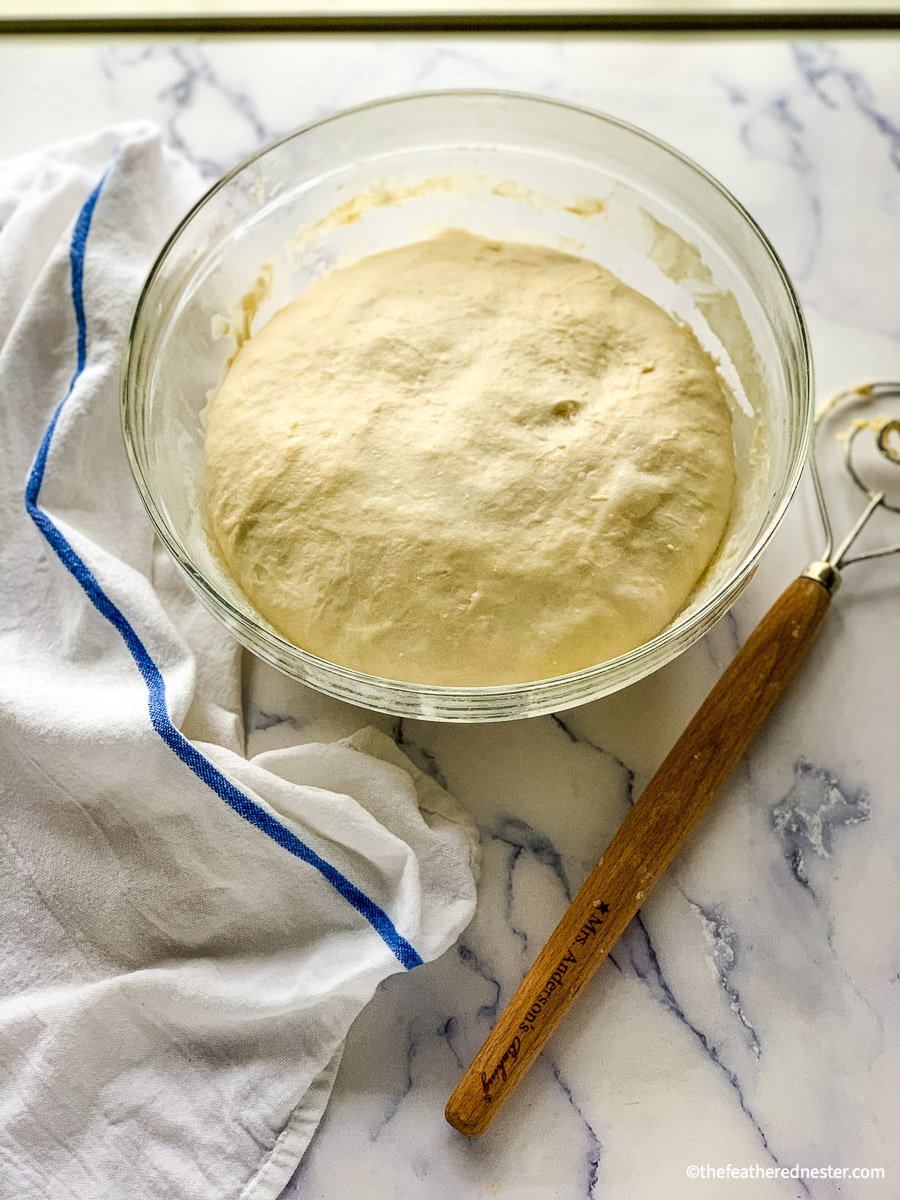
- Cover the bowl with a damp towel (or plastic wrap if you live in a dry climate) and let it rise at room temperature (not in the fridge!) or in a warm spot for 4 to 12 hours (see the rising guidelines in the recipe card).
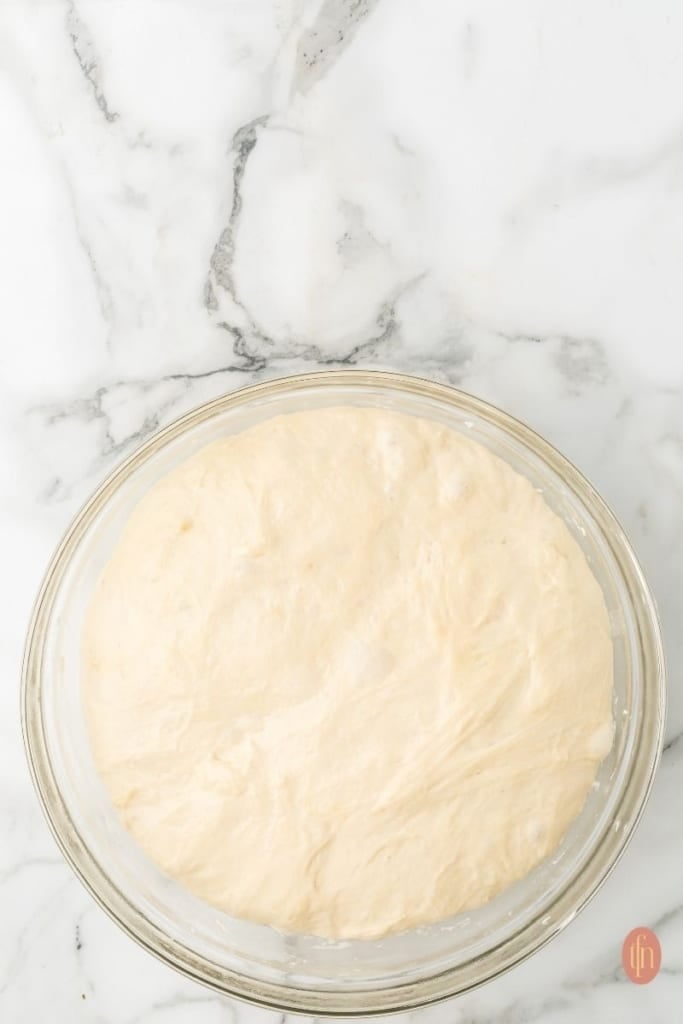
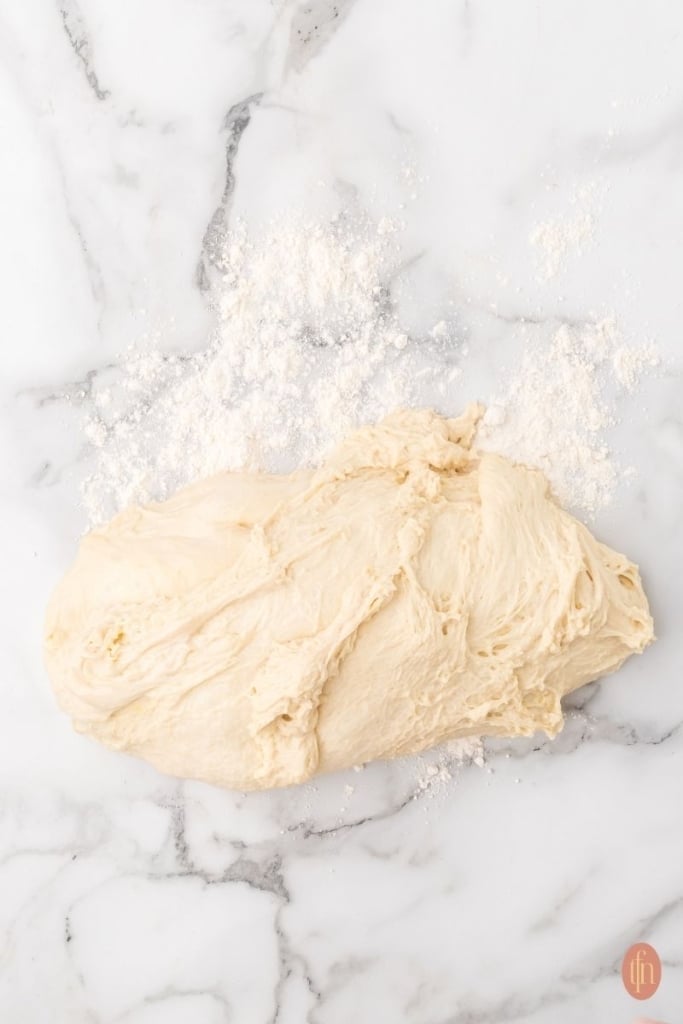
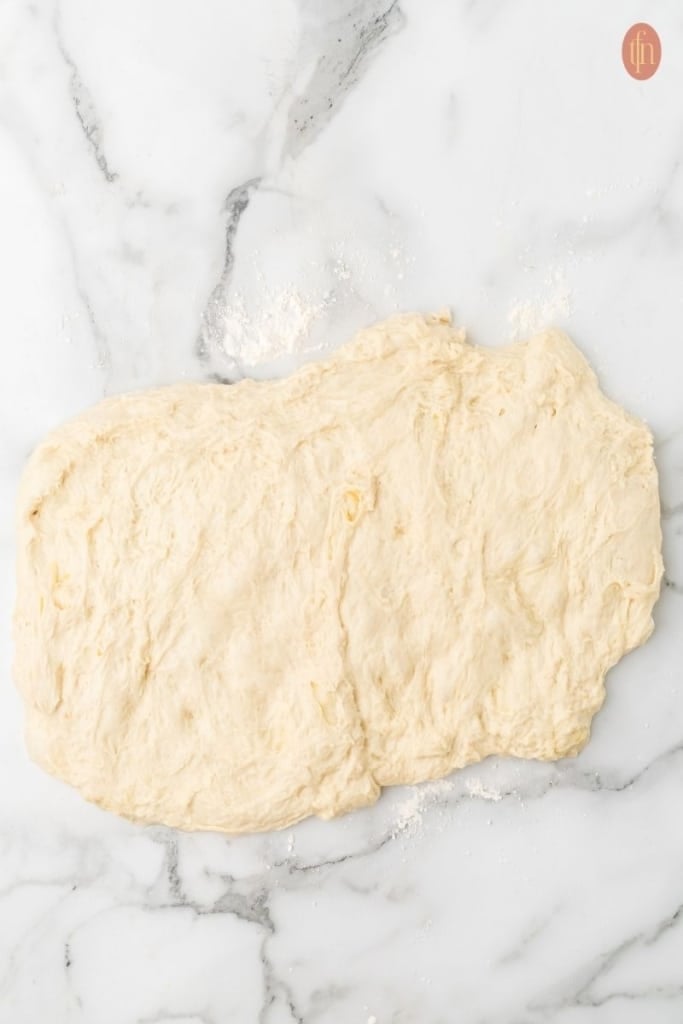
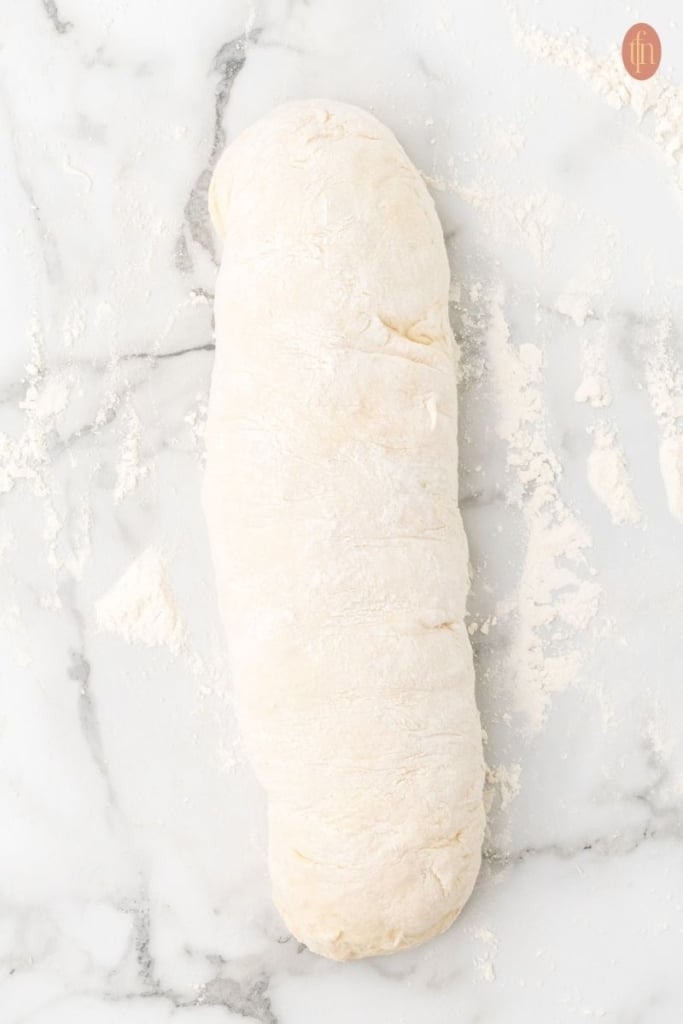
- In the morning, lightly flour your countertop. Remove the dough from the bowl and gently stretch it into a rectangle. Use your fingers to dimple the dough and release the air, then roll it up into a log shape. Tighten the dough log by gently pulling it toward you along the countertop for 5 to 8 inches. Cover and let it rest for 10 minutes.
🎯 TFN Pro Tip
Don’t skip tightening the dough log. After rolling the dough into a log, gently pull it toward you along the countertop for 5 to 8 inches. This builds surface tension and helps prevent blowouts on the sides of the loaf.
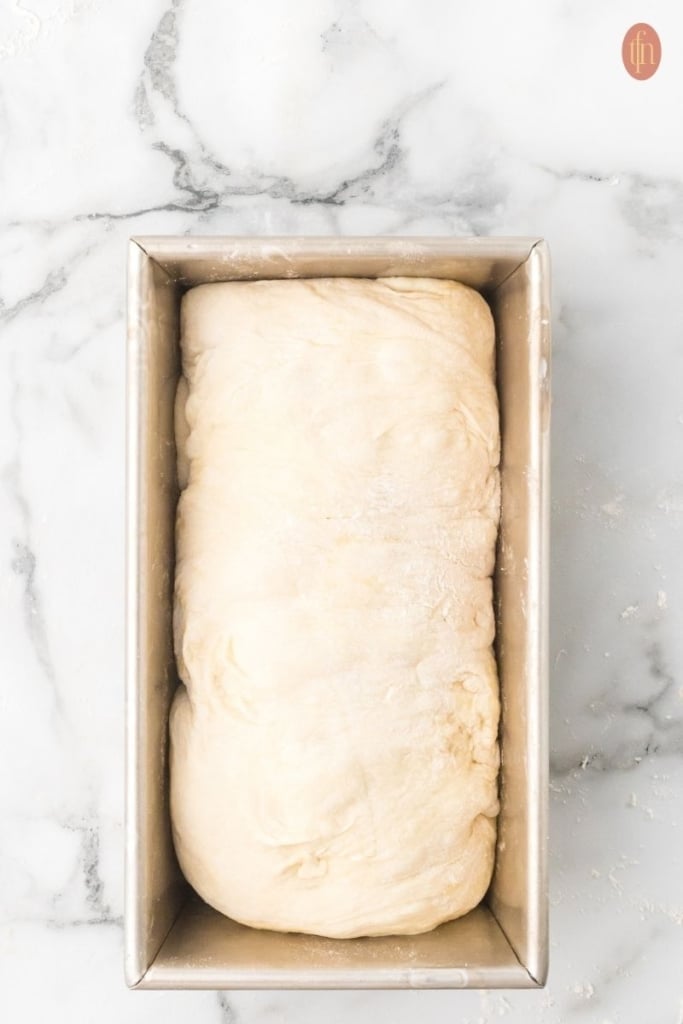
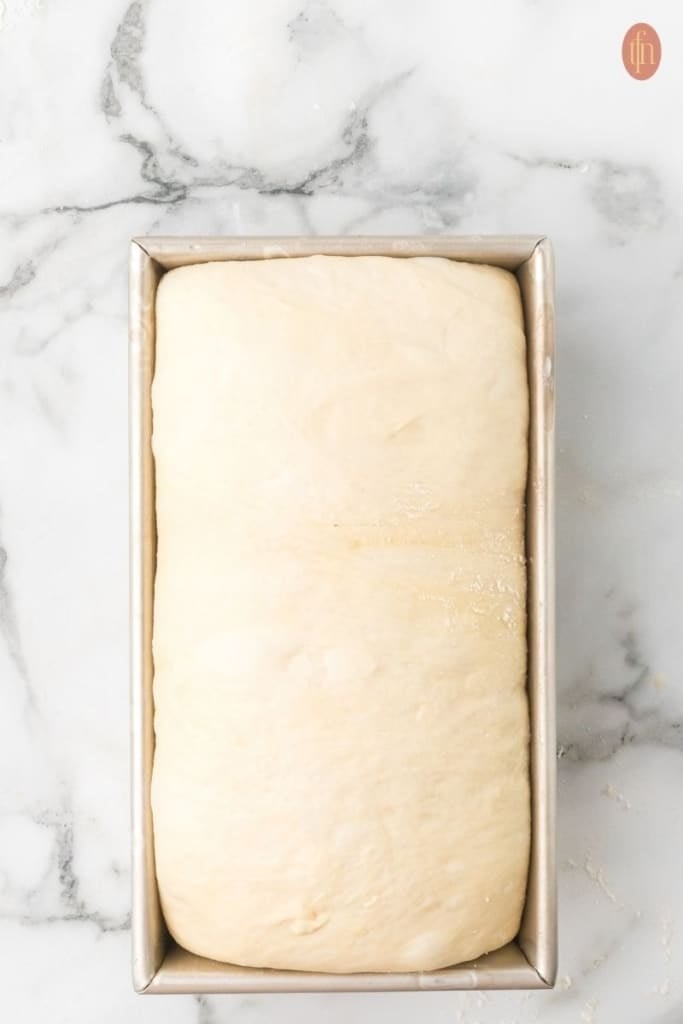
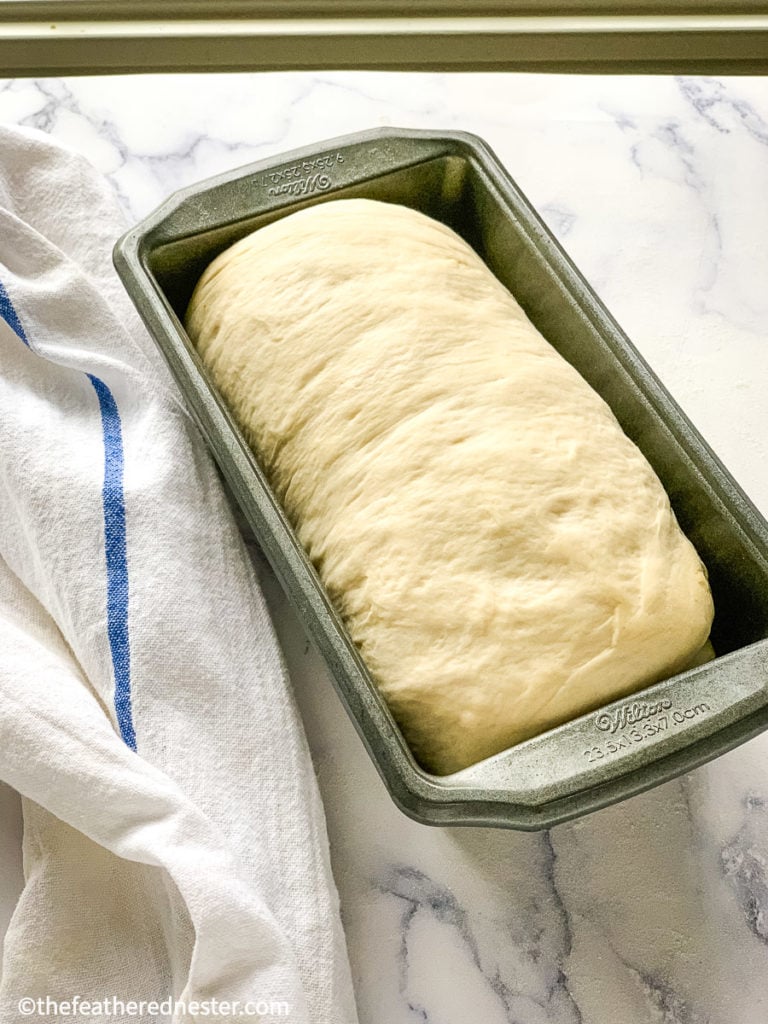
- Spray a 9×5 inch loaf pan with cooking spray and set it aside. (To bake smaller loaves, see the Recipe Notes in the recipe card below.) Place the dough log in the pan, seam side down. Cover and let it rise for 1 to 2 hours, until the dough is about double in size.
To see if it’s ready to bake, press the corner edge of the dough in about 1/2 inch. If the dent stays, it’s ready to bake. - Preheat your oven to 375°F. If you like, brush the top of the loaf with an egg wash for a golden finish. Bake in the center of the oven for 40 minutes, until the top is golden brown. To make sure it’s done, insert an instant-read thermometer into the side of the loaf toward the center. It should read 195 to 200ºF.
- Let the pan rest for 10 minutes before tipping the loaf out onto a wire rack to cool. Cool loaf for at least one hour before slicing. Cutting into it too soon can cause the inside to deflate and become gummy.
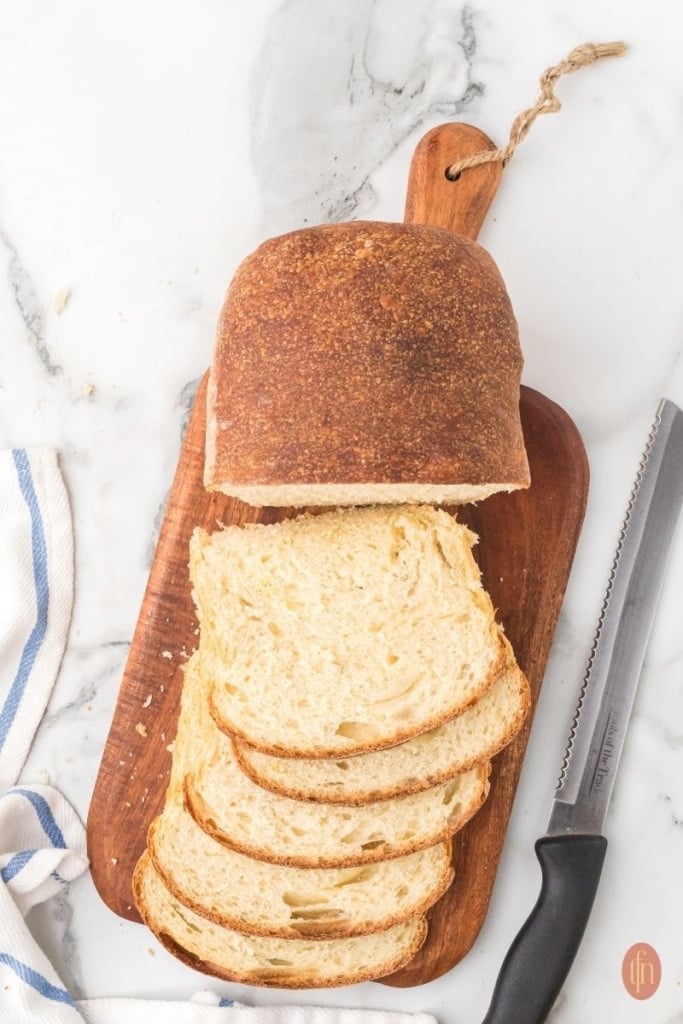
Overnight Sourdough Fermentation Process
The dough needs a long fermentation bulk rise, usually done overnight. This process is what rises the dough with wild yeast instead of commercial yeast. See our Fermentation Rising Guidelines in the recipe for estimated rising times.
Looking for a shorter fermentation rise recipe to use up your sourdough discard? You’ll love our sourdough flatbread recipe! Use it for wraps, naan, or even pizza. Best of all, it only has a one hour rise so they’re ready fast!
🎯 TFN Pro Tip
Tips for keeping dough warm during colder months:
Place the bowl in the oven with the light on and the door slightly open to create a warmer climate without actually turning the oven on. Before doing this, make sure to take the temperature of your oven with the light on to ensure this method doesn’t get too hot! Or, do a bulk ferment during the day when you can monitor progress until you know how your dough responds to your specific environment.
Use a heated mat (like those used for germinating seeds) for rising. See my Sourdough Tools list to shop what I use.
Use the “proof” setting of your oven (I set mine to 85ºF) and set a timer. This will speed up the rising process, so check it at 4 and 6 hours.
If there is a sunny room in the house that stays warm, keep the dough covered in that area.
Slicing and Toasting Sourdough Bread
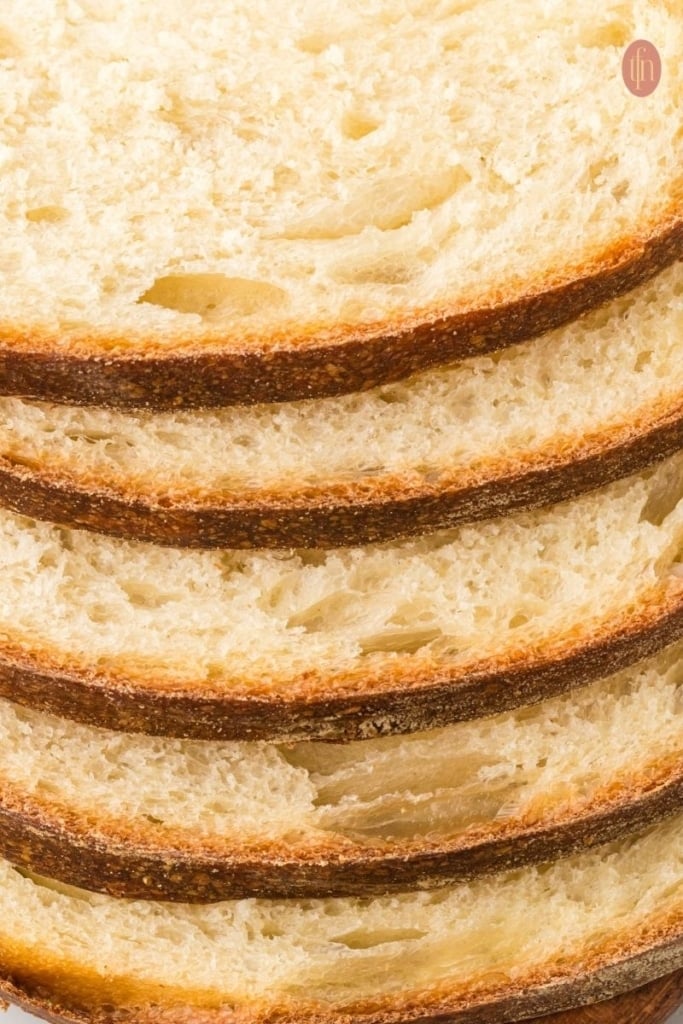
Let the loaf cool for at least one hour before slicing. Cutting too soon can leave the inside gummy. Use a serrated bread knife and a gentle sawing motion for even slices.
Toast slices until golden and top with butter, or try our avocado sandwich spread.
Sourdough Sandwich Ideas
This sandwich bread can be used just like your sandwich bread from the grocery store. Serve it as a breakfast sandwich, grilled cheese sandwich, a classic BLT with crispy bacon, ripe tomatoes, and a drizzle of mayonnaise, or use it for a chicken club.
If you want to add flavor to your sandwich bread, make our sourdough cinnamon raisin bread!
Recipe FAQs
Yes! A loaf pan is the best choice for sandwich bread, and this recipe was written for one. Use a standard 9×5 inch pan, or see the Recipe Notes for a 12 x 4.5 inch pan or two 4 x 8 inch pans.
Start this recipe early in the morning and you should be able to bake this sourdough bread the same day. For example, start the bread at 8 am, mix and let rise until about 3 pm, then shape and let it rise for the second time, then bake. You’ll have fresh bread around 6pm, just in time for dinner!
Not for this recipe. Sourdough discard is the portion of starter you remove before a feeding. For this recipe, feed your starter 8 to 12 hours (or up to 24 hours) before mixing, and use a starter that’s at least 10 days old and regularly doubles in size within 4 to 6 hours after feeding. Have discard to use up? We have lots of sourdough discard recipes to try!
A gummy interior is one of the most common sourdough bread problems, and it is usually due to two things: either the bread wasn’t baked long enough, or it was sliced too soon.
Make sure your loaf bakes for the full 40 minutes and the top is golden brown before you pull it out. If you’re unsure, you can use an instant-read thermometer in the center of the loaf and it should read 195º – 200ºF.
The second thing to check is your cooling time. I know it’s tempting to slice into a warm loaf fresh from the oven, but cutting it too soon traps the steam inside and turns the crumb gummy.
The dough needs a warm area for the bulk (overnight) fermented rise. Find a warm place (75º – 85º F) like an oven with the door slightly open, a warm window, or above the dryer to extend the bulk fermentation rise for 2 more hours.
You can, but for the best texture (density) and softness, I recommend only replacing 1/2 of the flour with whole wheat flour. If you want a whole wheat loaf, try our whole wheat sourdough sandwich bread.
Tighten the dough log before it goes in the pan. After rolling the dough into a log, gently pull it toward you along the countertop for 5 to 8 inches. This builds surface tension and helps prevent blowouts. Then place the dough in the pan seam side down.
More Easy Sourdough Recipes…
- Artisan Sourdough Loaf
- Jalapeno Cheddar Sourdough Bread
- Sourdough Bread Bowls Recipe
- Sourdough Garlic Toast
If you tried this soft sourdough sandwich bread recipe or any other recipe on my website, please leave a 🌟 star rating and let me know how it went in the 📝 comments below. Thanks for visiting!
Sourdough Sandwich Bread
Equipment
- loaf pan - 9×5 inches or 1 pound loaf pan. See recipe notes for a 12' x 4.5" pan or smaller loaf pans
- warming mat - optional but recommended if your home is below 75ºF.
Ingredients
- ⅓ cup sourdough starter (65 grams) fed 8-12 hours prior (or up to 24 hours works) *see notes below
- 1⅓ cups warm water, filtered (300 grams) 95º to 100º F or baby bottle warm
- ¼ cup granulated sugar (56 grams) or 2 rounded tablespoons of honey
- 4 cups bread flour (500 grams) or all-purpose flour
- 1½ tablespoons extra-virgin olive oil (20 grams) or your preferred cooking oil
- 2 teaspoons fine salt (9 grams)
Instructions
- Add the starter to a large bowl. Mix in warm water and sugar, stirring until dissolved. Add flour, oil, and salt. Stir with a dough whisk or wooden spoon until a thick, shaggy dough forms.
- Flour your hands or wet your hands, and finish mixing dough by hand until most of the flour has been absorbed. Don't worry if there is flour on the sides or bottom of the bowl. Cover with a clean, damp kitchen towel and let the dough rest for 30 to 45 minutes.
- Coax the dough from the bowl, then stretch and fold the dough by stretching 4 inches then pushing it down the middle and turning 1/4 until you make a circle (see video below for how to do this).Return the dough to the bowl, cover with a damp towel (or plastic wrap if you live in a dry area) and let rise at room temperature or a warm area 4-12 hours (see chart in notes) to ferment.
- In the morning, lightly flour your counter top. Remove the dough from the bowl, gently stretching it into a rectangle, then use your fingers to dimple the dough.Roll up dough into a log shape. Tighten the dough log by gently pulling it towards you along the countertop for 5-8 inches. Cover and let the dough rest 10 minutes. Spray loaf pan with cooking spray and set aside. To bake smaller loaves, see Recipe Notes below for directions.
- Place dough in your loaf pan, seam side down. Cover and let rise for 1-2 hours, until the dough is about double in size. To see if your dough is ready to bake, press the corner edge of the dough in about 1/2 inch. If the indentation remains, it's ready to bake.
- Heat oven to 375ºF. If desired, brush the top of the loaf with an egg wash.
- Bake in the center of the oven for 40 minutes. See Recipe Notes below for smaller loaves. The top of the loaf should be golden brown in color. To ensure your bread is done baking, insert an instant-read thermometer in the side of loaf towards the center. It should read between 195°F and 200°F. Remove from oven.Let the pan rest for 10 minutes before tipping the loaf out onto a wire rack to cool.
- Wait at least 1 hour before cutting (to prevent the loaf from deflating).
Video

Notes
Ingredient Notes & Substitutions
- Starter: this recipe uses a starter that was fed 8 to 24 hours before mixing your dough (8 to 12 hours works best). It does not need to be at its peak when you mix the dough. A 100% hydration sourdough starter works best. Use a mature starter that’s at least 10 days old and doubles in size within 4 to 6 hours after feeding.
- Flour: Bread flour gives the tallest, airiest loaf. You can use the same amount of all-purpose flour, but your loaf might be slightly smaller.
- Whole wheat: For the best texture and softness, replace only half of the flour with whole wheat flour. Want a whole wheat loaf? Try our whole wheat sourdough sandwich bread.
- Sugar: Use 2 rounded tablespoons of honey in place of the granulated sugar.
Instruction Notes
- I recommend using a clear glass mixing bowl for fermentation (rising). This allows you to see the activity on the dough’s top and bottom. Often, the bottom of the dough will show a lot of activity, reassuring you that it’s properly fermented.
- Do not refrigerate the dough! Our recipe does not use a refrigerated rise. If it gets too cold, the dough will not ferment (rise) properly.
- How will I know if my bread is done baking? The top should be golden brown and sound hollow when tapped. For best results, insert an instant-read thermometer in the side of the loaf toward the center. It should read between 195 and 200ºF.
Bulk Fermentation Rising guidelines:
Rising times will vary according to your room temperature and humidity:- 80ºF about 4-5 hours
- 75ºF about 6-7 hours
- 70ºF about 8-9 hours
TFN Pro Tips:
- Keeping dough warm in colder months: Place the bowl in the oven with the light on and the door slightly open to create a slightly warmer climate without actually turning the oven on. Some ovens get very warm with the light on, so check your oven’s temperature first. You can also use a heated mat (like those used for germinating seeds), or use the “proof” setting of your oven (I set mine to 85ºF) and set a timer. Check it at 4 and 6 hours. A sunny room that stays warm works too.
- Prevent blowouts: Don’t skip tightening the dough log. Gently pull it toward you along the countertop for 5 to 8 inches. This builds surface tension and helps prevent blowouts on the sides of the loaf.
- Slicing: Wait at least 1 hour before cutting so the loaf doesn’t deflate. Use a serrated bread knife for even slices.
Storage and Freezing
- Let the bread cool completely. Store it in a plastic bag at room temperature. I use a plastic bread bag with a twist tie, and it stays fresh for about 5 days.
- This sandwich bread is also great to freeze. Place it in an airtight bag and store in the freezer for up to 3 months. Thaw the loaf at room temperature, then slice and enjoy.
- Check out our in-depth guide on how to store fresh sourdough bread for more storage tips.
Nutrition

 Previous
LHH says
Thanks for the recipe. The loaf turned out nice and soft. This will be my go-to sourdough loaf recipe.
Norma R says
This sourdough sandwich bread is AMAZING 🤩! Super easy to make, delicious and extremely soft!
Kathleen says
This is the ONLY sourdough sandwich bread recipe I use. Easy to follow and consistent results, every time!
Debbie says
This bread was easy to make, I did have to use extra flour as dough was very sticky, but I used honey rather than sugar, so maybe that’s why?
I can’t wait to taste it!